“The pandemic is over!”, says the world, as I sit here cooped up in a household full of COVID and no childcare :p
Anyway, a bit late writing this up, but when the actual COVID lockdowns were going strong and everyone needed hobbies, I decided to put together a nice fishtank aquascape using mostly stuff I found lying around the house / yard / greater outdoors. This post is going to be heavy on pictures, so get out now if you’re being charged by the byte.
This is my first proper ‘aquascaping’ foray, so expect to see a bit of amateur-hour jankiness and lessons learned.
Plan
The people who are serious about this stuff know words like ‘Iwagumi’ and obsess over what style they are doing and whether they are in conformance with it. (See also: bonsai nerds, homebrewers…) Me, I want something that looks nice and is full of plants, without requiring a lot of maintenance. Honestly, the fishtank is mainly an excuse to cram more plants on the windowsill (but aquatic ones this time!), and putting any actual fish in there is just a nice bonus. So the plan was a dirted tank (fancy in-group term for, yep, using actual dirt as a substrate) with a nice flowing river nestled among rocky hills. Except for the ‘dirted’ part, this description already sounds a bit too much like a bottled-water commercial, so lets move onto the main constraints, which include low-tech (basically means no CO2 or other similar fanciness, i.e. maintenance headaches) and a focus on stuff I already have lying around or can source without unnecessary visits to physical stores (2021).
Luckily, I already had a 20-gallon tank and a garden full of rocks, so these will be the major ingredients.
Gathering Natural Supplies
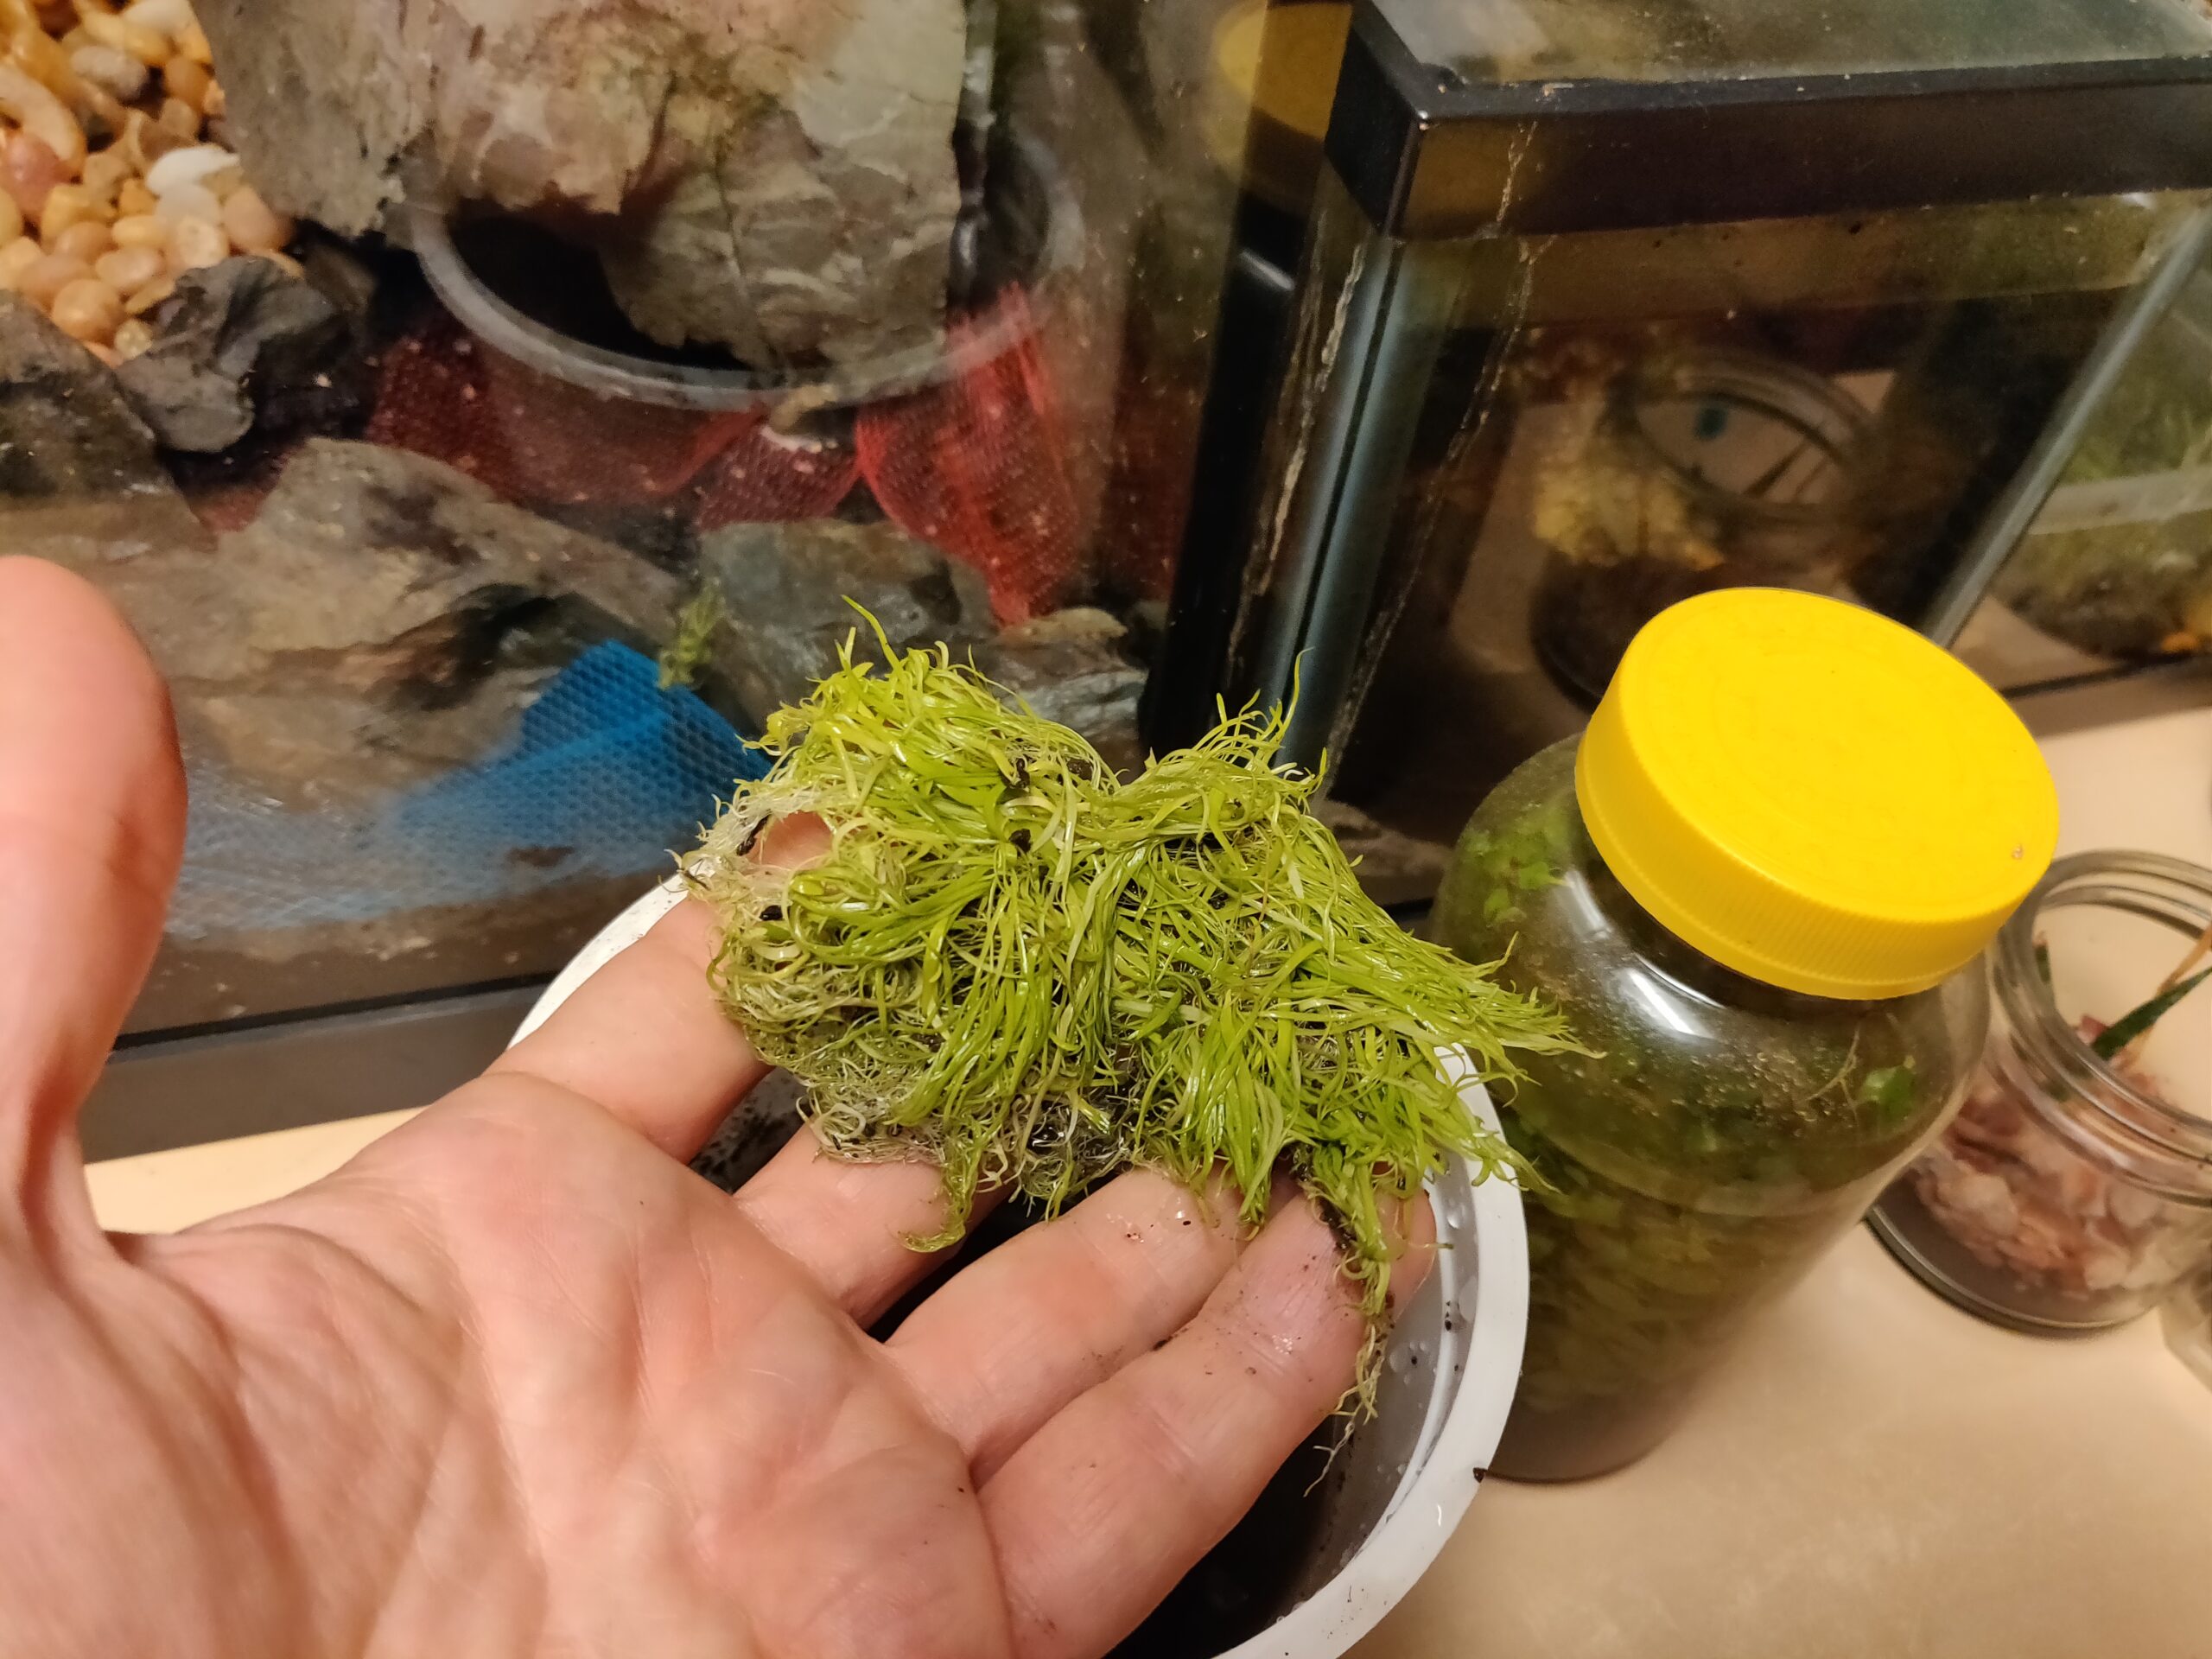
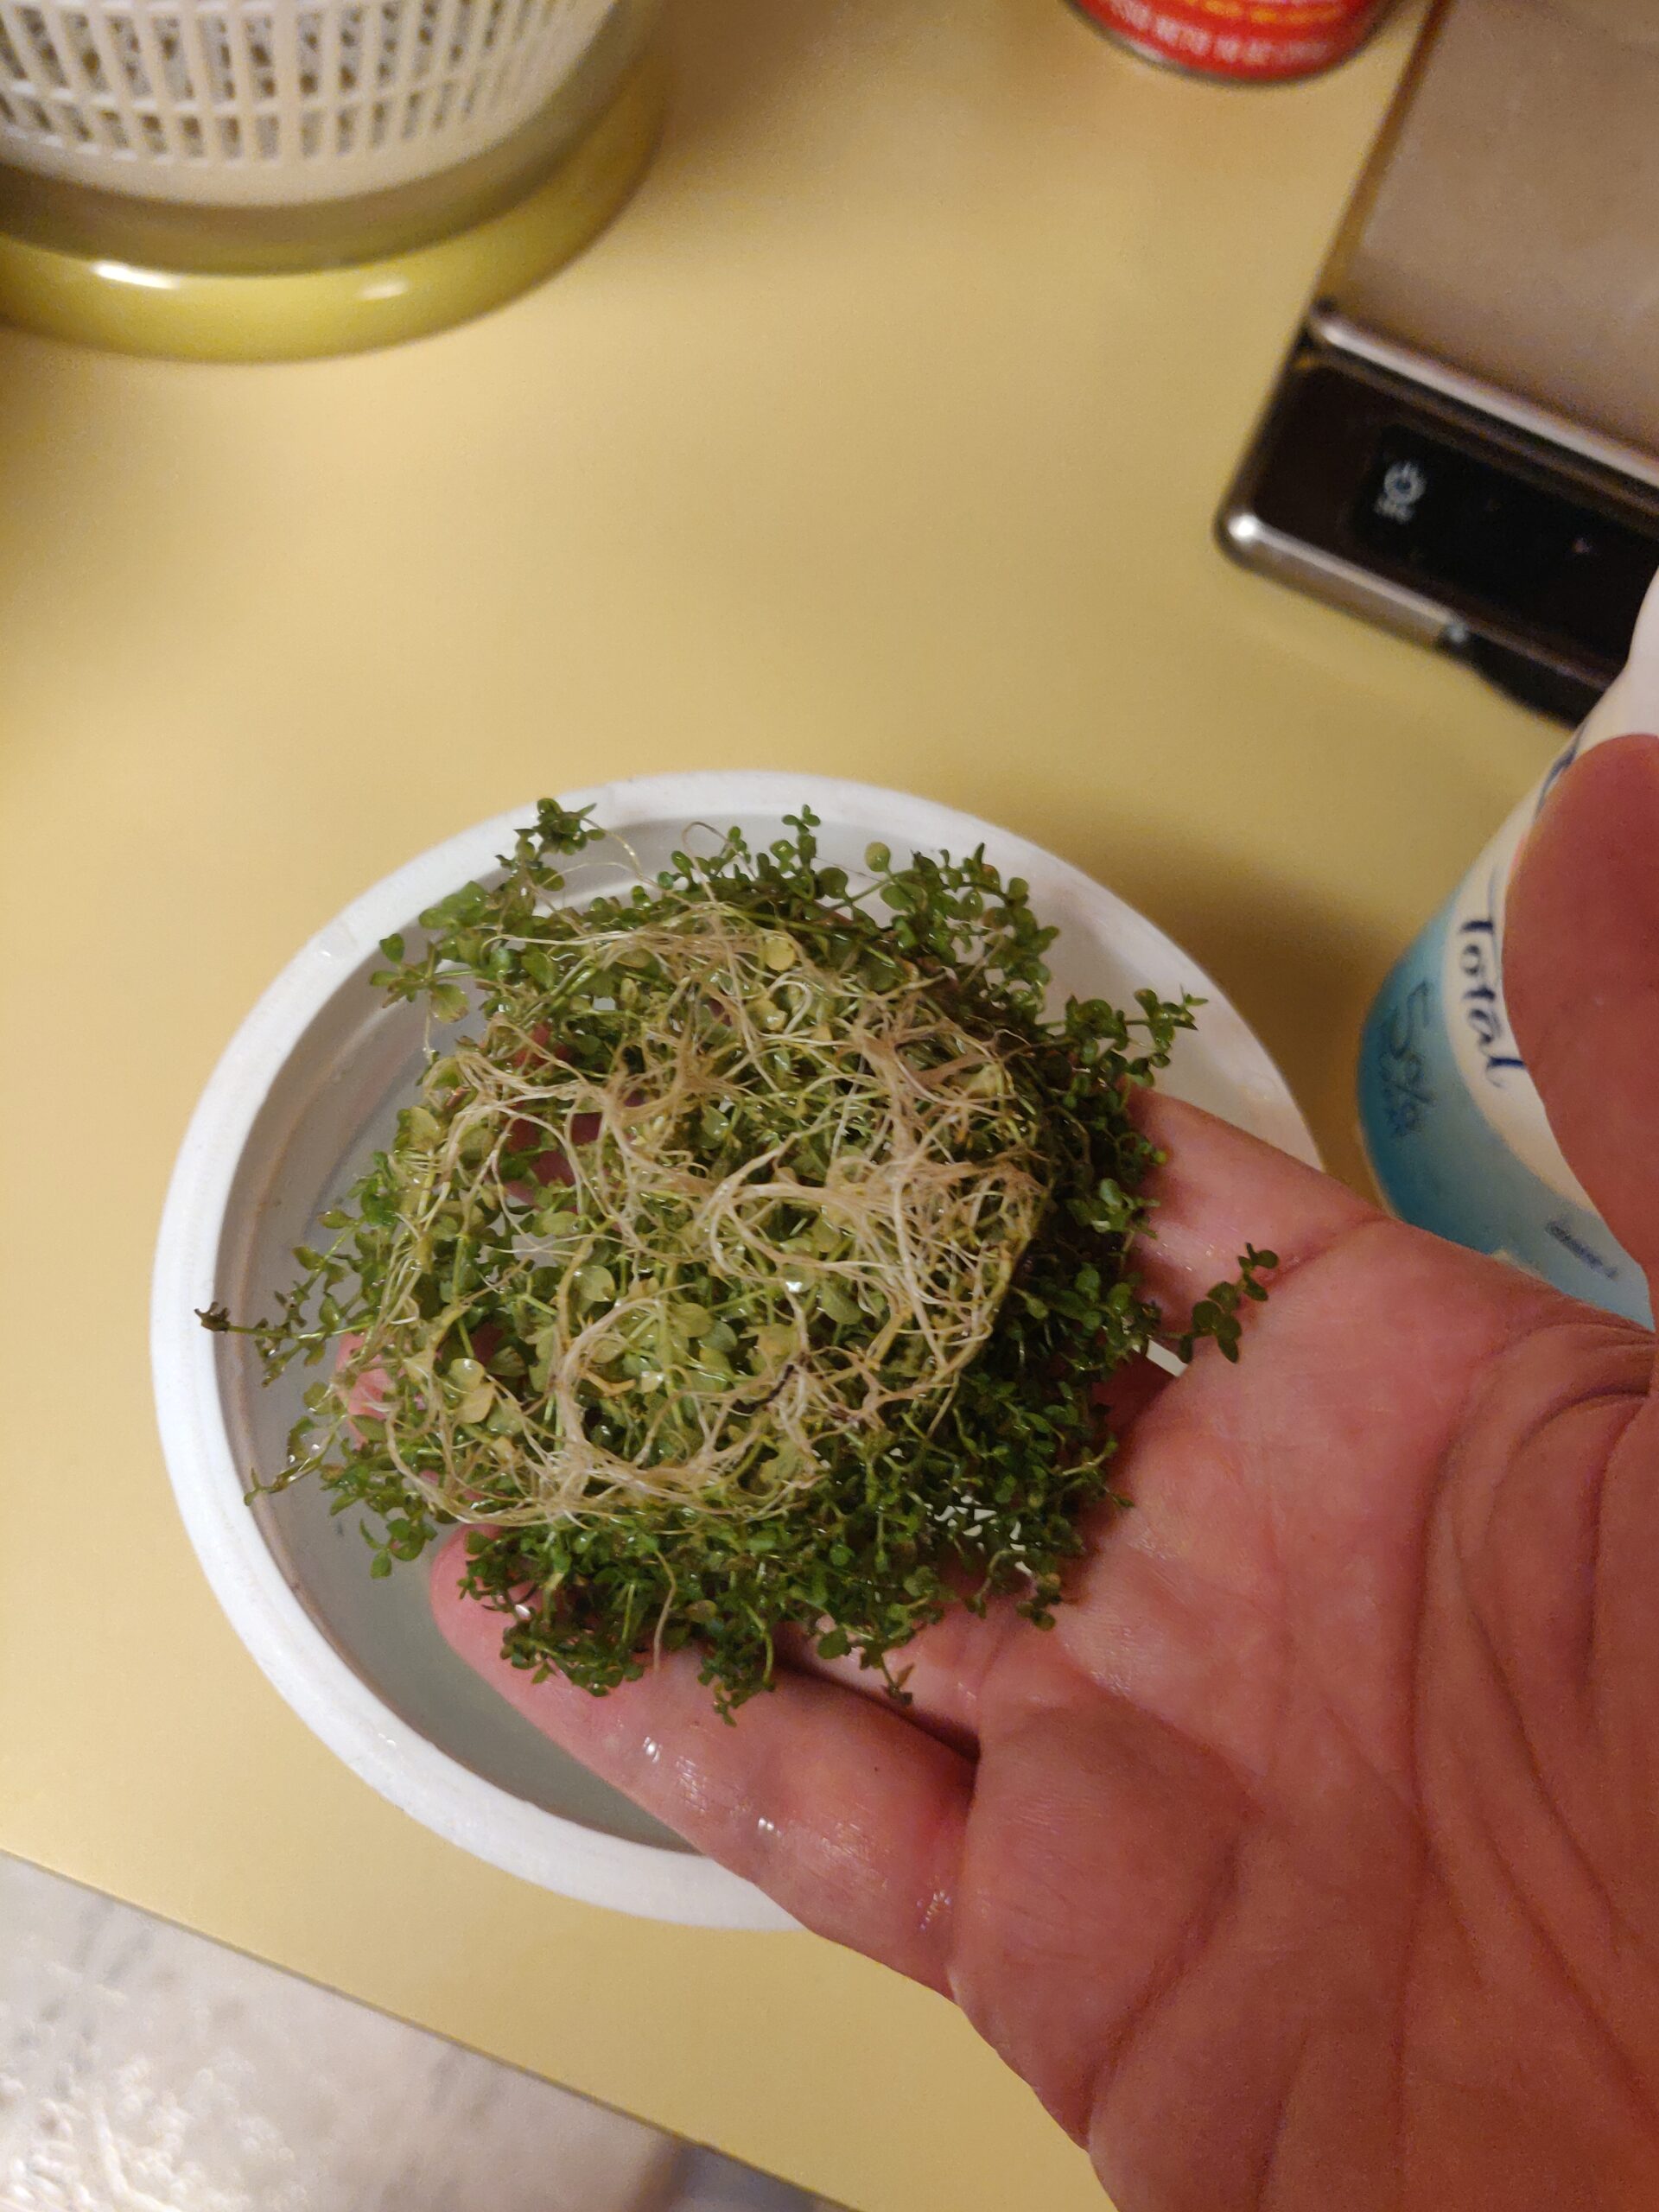
By that I mean, rocks and plants. As it happens, with two cooped-up kids we were looking for any excuse to get outdoors, so went on hikes nearby year-round. In the process I kept a bit of an eye out for nice-looking small aquatic plants. This one popular hiking spot near home has a wide but shallow retention pond held back by a small manmade dam, which had been broken for some time and exposed the entire bottom to traversal. Walking the ‘lakebed’ with my son and exploring the normally inaccessible island in the middle of it was fun, but along the way I scooped up a sandwich bag worth of the mud and flora that had been exposed.
The contents were transferred to a lunchmeat container and a pill jar and set on the windowsill to grow out a bit.

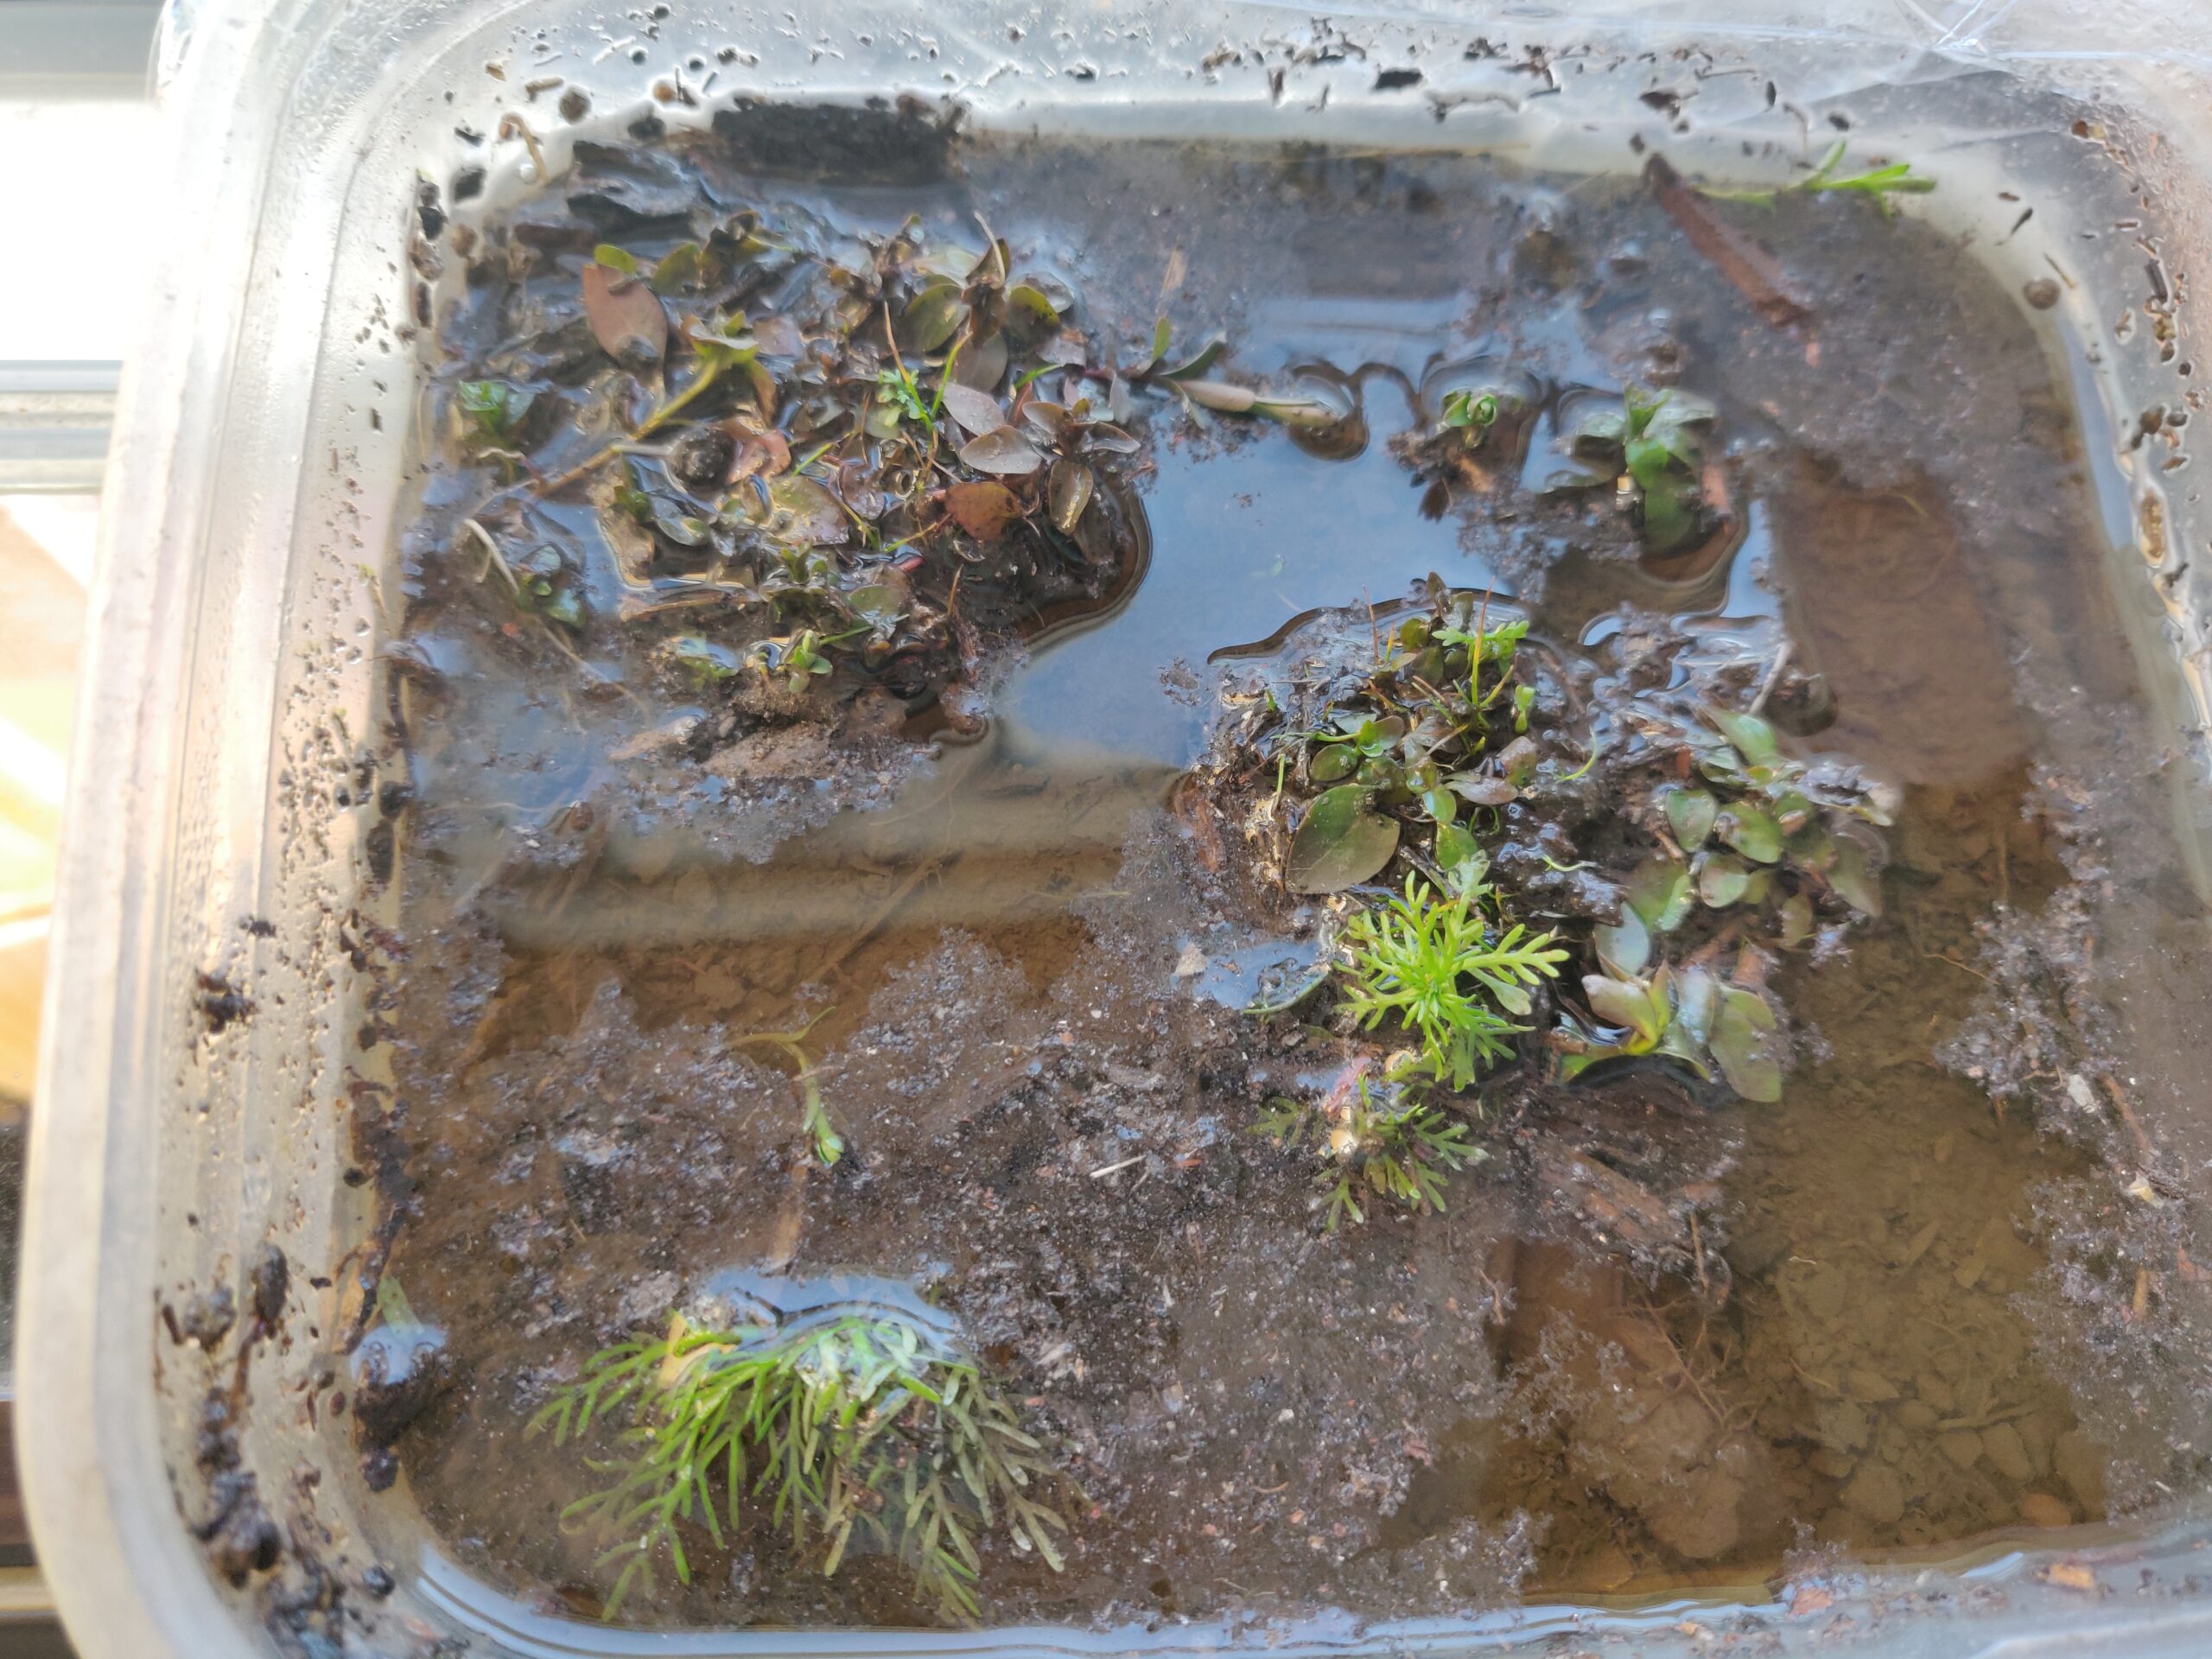

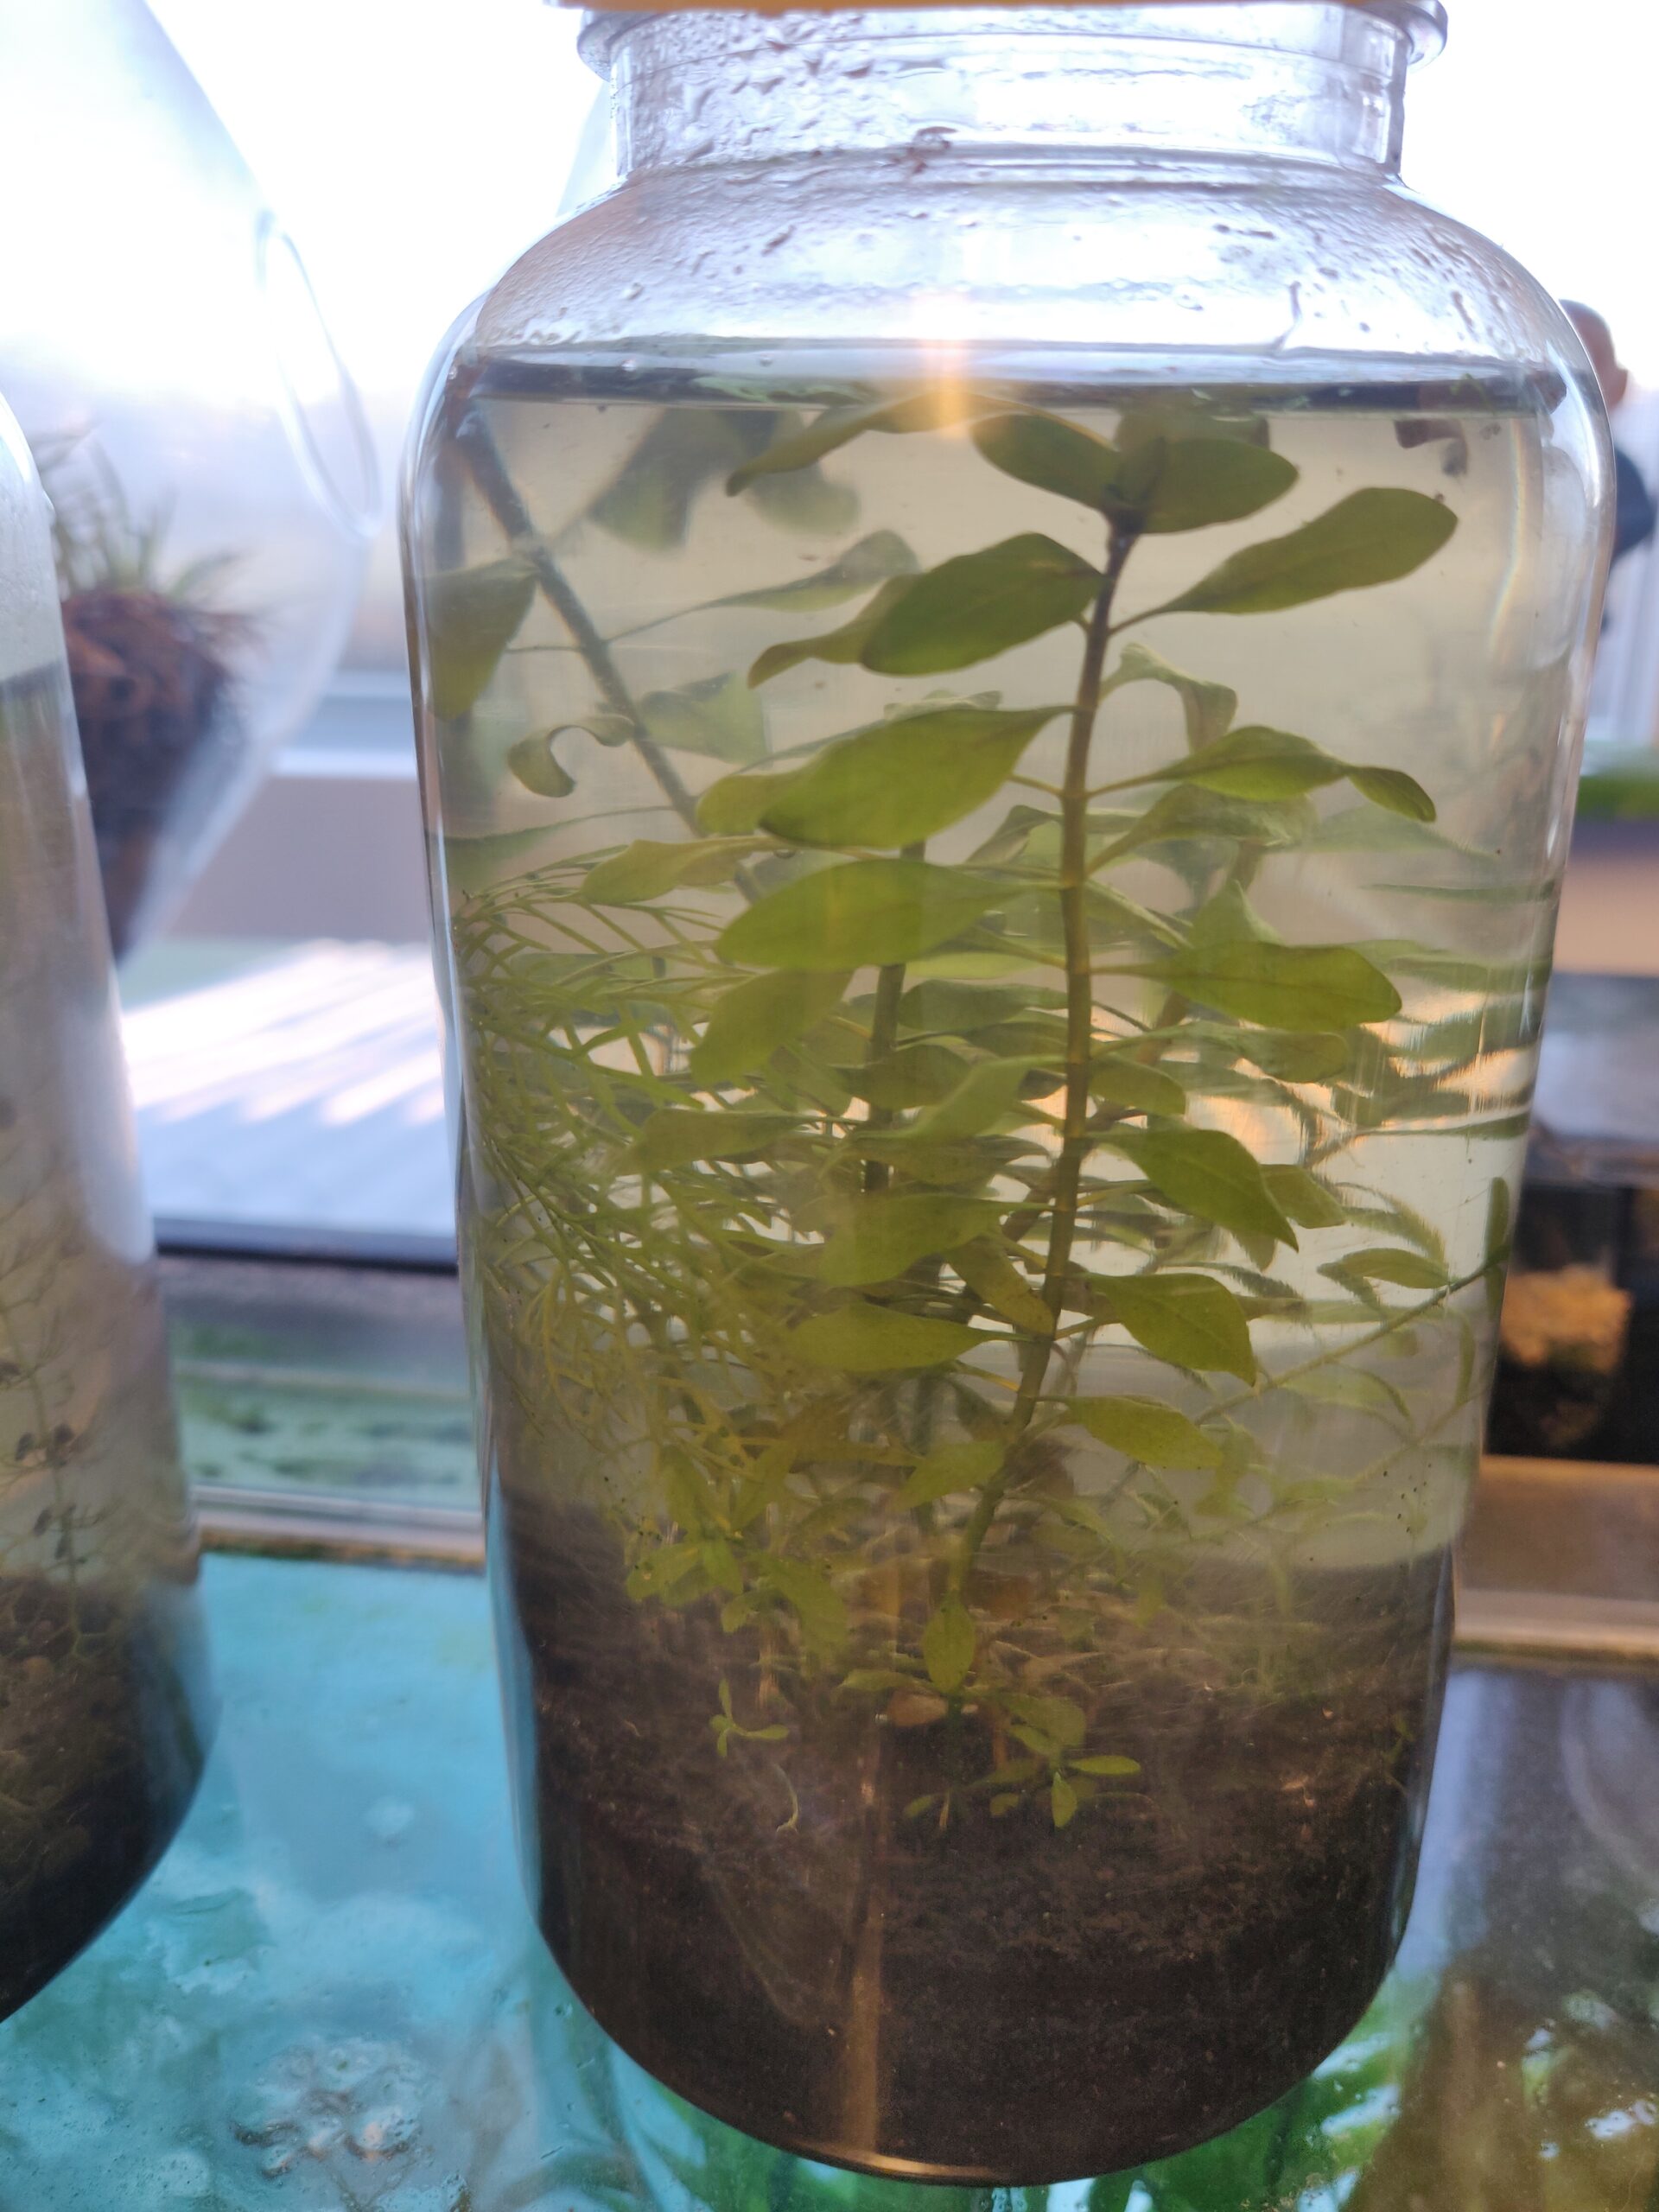

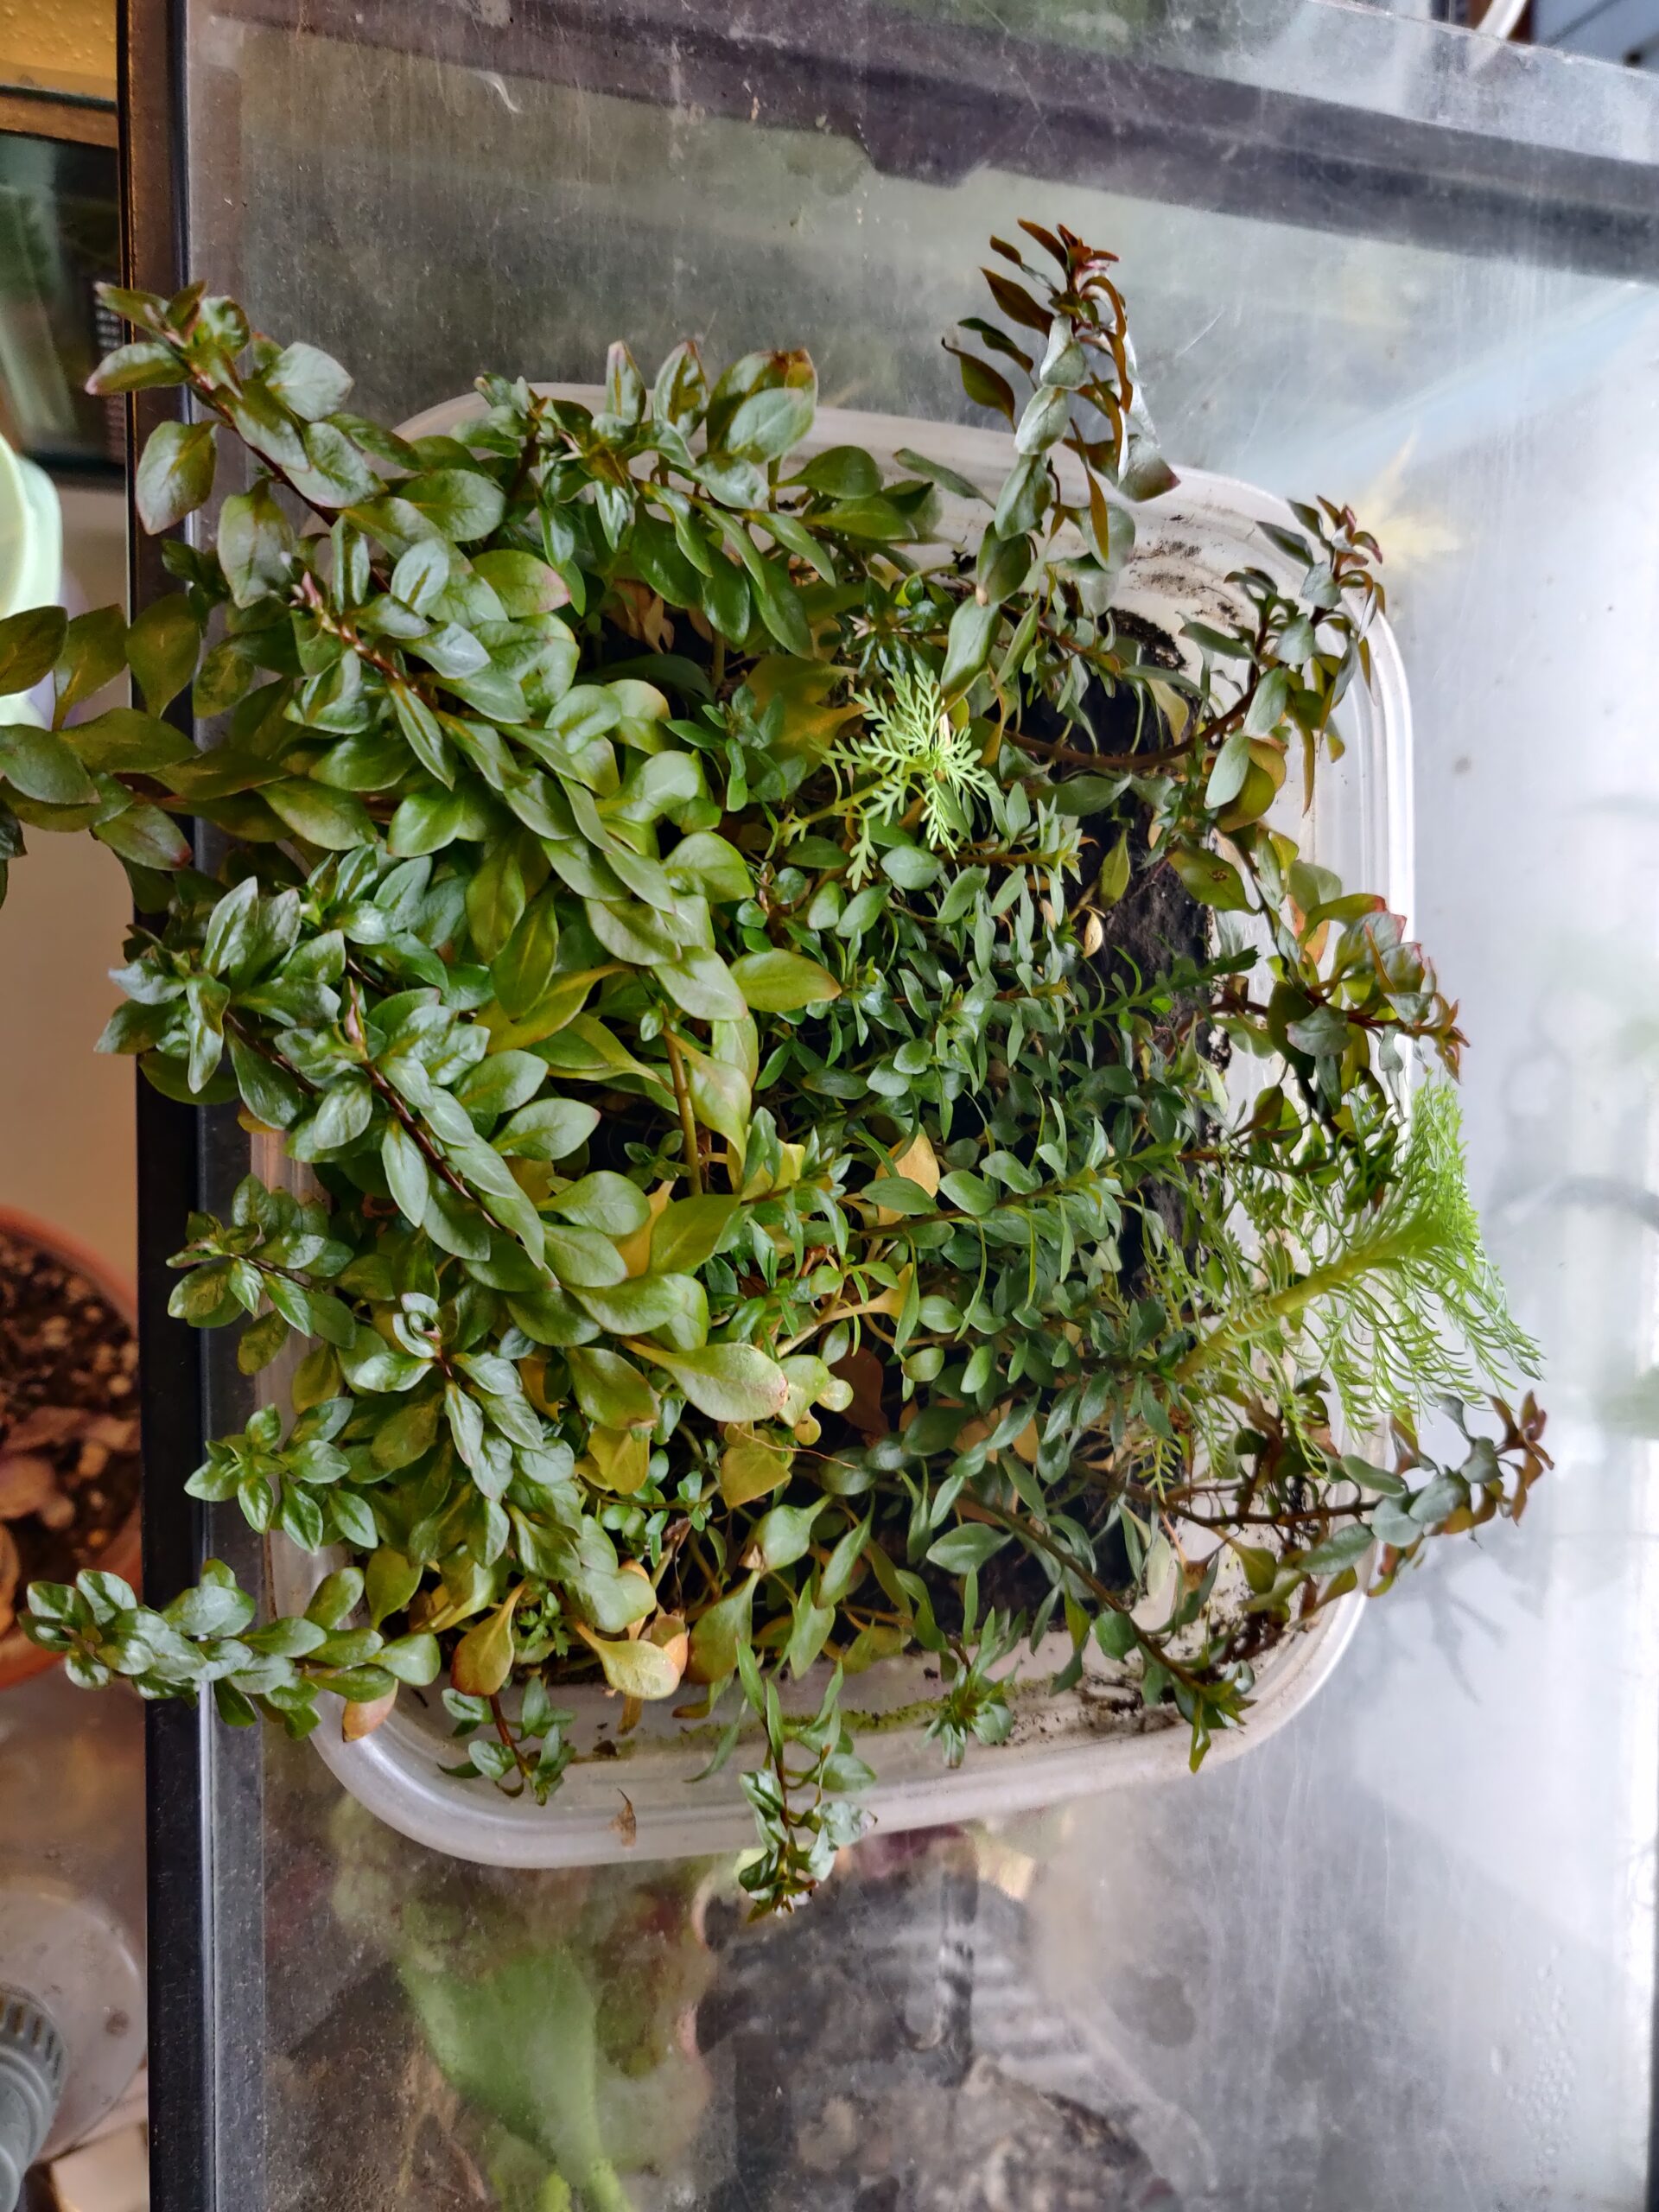
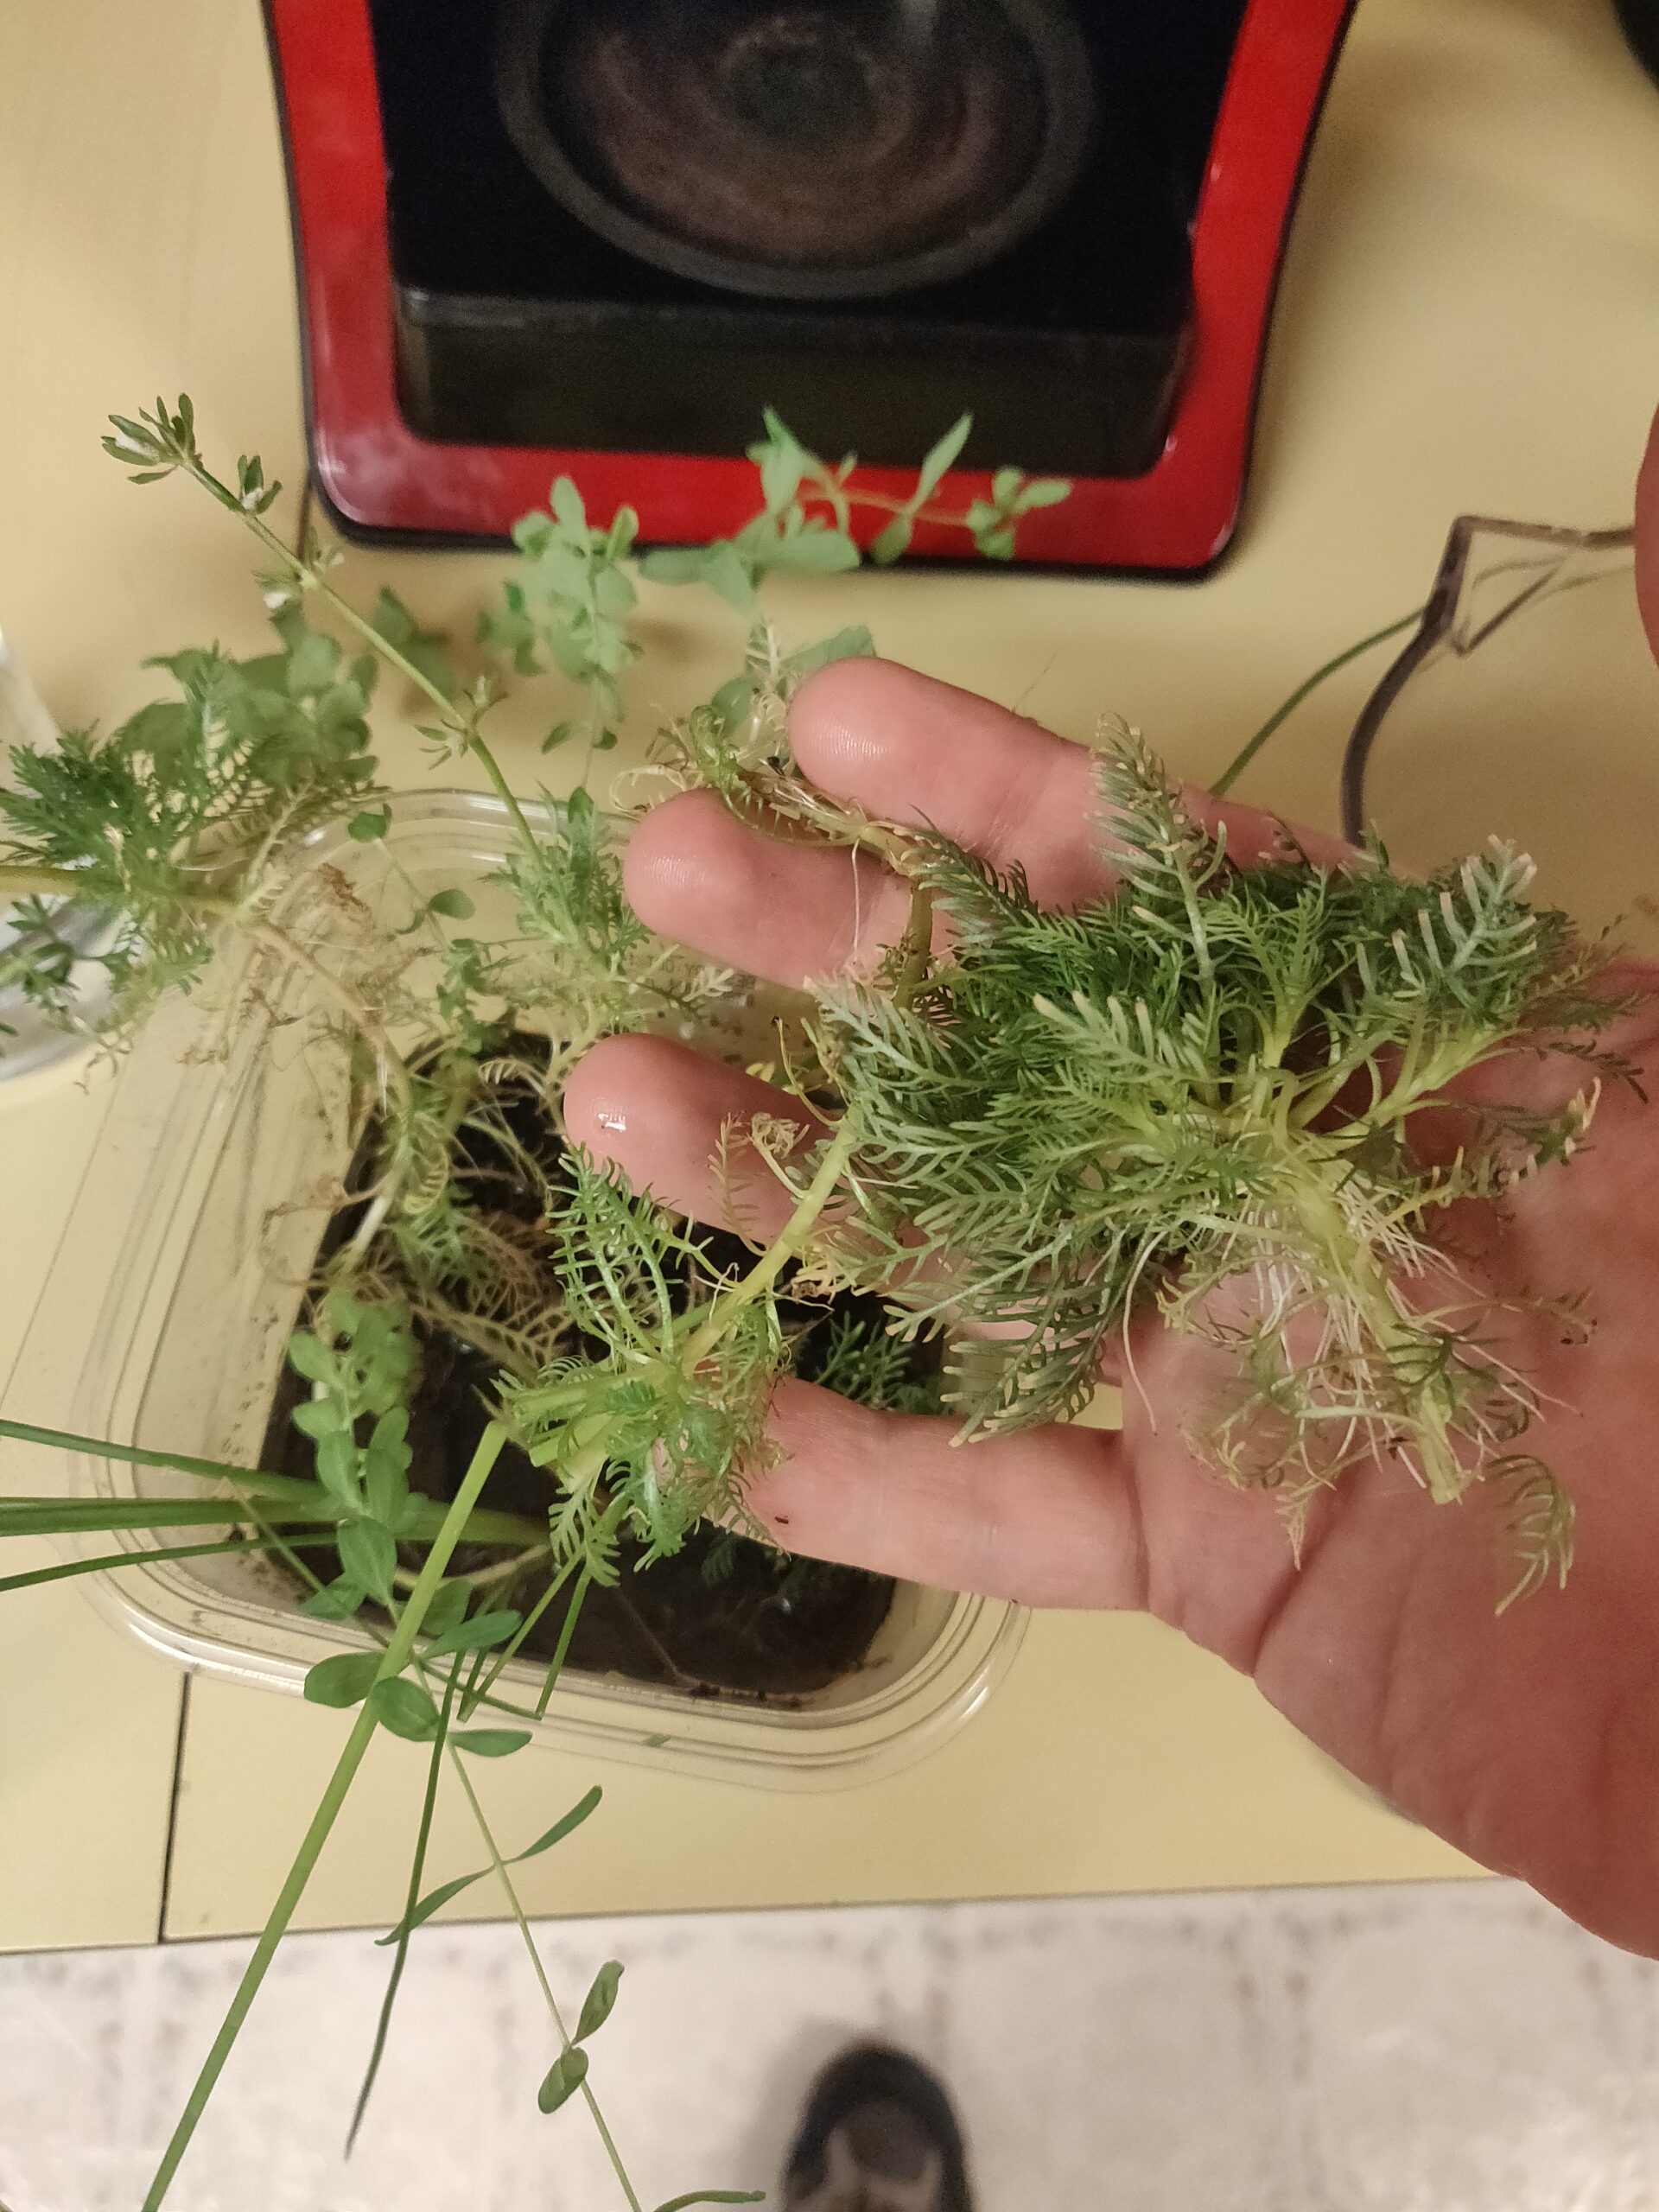
At minimum, there is some marsh purslane (Ludwigia palustris), a frilly-leaved specimen that is most likely Hottonia palustris (or maybe a Limnophila), and a bit of what would later turn out to be the tall marsh grass that was slowly taking over the pond. Both of the former are popular aquarium trade plants and probably got here this way.
Meanwhile, a trip to the garden yielded a nice pile of rocks.
Building some hardscape
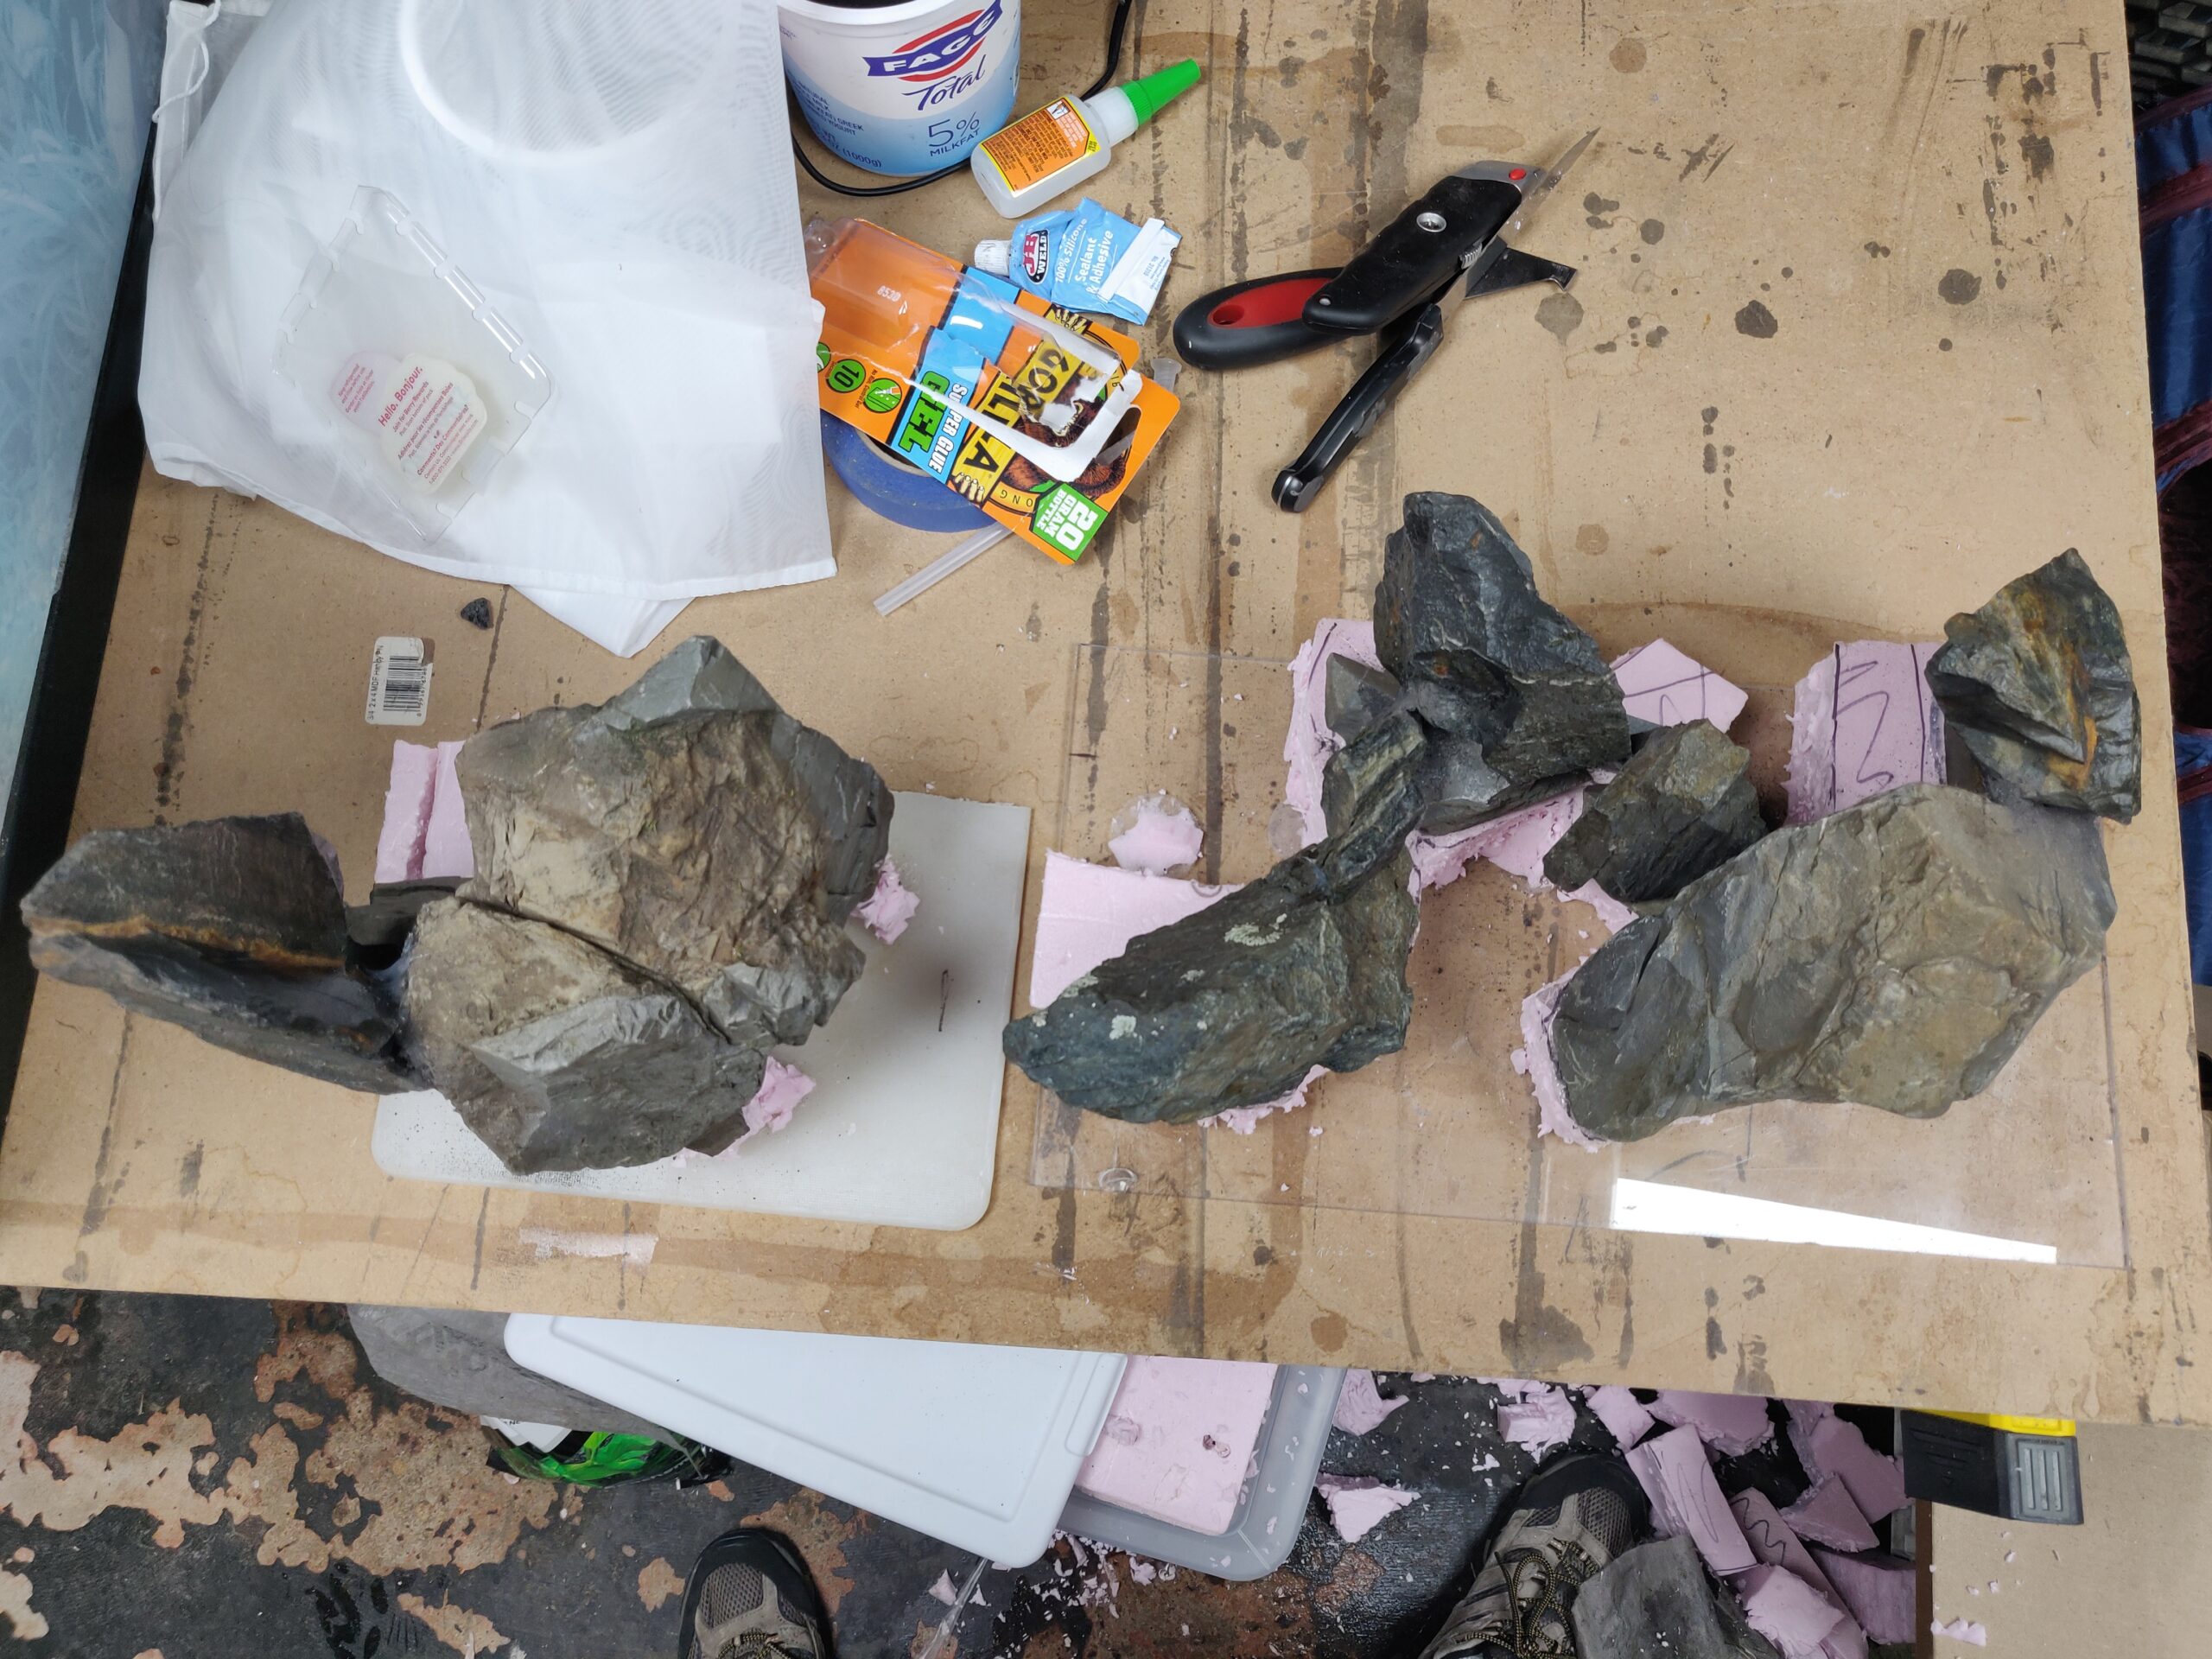
After playing around a bit with the rocks, I found a general layout idea I liked and it was time to build.


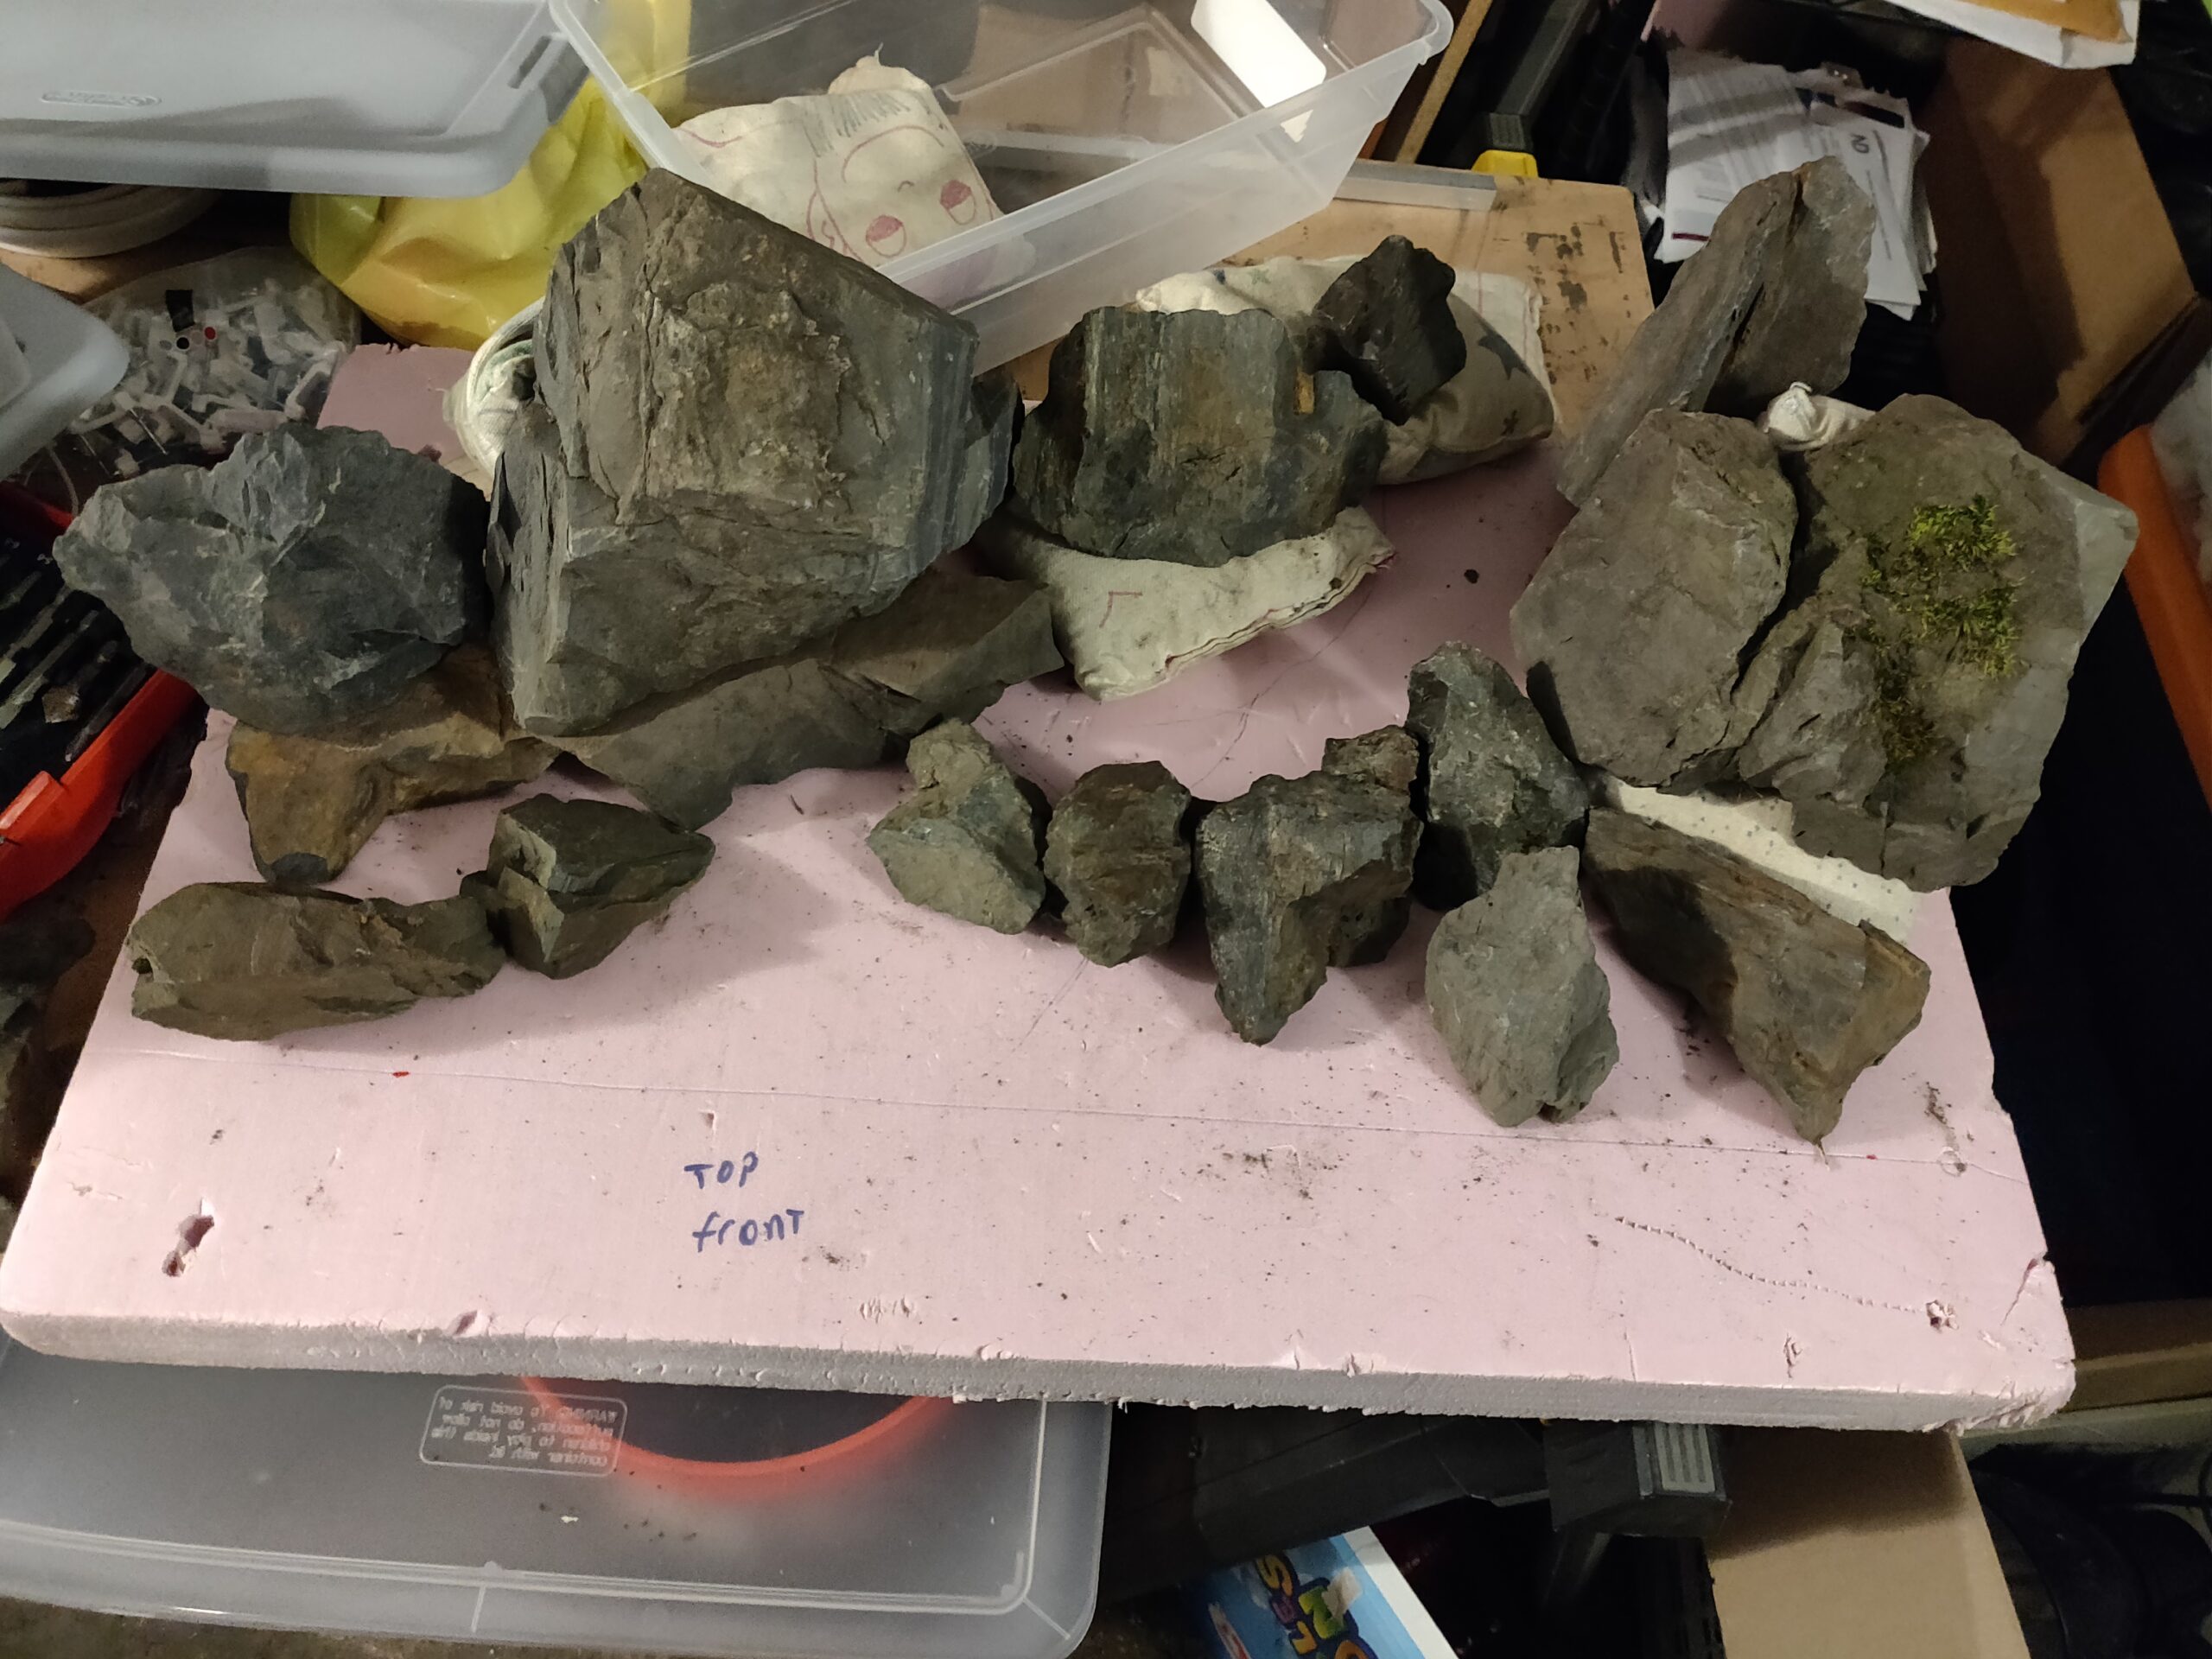
Protip, I drew a rectangle the dimensions of the tank bottom on a foam scrap to play around with layout ideas on the workbench, without having to reach and klonk around in the actual tank more than necessary.
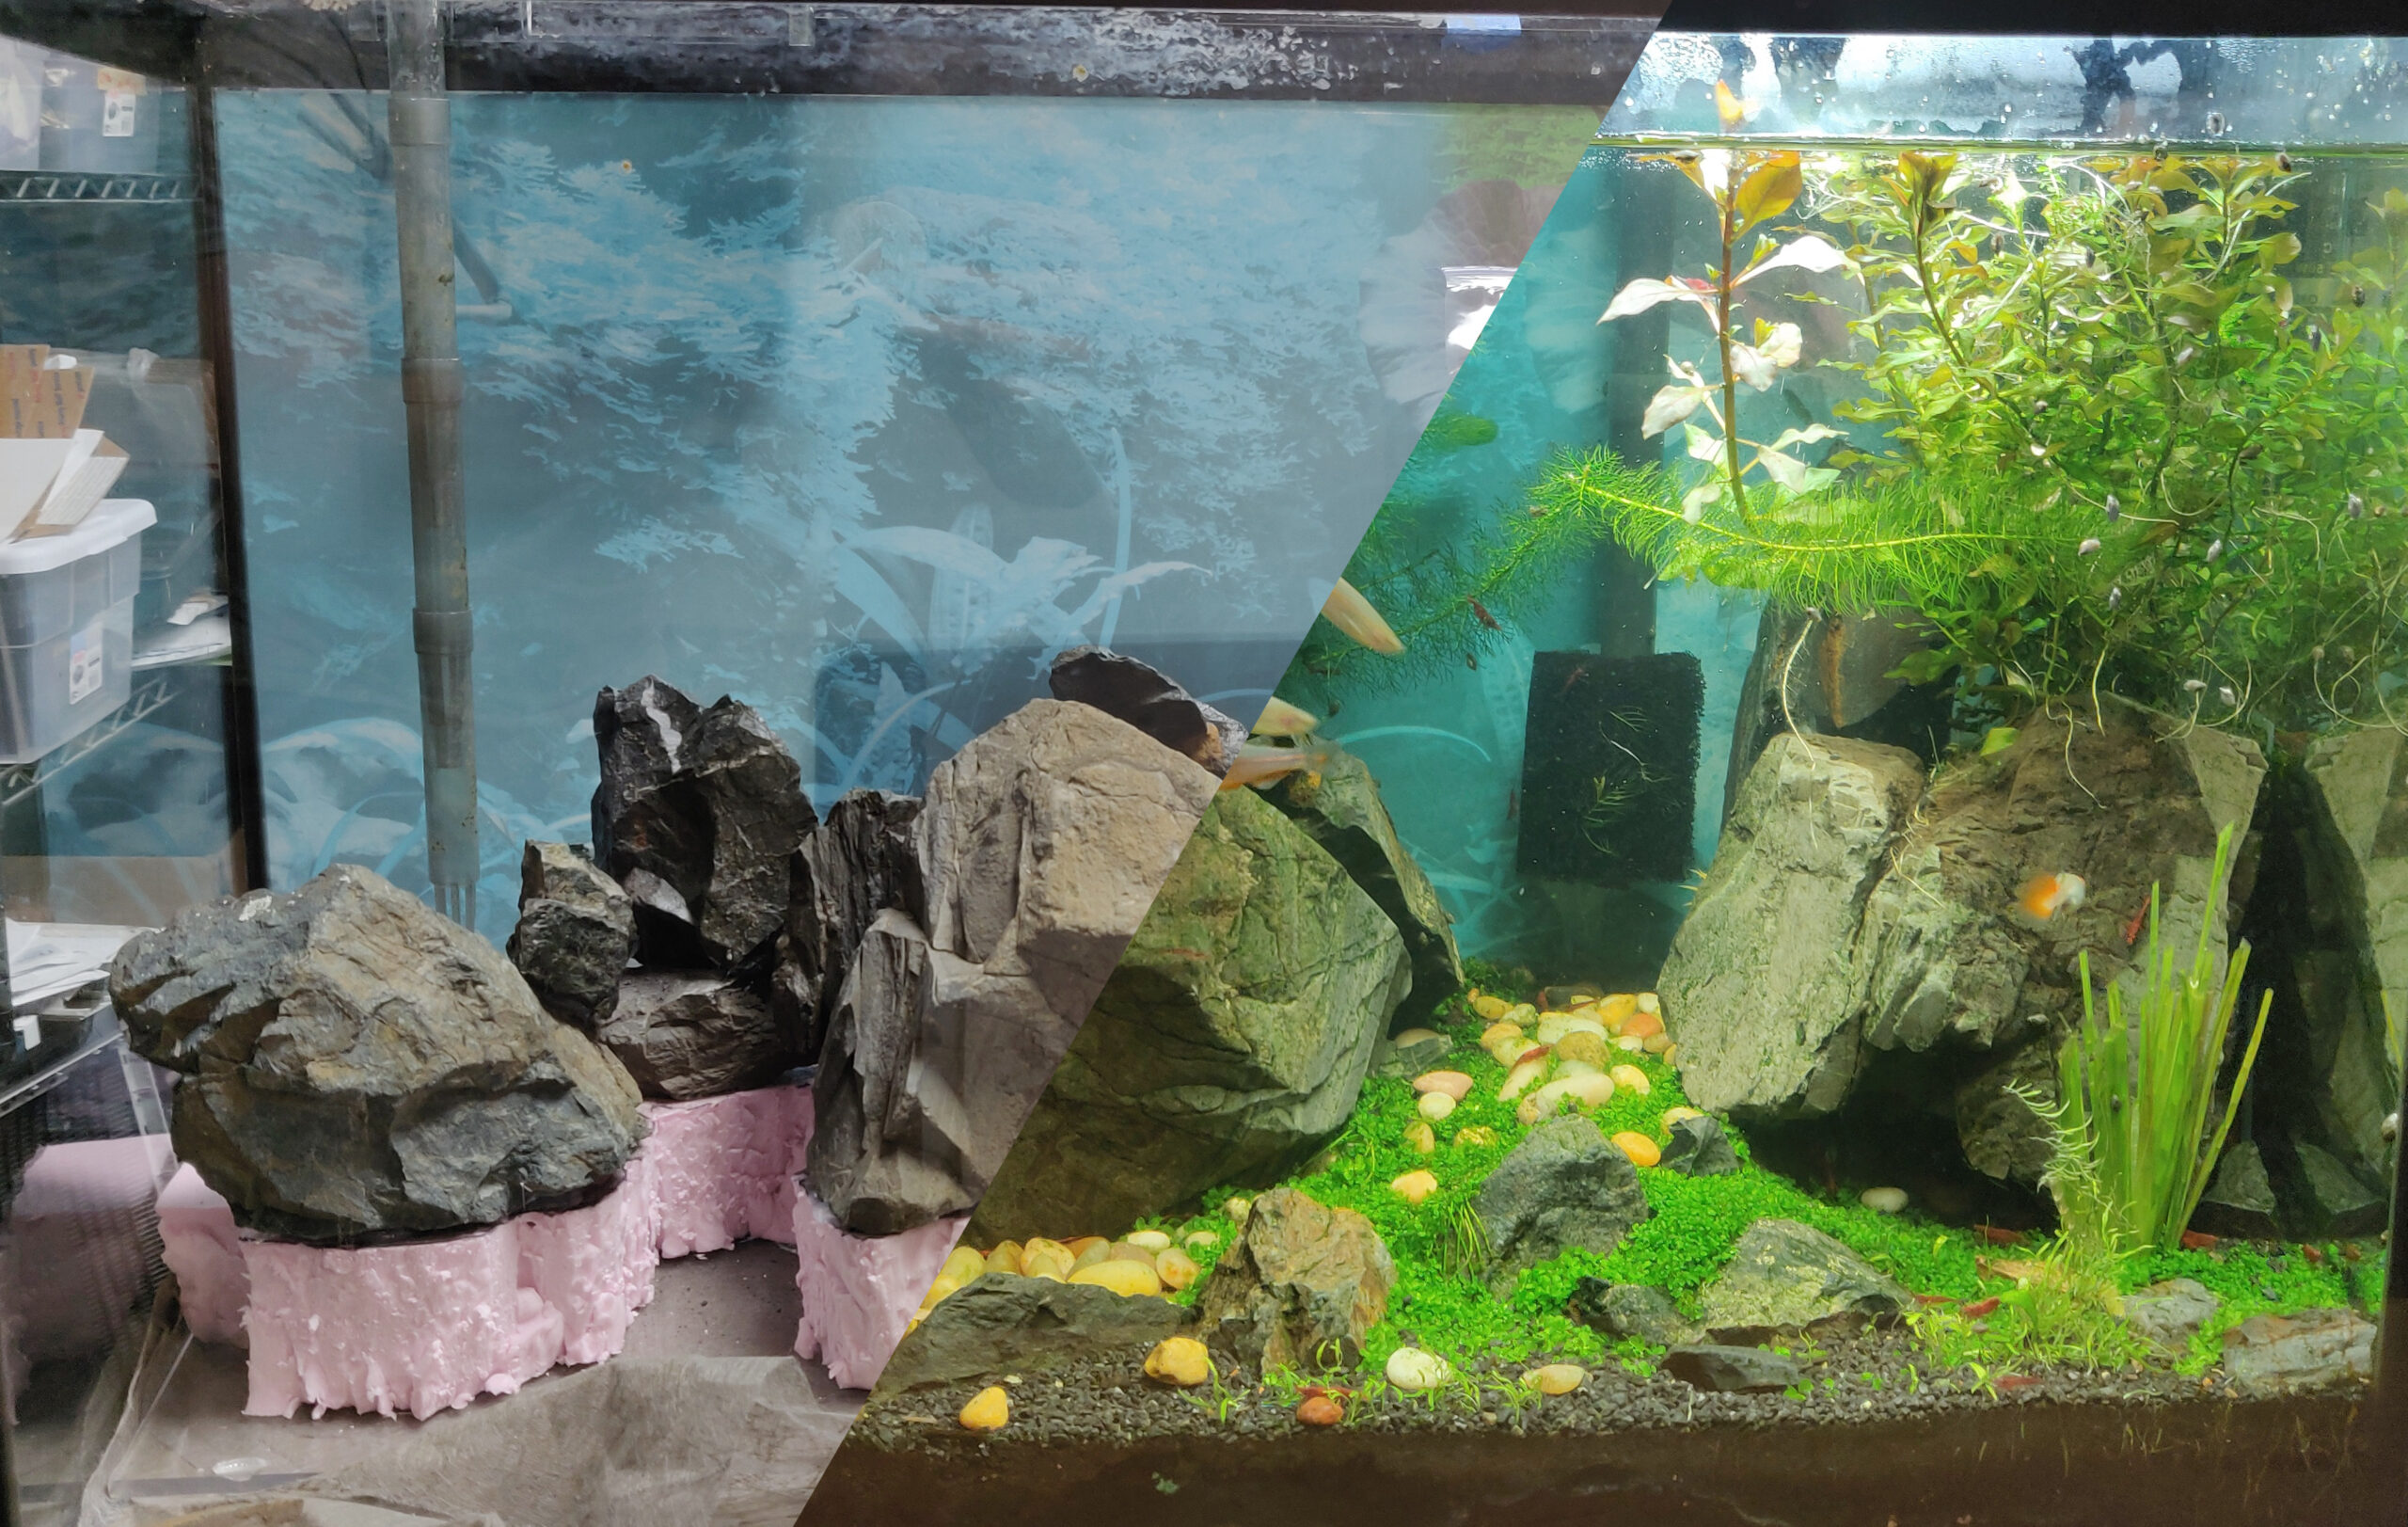
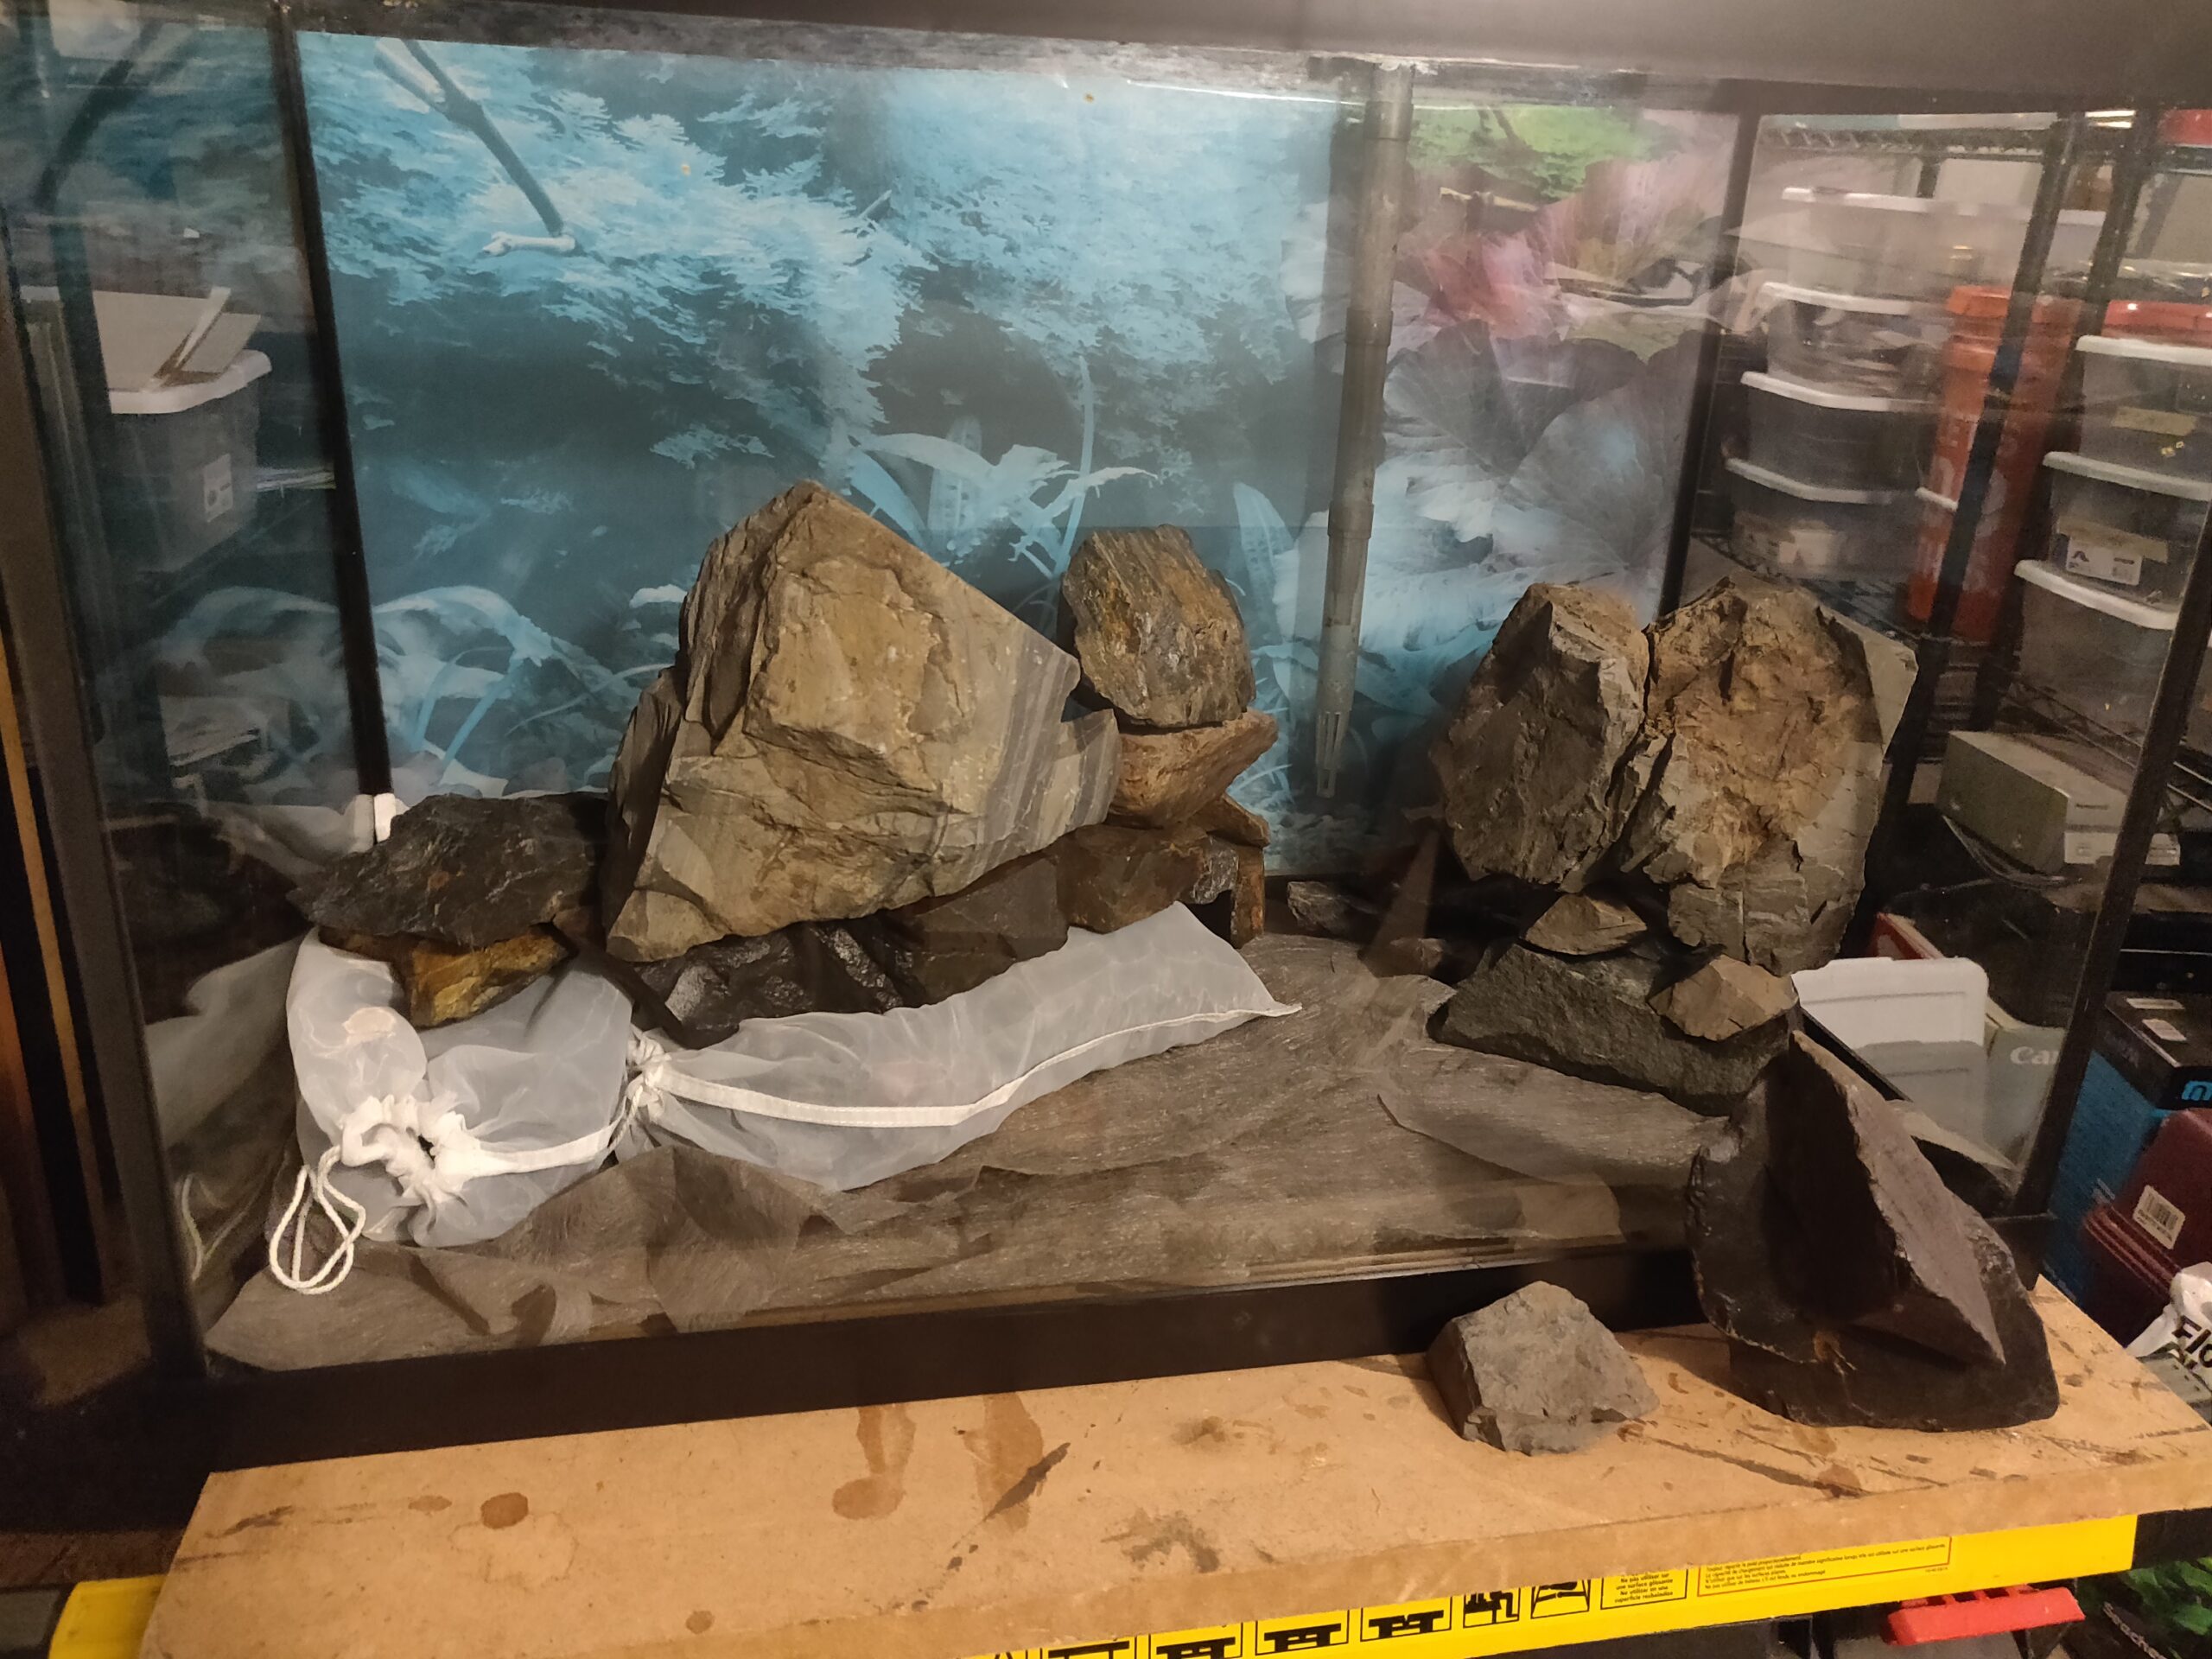
The basic idea I settled on would feature two stone ‘cliffs’ near the back of the tank with a sort of riverbed carving in between, accented by some smaller hand-placed stones. The hardscape proper would begin a couple inches off the bottom of the tank to leave room for a bed of nourishing dirt substrate for the plants to root into. Taller dirt areas would be terraced behind the first layer of cliffs by just placing additional stones to hold back the dirt.
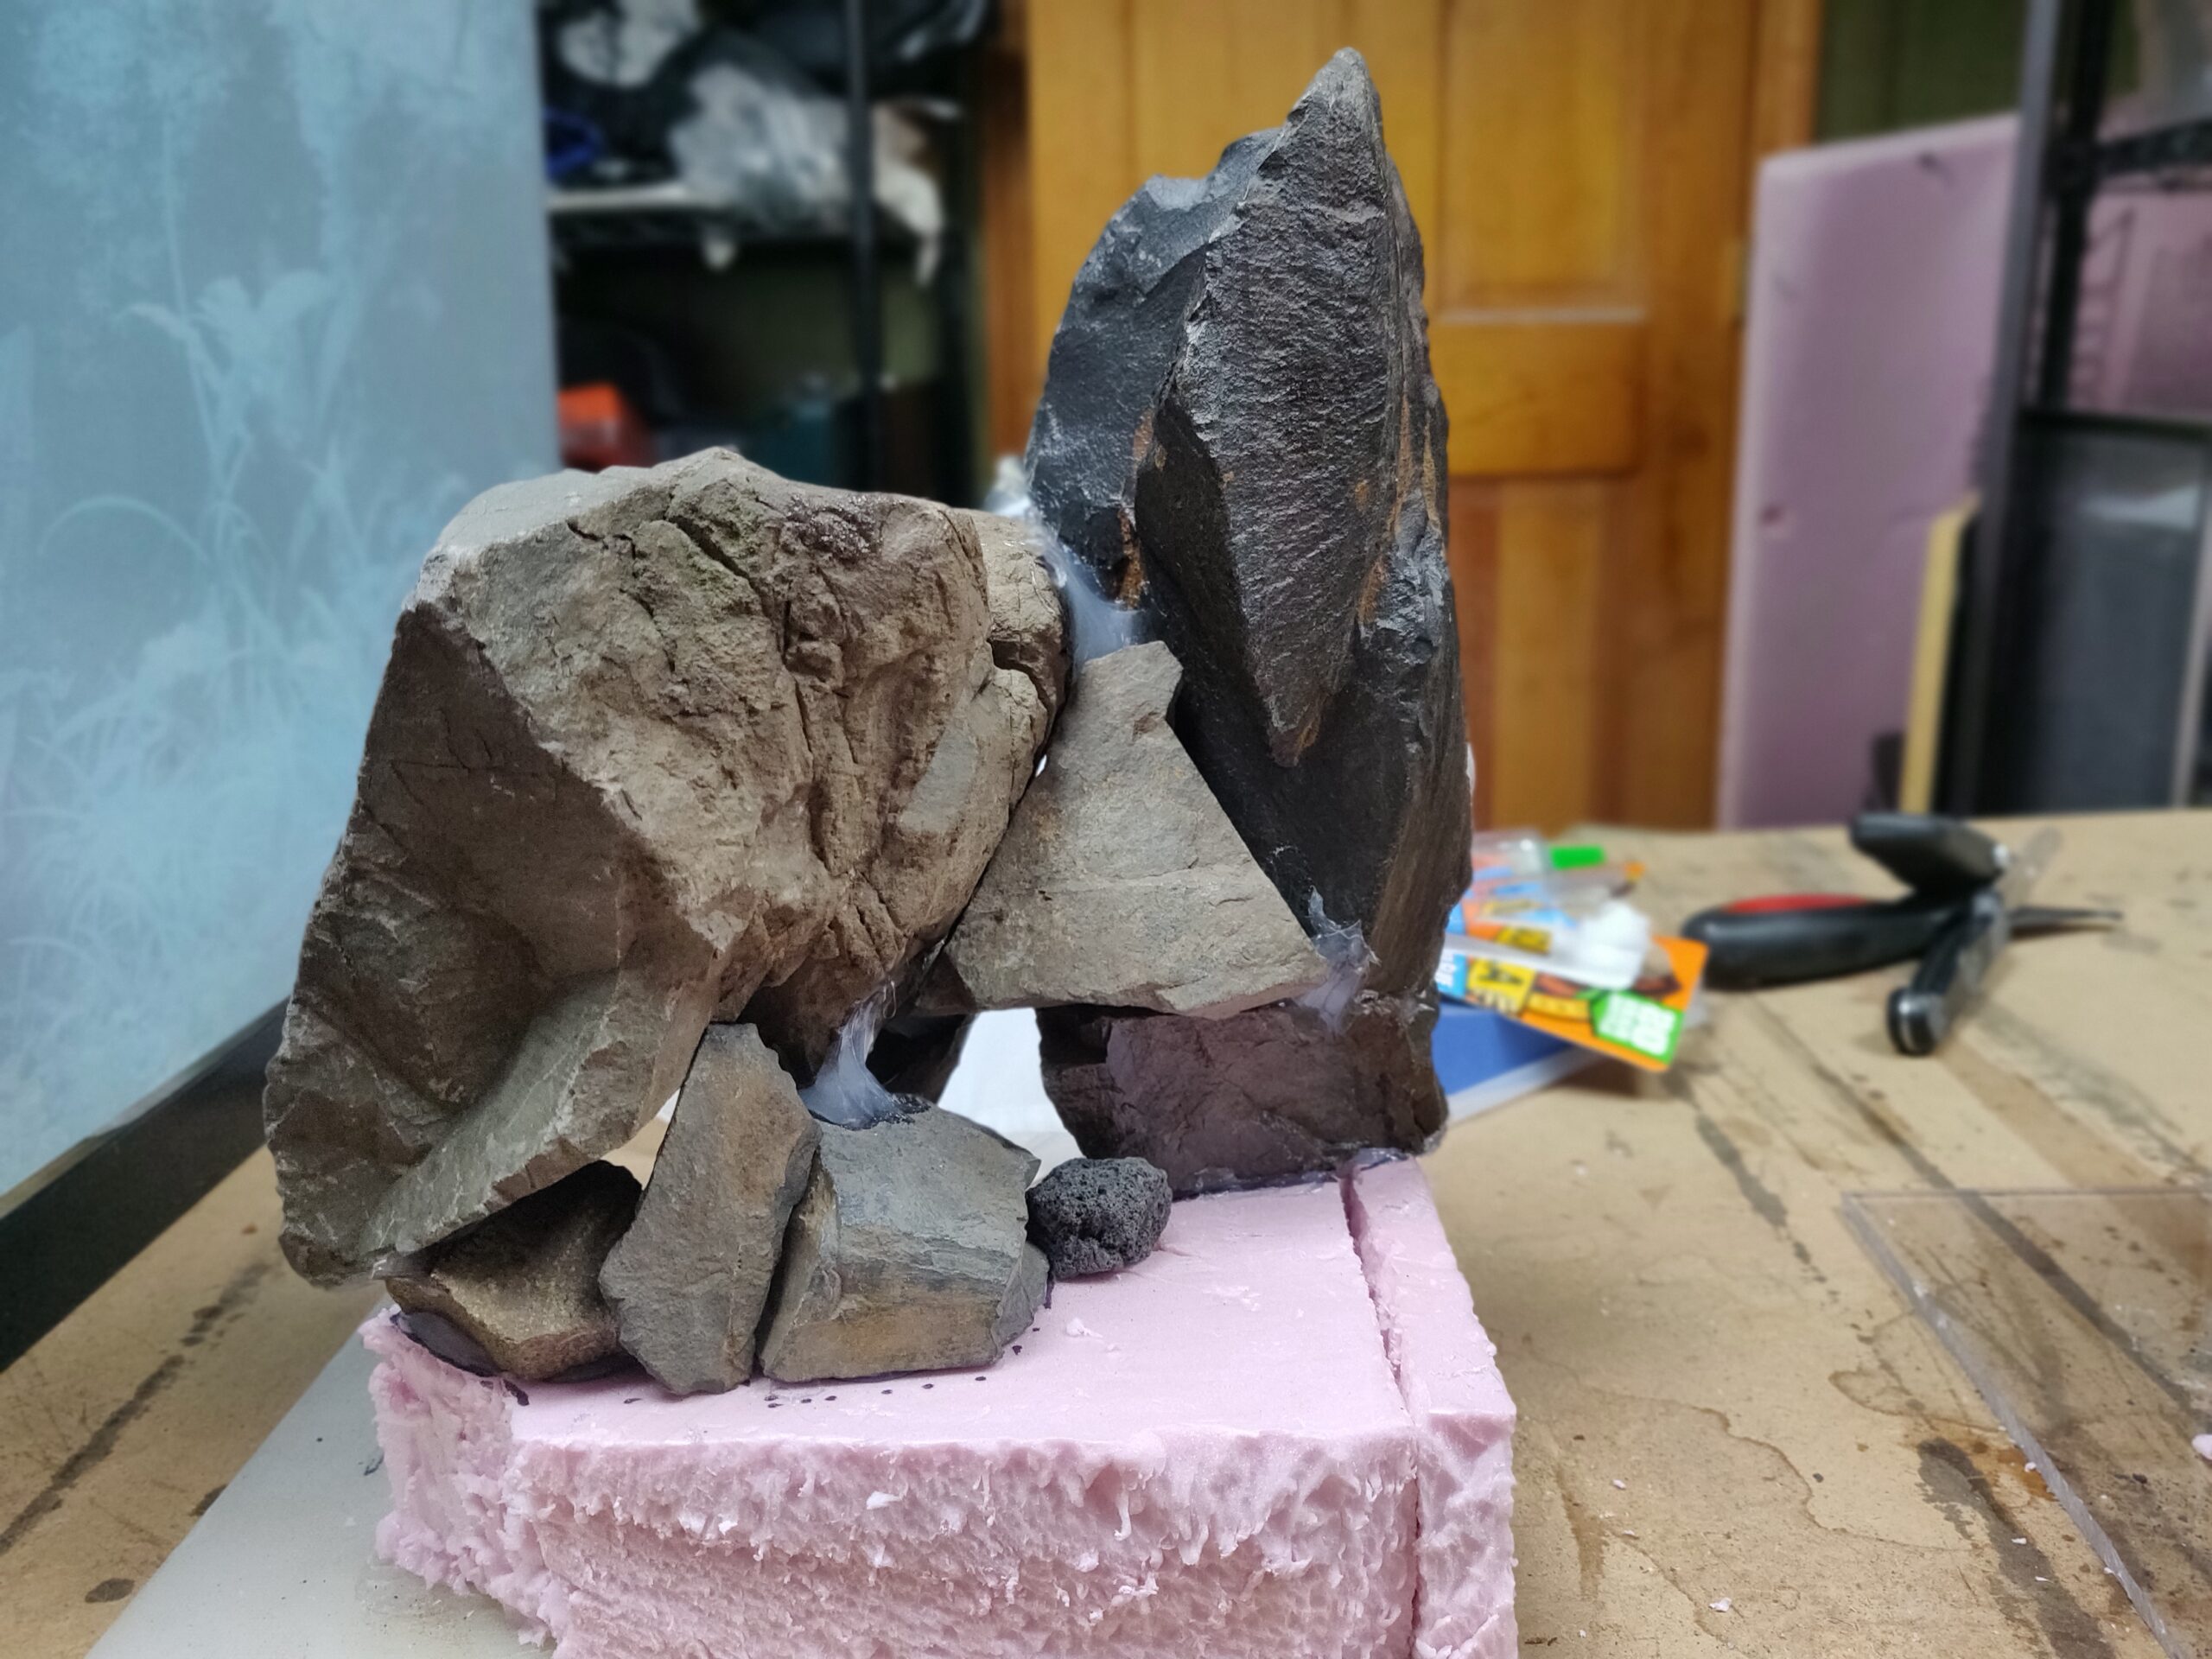
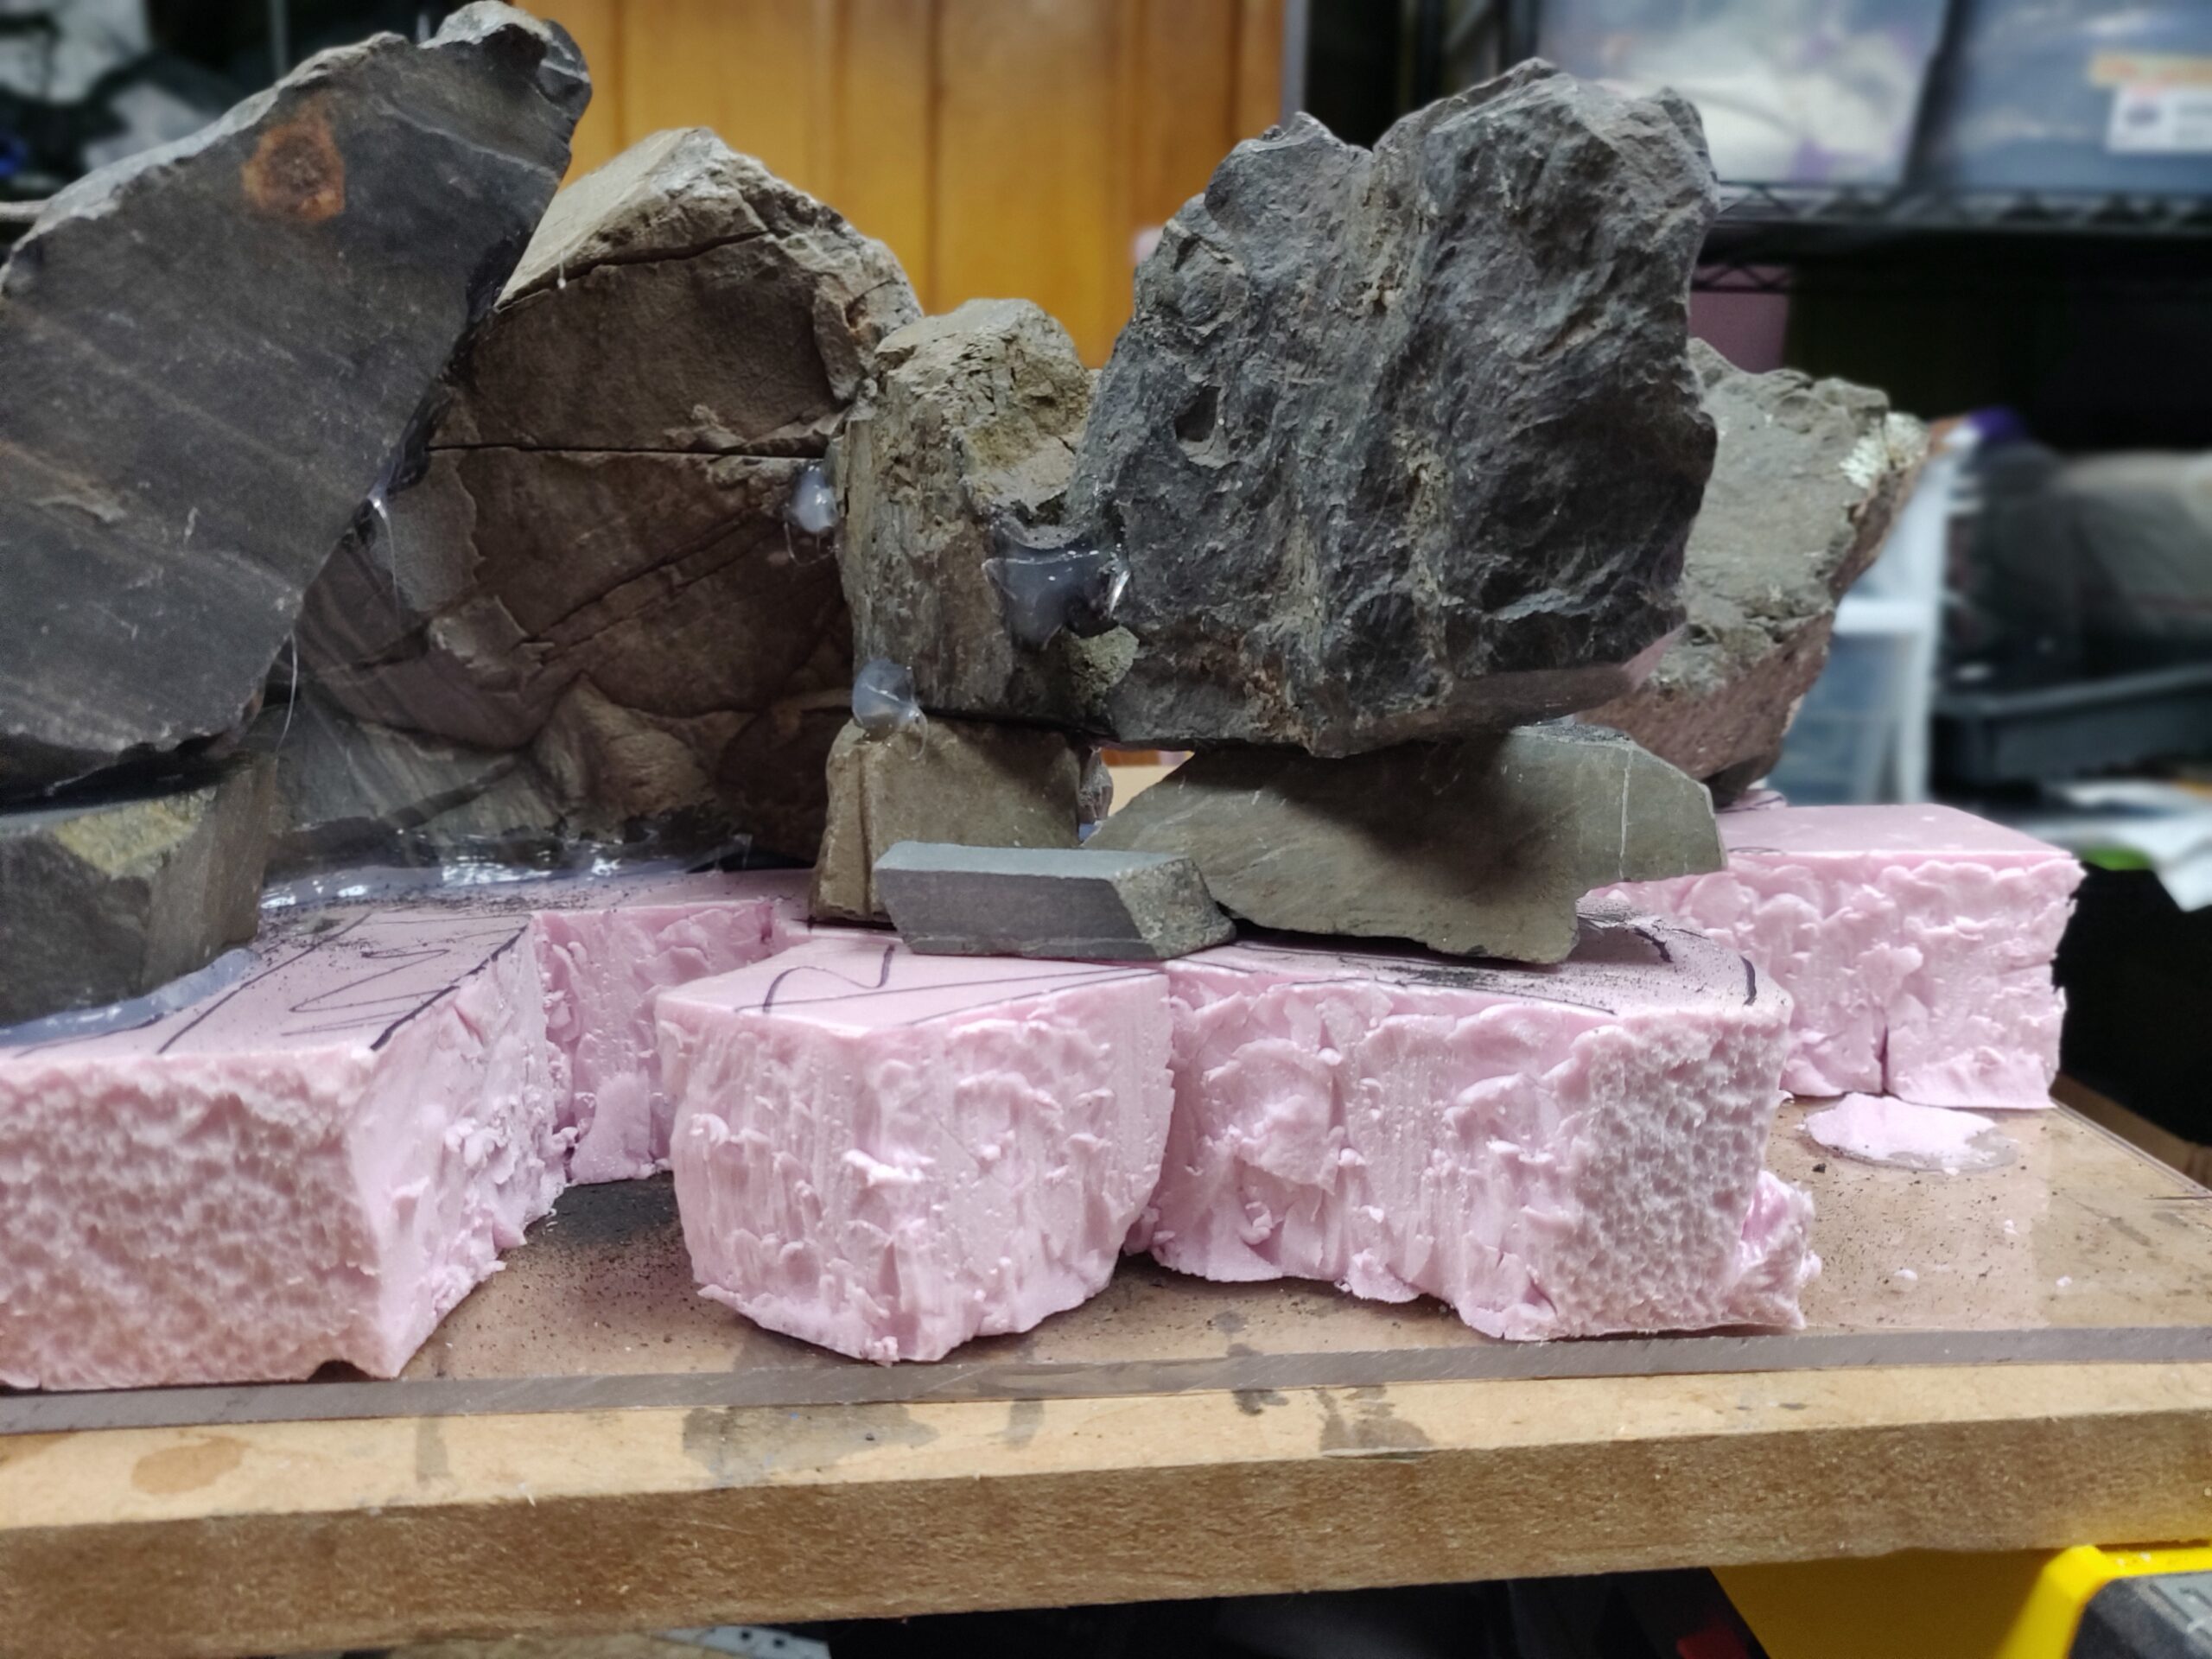
In the interest of working smarter-not-harder, the two sides were built as ‘modules’ with solid bases that could just be lowered into the tank as a single piece later. To make each module, a piece of scrap plastic was cut to the desired size, and a thick piece of pink insulating foam left over from another project was glued to the top of it with RTV silicone to provide some of the standoff height for the dirt & gravel substrate. The foam is just shy of 2″ thick. The first layer of rocks was then glued down atop the foam, and the foam was trimmed roughly to the outline of the rock cliffs. Each module could now be easily placed into the tank as a visual aid and removed for further assembly.


If you are paying attention, you might notice I ended up trimming back the foam even behind the rocks where it shouldn’t be in the way. I did this just to keep a little more water volume in the tank – this area will get backfilled with pumice stones to act as an extra water reservoir and refugium for tiny critters (scuds, seed shrimp and other crustaceans otherwise known as natural fish food).
A quick aside about the materials used here. None of them, including scrap plastics (plexiglass and a bit of probably-polyethelyne cutting board), foam insulation, hardware store RTV, polyurethane, “Great Stuff”, and – depending who you ask – even the rocks themselves, are officially “aquarium safe”, but they’re all pretty inert stuff and the fish have seemed happy enough about it, even years on.
Build proceeded just as you’d expect, stacking and fitting additional rocks and tacking them down with a few hidden globs of RTV. (These needed ginger handling for the time being, but didn’t need to travel much.) Just for fun, I built in a few small caves and a larger one with a secret tunnel for those fish who appreciate a hiding spot. For the small caves, I basically just left (ahem, intentionally of course…) some small gaps where the rocks didn’t quite fit together in the front, and used some more small flat stones to build sort of a box behind each opening. These are sized for basically minnows and shrimp, with the opening small enough to exclude a proper-sized fish. For the large hide, one of the rocks I planned to use already had a concave bottom and a naturally cavey shape, so I pretty much just used it as-is, propped up a bit with smaller stones that would be hidden by the substrate.
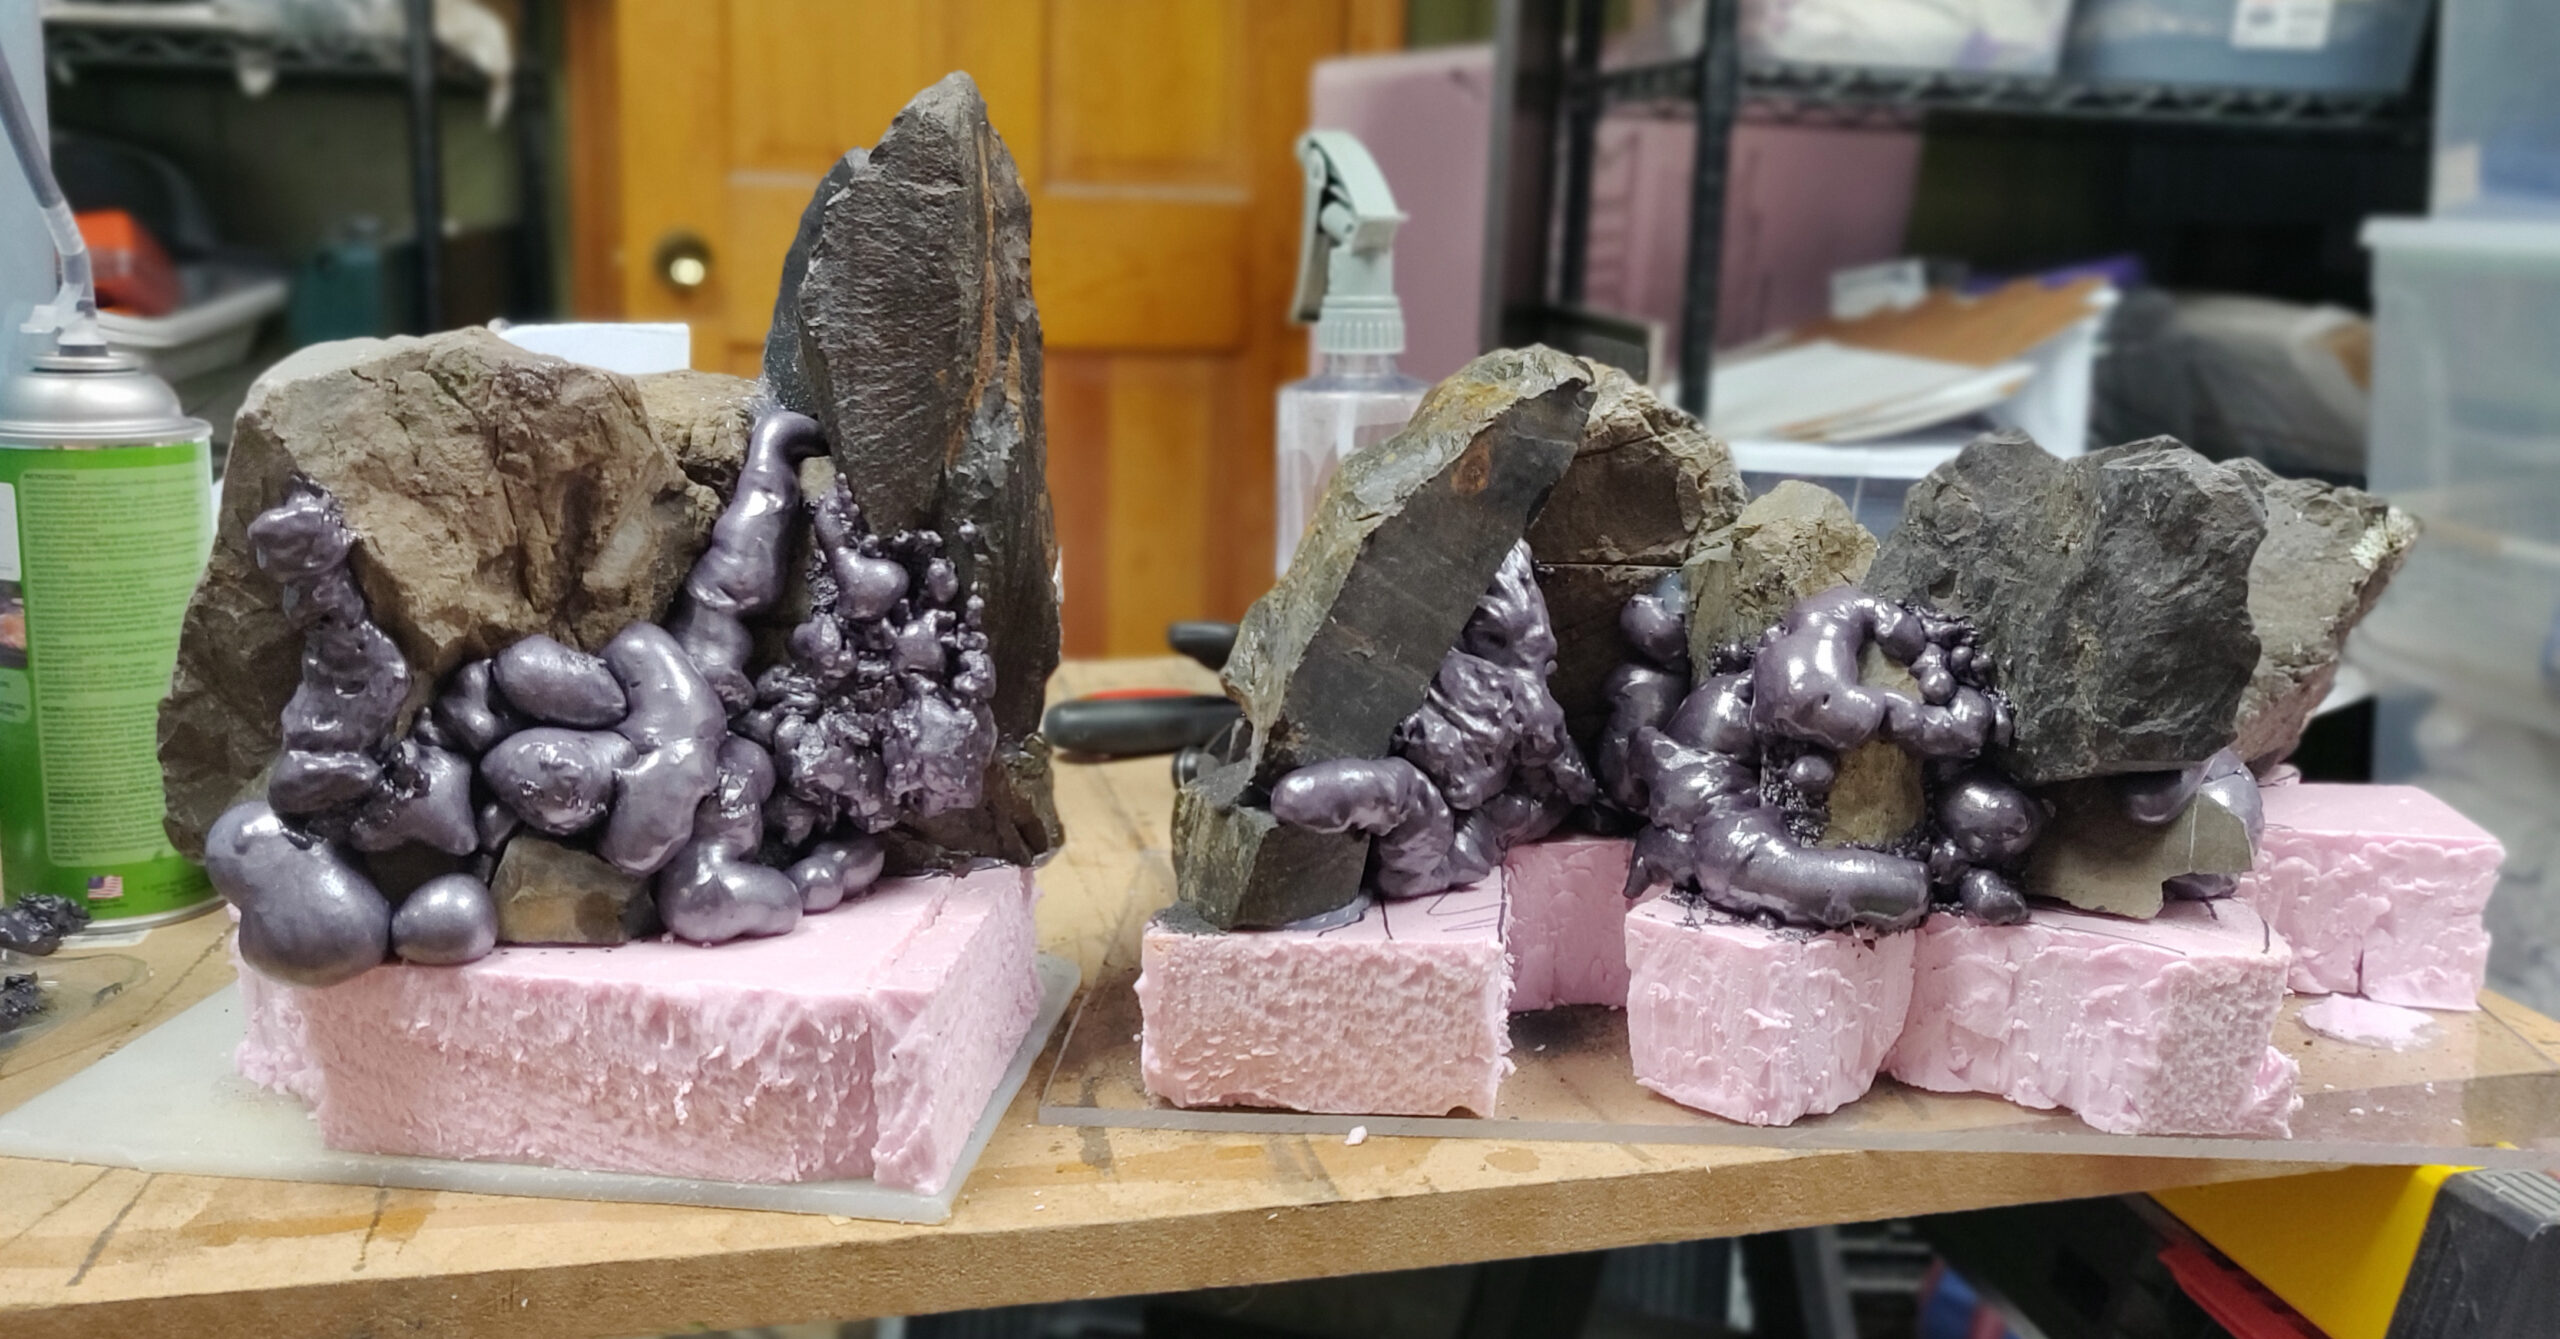
Finally, I squirted a layer of dark gray expanding foam (Beckett “Waterfall foam sealant”) on the backside of each module to unobtrusively close up any gaps in the rockwork and add structural stability. I fibbed a bit earlier; this product is specifically sold as safe for fish and ponds. I’m not sure if its composition actually differs from the usual tan expanding foam other than color, but the dark color alone was a win.
Lesson learned, I had never used expanding foam before and, whoa nelly, a dab’ll do ya. What looks like not-nearly-enough will continue expanding to holy-hell-that-is-way-too-much over the next several minutes+, which culminated in another round of trimming away excess foam.
Assembly
Finally, time to install the cliffs, add various substrate and plant it up. Main supplies used:
- Weedblock fabric scraps
- Dirt (bagged organic potting soil, to avoid the fine silt in my backyard dirt)
- Onion bag material (I don’t know an official name for it, but the meshy plastic bag material onions are sold in. Don’t ask me why.)
- Seachem Fluorite Black (small black pumice-like gravel)
- Pea gravel (“decorative” vase stone, really just smooth pea gravel lacquered to look like it’s actually polished stone; “not for aquarium use” in tiny print for this reason, but a vigorous shake in a jar with water takes the coating off)
- Pumice stones (backfill for the cliffs area)
The dirt was soaked for a few days in a bucket of water, then lightly squeezed and the liquid poured off. This both leached out some of the ‘Boston Tea Party’ effect of the soil mix turning the water dark, and allowed any Perlite in the mix to float to the top and be skimmed off. (As a bog and aquatic plant grower, I’ve concluded Perlite is a scourge on society that occasionally has its uses).
The Fluorite required no special treatment other than a quick rinse & pour-off to get rid of dust that might otherwise cloud the water. The schtick of the Fluorite product, one of the few things I bought specifically for this project, is that it is an inert, hard clay-based mineral material that does not break down over time, but gradually ‘absorbs’ and traps nutrients in its porous matrix and makes it available to plants. Whether this is meant in more the activated-charcoal sense or more simply that fish poop will sift down into it, I’m not sure, but it has remained as intact and gravelly as new rather than turning to mush like many clay-based substrates.
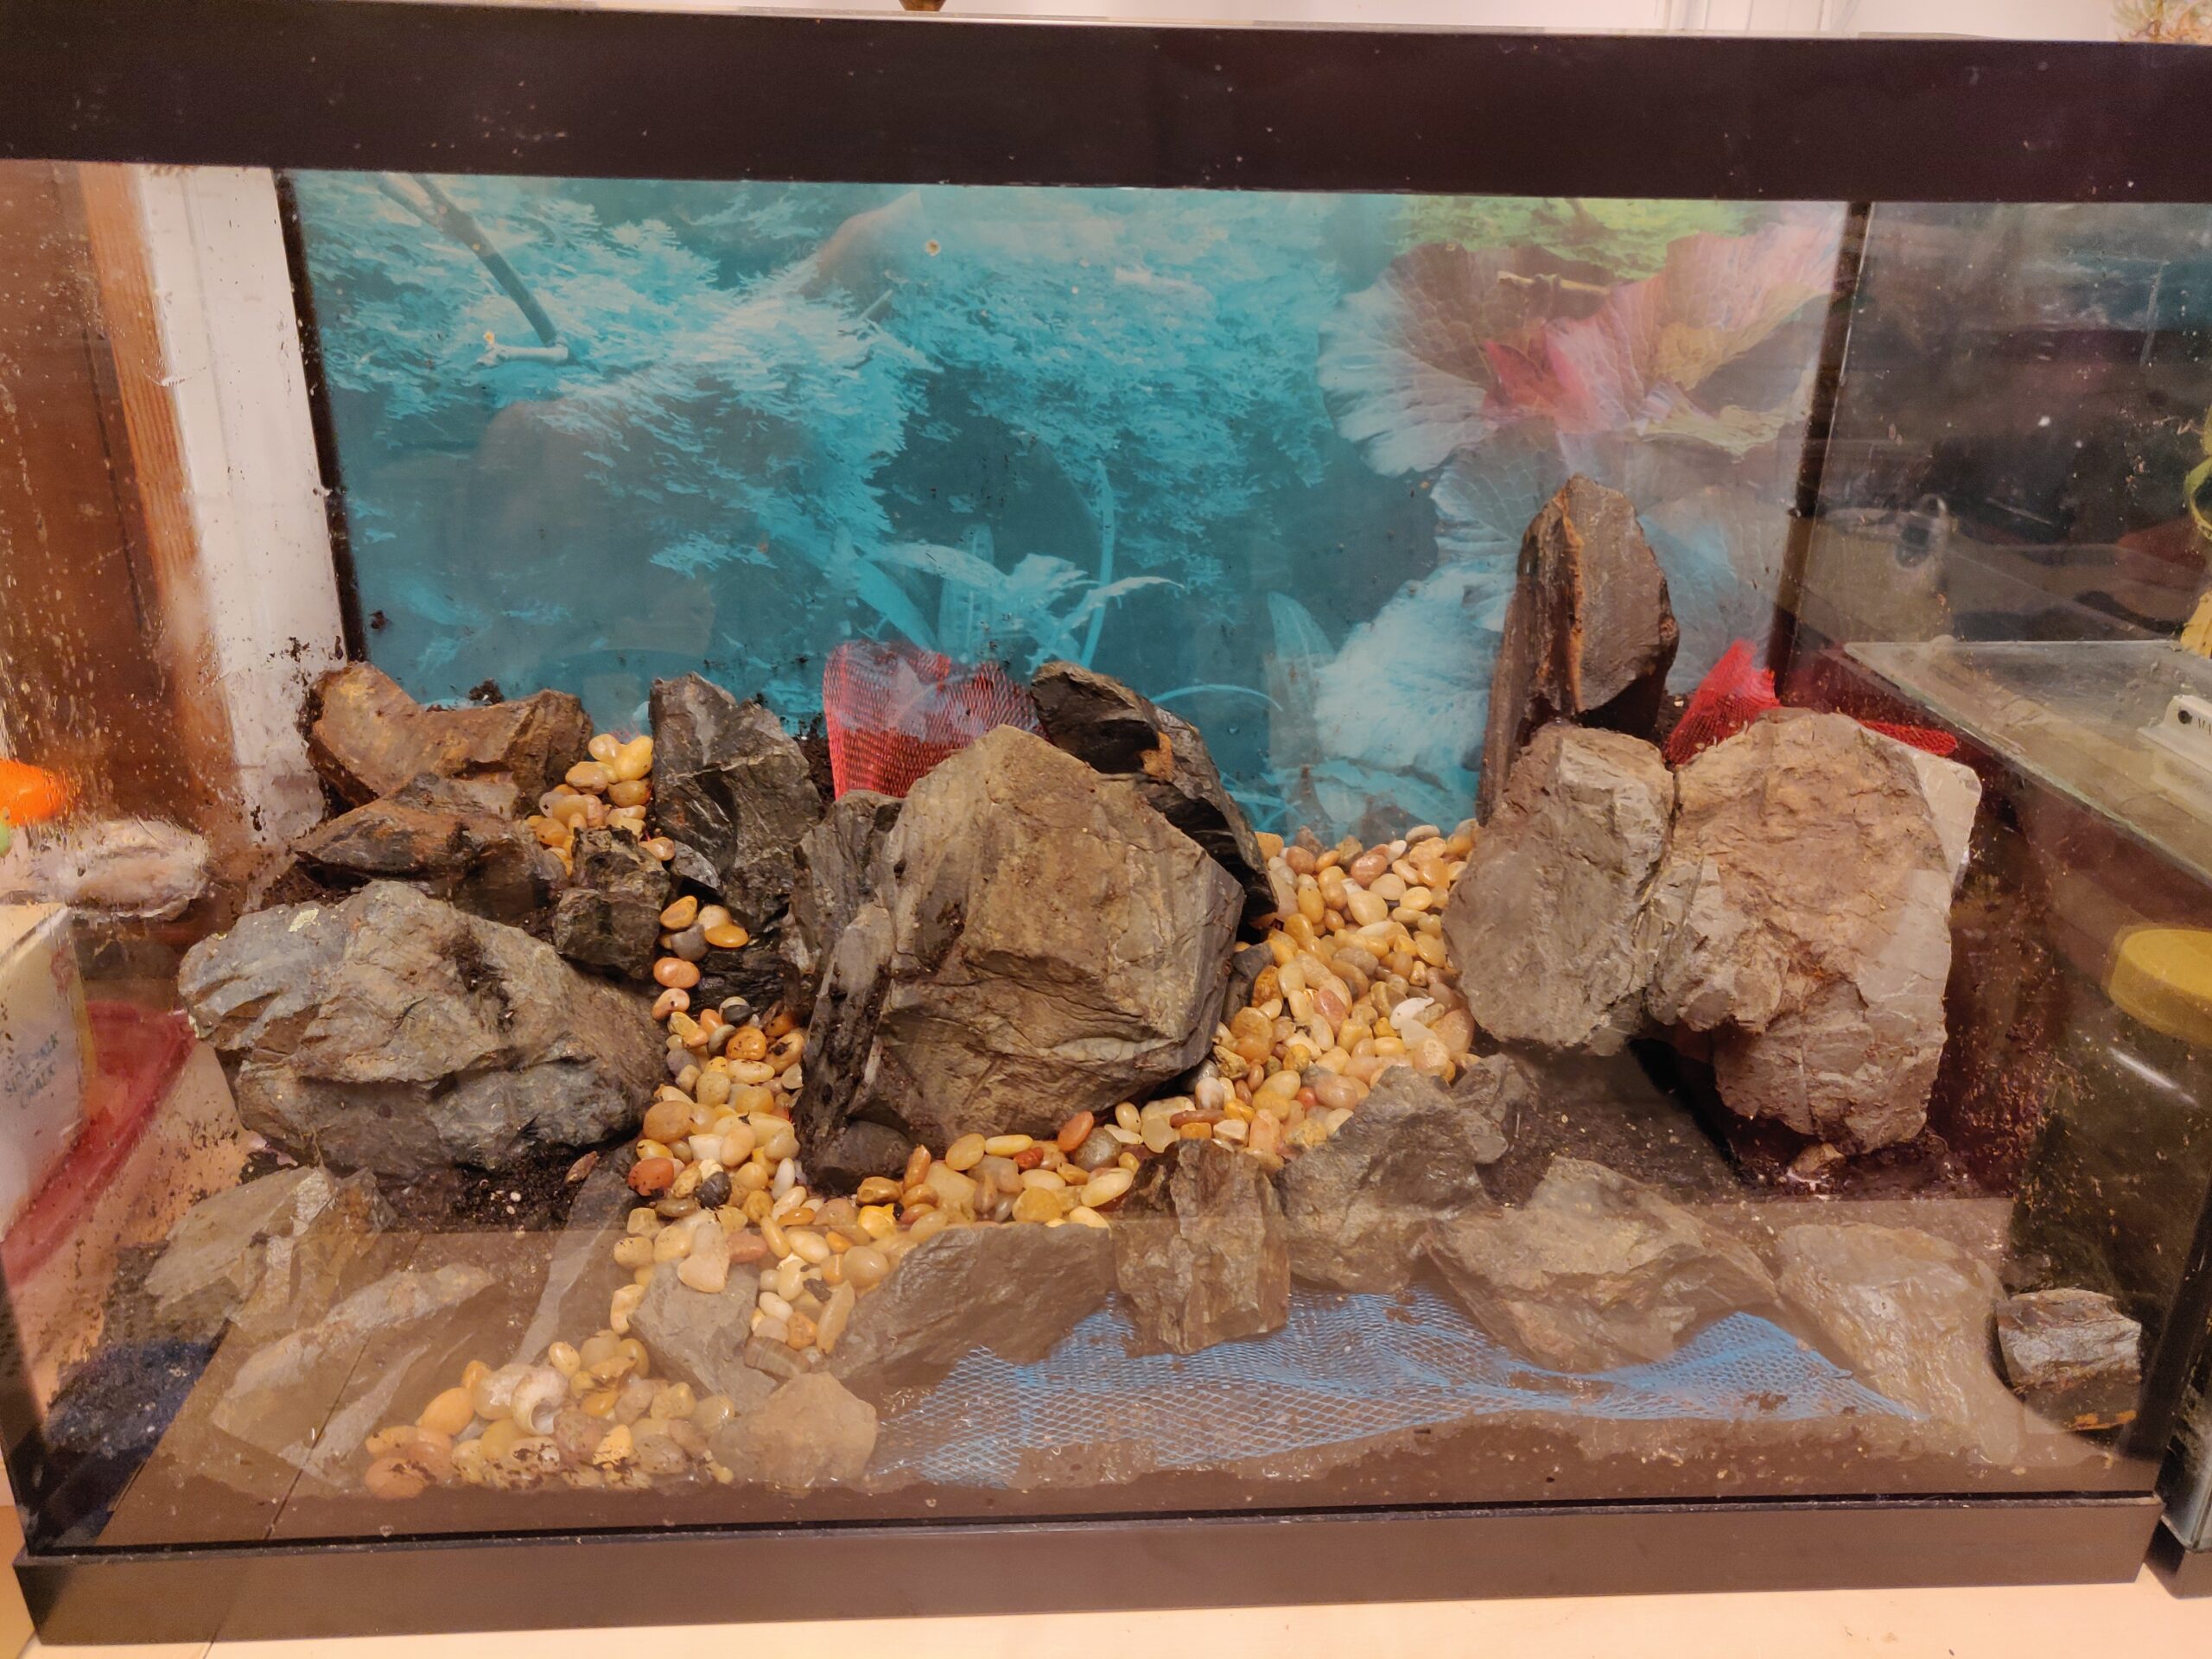
First, I put down a couple layers of weedblock fabric against the bottom of the tank just to prevent any small rocky bits or sand grains from being trapped against the glass later under heavy objects and creating a pressure point. Next, the cliff modules were placed in, easy peasy. Then, for the foreground area in front of the cliffs, an initial layer of dirt was packed down to just cover the pink foam risers. Additional foreground stones and dirt were placed to add a bit of detail and height variations.
Now, a detail that I wasn’t sure would end up being clever or stupid, but it ended up working quite well. “Dirted” tank plans always advise to add a layer of gravel, sand or other heavier substrate over the dirt to look prettier and – mainly – keep the dirt from being churned up and mucking up the water. I used the Fluorite and pea gravel for this, but first, cut pieces of onion bag to the approximate shape and laid it on top of the dirt before adding the fancy substrate. The idea was to limit the fancy substrate sinking into the dirt and getting mixed up by fish & maintenance activity anyway, while having large enough holes for any plant roots to find the dirt without trouble. After a few years, I can say this worked great and has survived myriad ham-handed pokings, gravel vacuuming and a very busy Pleco that digs up and moves everything.
For the ‘riverbeds’, same idea except instead of Fluorite, a thick layer of the pea gravel was used, with just some small Fluorite accent bands along the edges. My naïve assumption was that a carpeting plant would prefer to grow in the Fluorite and not be able to root or find nutrients in the pea gravel, creating a plant border along the edges. Stay tuned for how that turned out.
Another bit of common advice for dirted tanks is to limit the depth of dirt to 2-3 inches, or “about as tall as a credit card”, to avoid creating large anaerobic pockets. For the background areas behind the cliffs, I first backfilled the space with pumice stones to the desired height, tucked a piece of weedblock over it to form a ‘cup’ against the stones and back glass, then added the dirt on top. This also worked well, with the idea being to limit the dirt depth and keep it from falling down into the backfill. Here, I was not as worried about letting roots get down to the pumice stone, but I assume if that’s where they want to be, life finds a way. Again, these were followed with a patch of onion bag mesh and a decorative substrate. And as before, some additional stones and dirt were laid up on the base ‘cliff’ module to add a bit of terracing here and there.
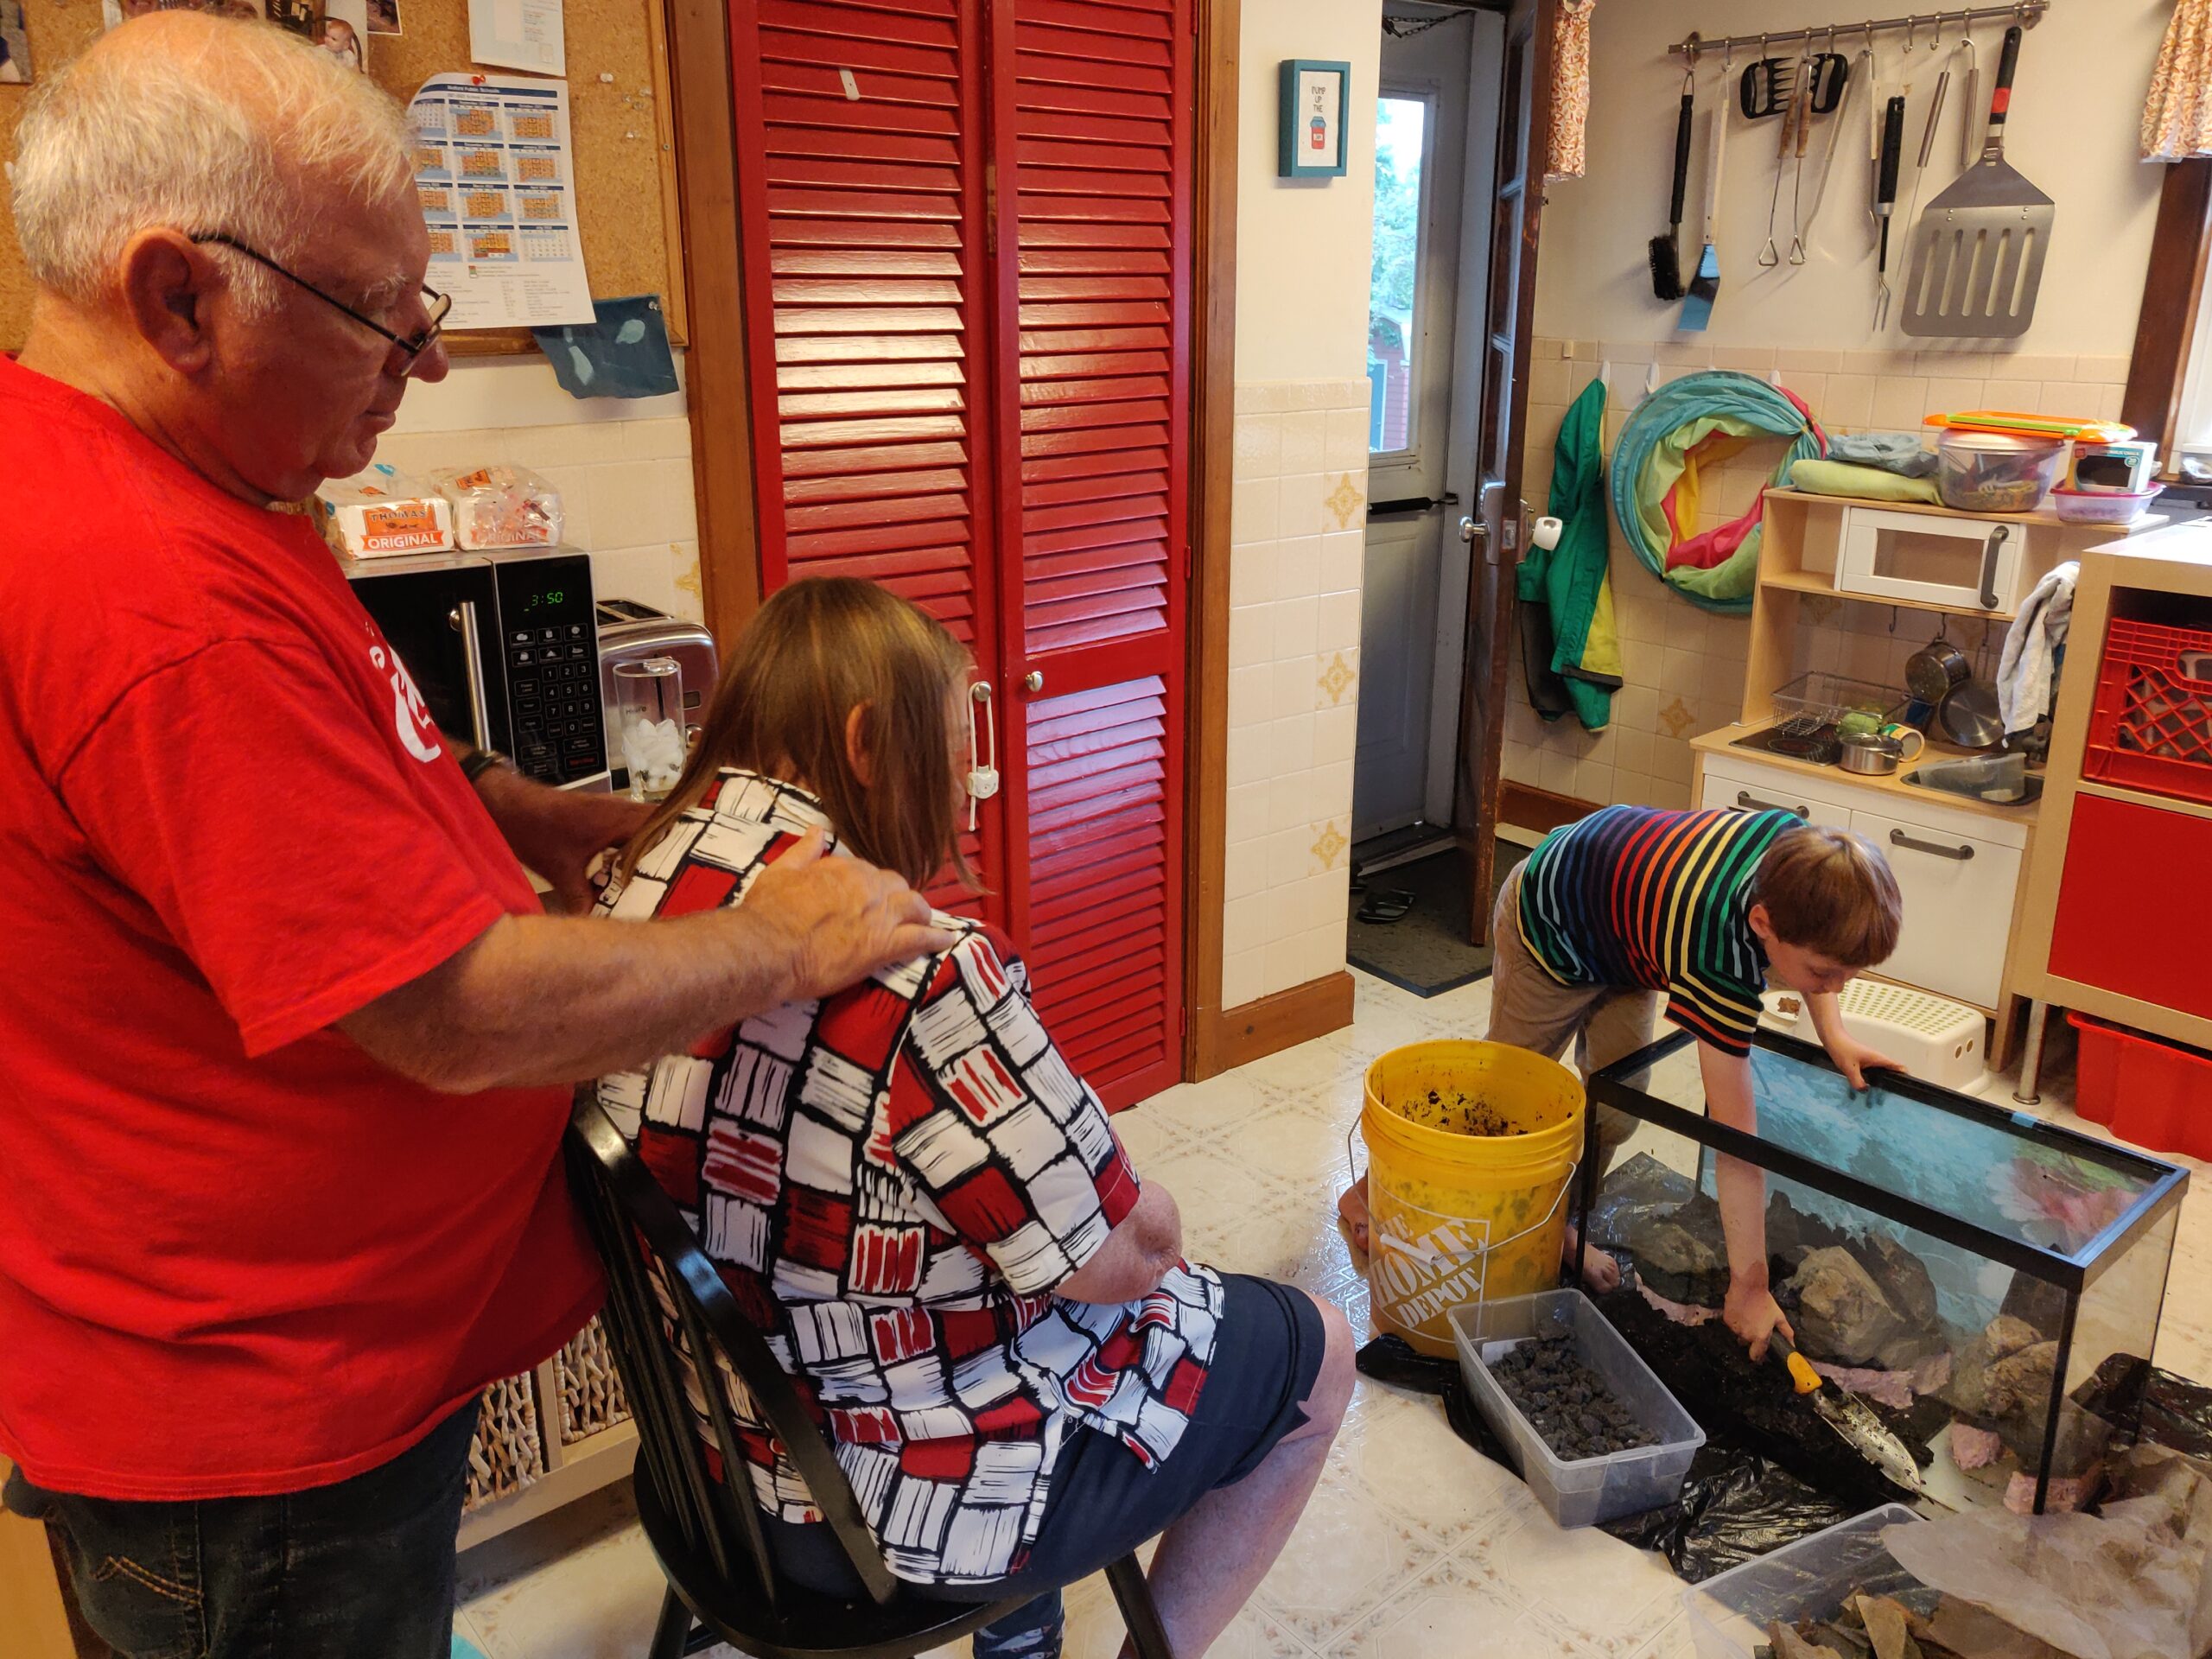
Oh, yes, and… work smarter not harder, remember? I had an enthusiastic helper to do all of the literal dirty work and impart his own tweaks to the layout.


Adding Plants
The “final” set of plants worked out to be:
Foreground/Midground:
- Utricularia graminifolia (UG) & Utricularia livida (bought online), stemming from a previous experiment
- Micranthemum ‘Monte Carlo’ (similar to ‘HC Cuba’ but easier to grow…kind of a weed actually) (bought online)
- Mystery marsh grass (found)
Background:
- Marsh Purslane (Ludwigia palustris) (found)
- Mystery frilly stuff (likely Hottonia palustris or some flavor of Limnophila) (found)
- Mystery tall spindly Ludwigia-like plant (found)
Since I had most of these plants already growing out emersed (above water), I tried doing a ‘dry start’ of the tank to establish larger plants faster. This is pretty much what it sounds like, leaving the tank simply wet but not full of water, so the plants can breathe air, which contains a lot more CO2 than water does, and grow faster. For the most part, plant hunks were simply laid along the substrate or gently poked into it, then a bit more substrate was poured over them to keep them in place. Per usual, short stuff mostly in front, tall stuff mostly in back, although the bit of marsh grass made for a nice foreground accent and I left it there.


After approximately 5 weeks of hanging around in the ‘dry’ (wet-but-not-submerged) tank, the plants are starting to look established and I’m also getting impatient. Time to flood the tank!
The drawback to the “dry start” is this kind of creates an ugly mess of the plants as they adapt from growing in air to growing in water (mainly by all their air-adapted leaves dying off as new, water-adapted ones grow). They seemed to bounce back, mostly. A couple of the mystery plants, including the frilly stuff, hung on for a while but eventually died off.
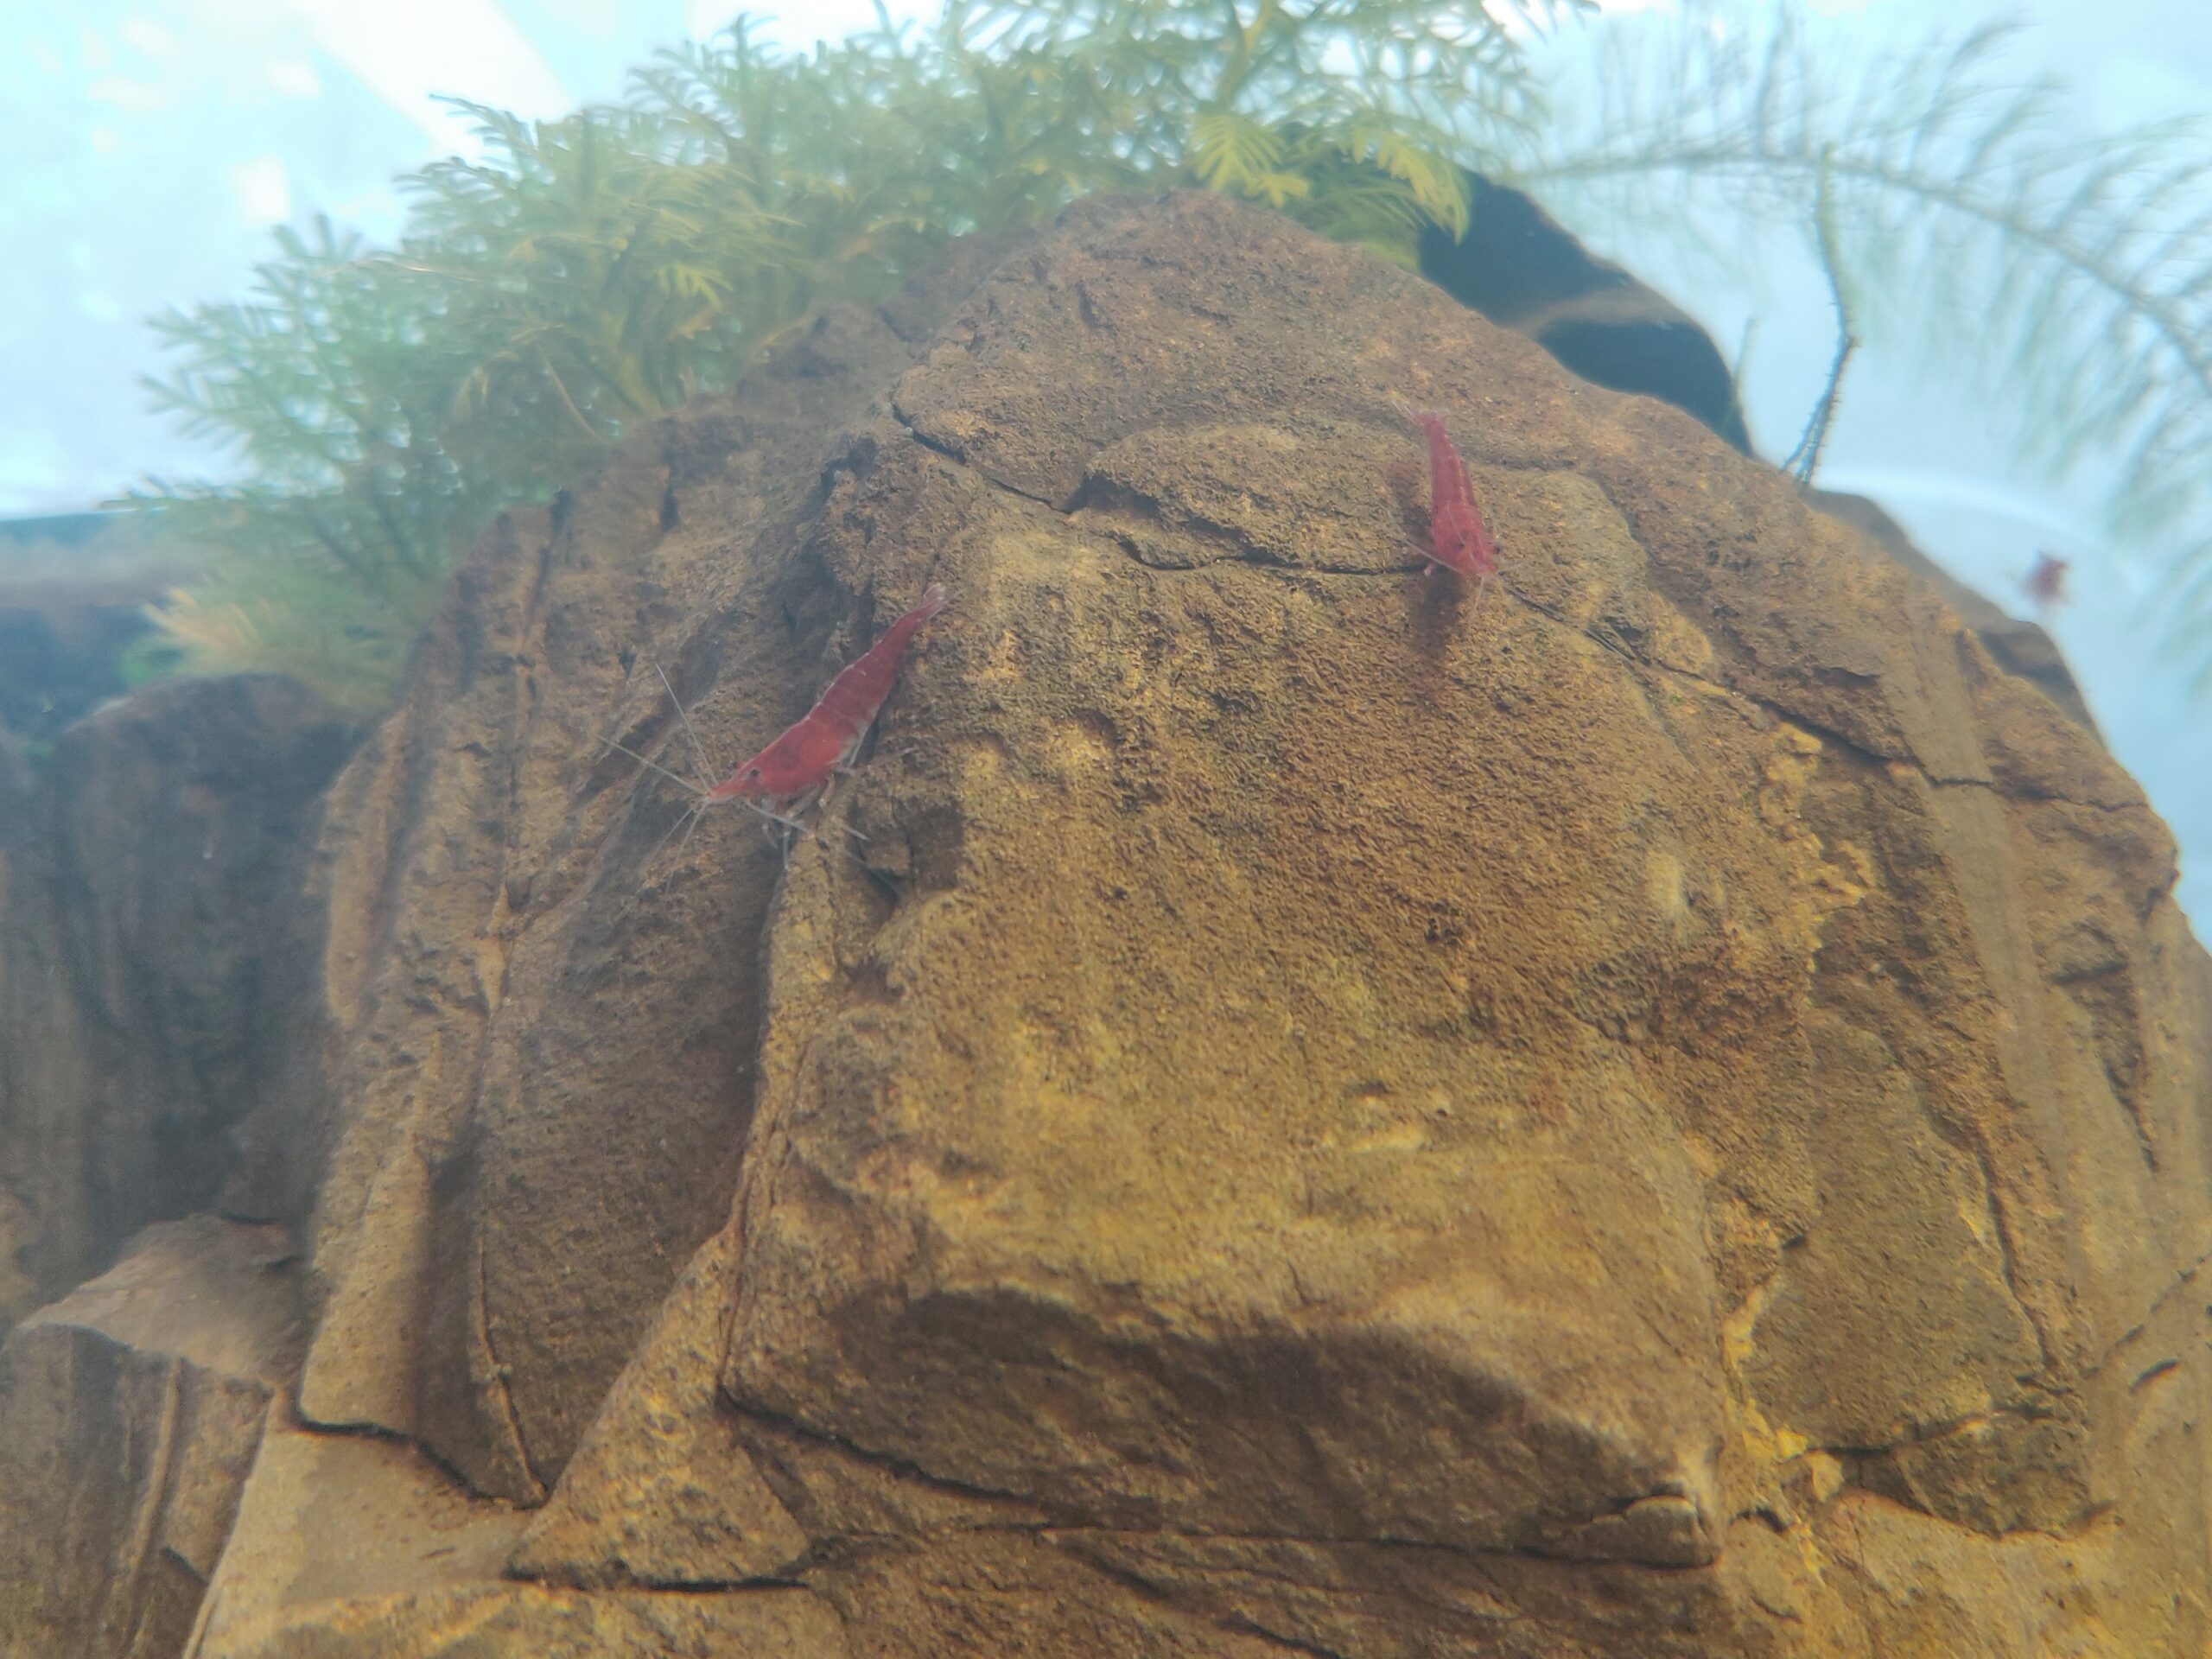
Once the plants were visibly recovering and nitrogen-handling bacteria had time to establish, some livestock were gradually added. This included one bristlenose pleco, some cherry-shrimps-by-mail, a couple geriatric neon tetras, 8 million snails (oops), a handful of danios and “a couple” guppies.

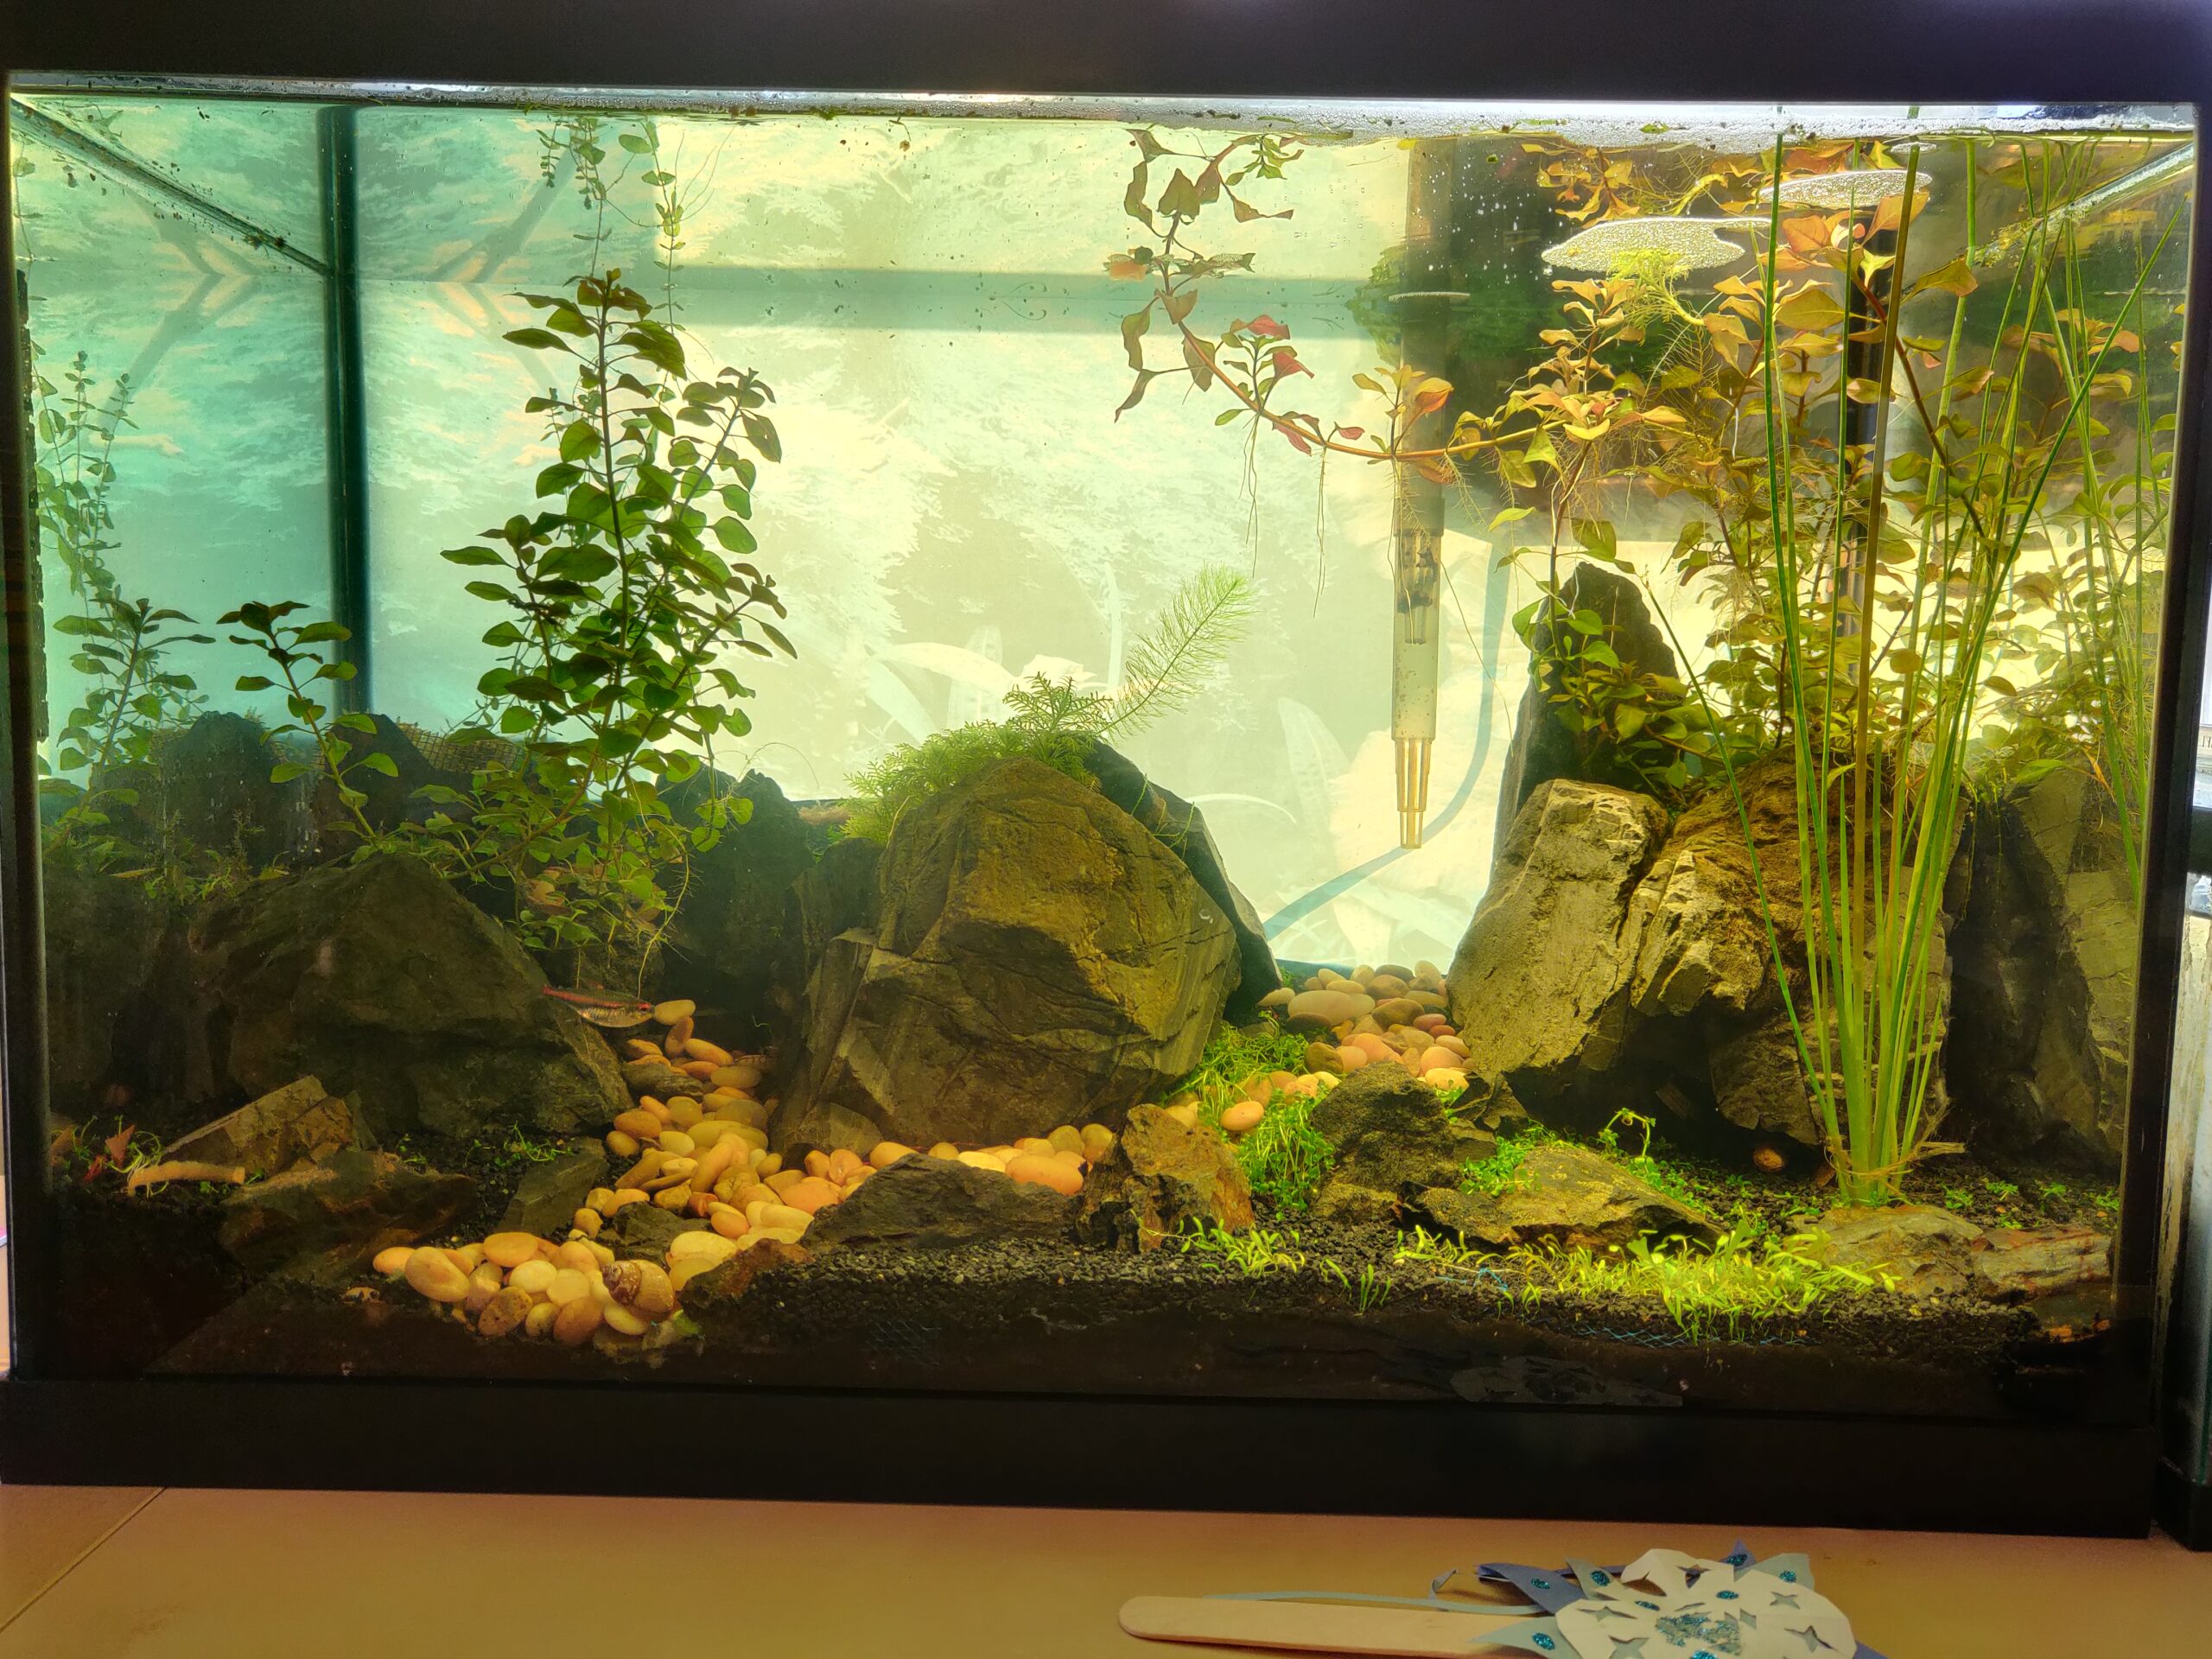
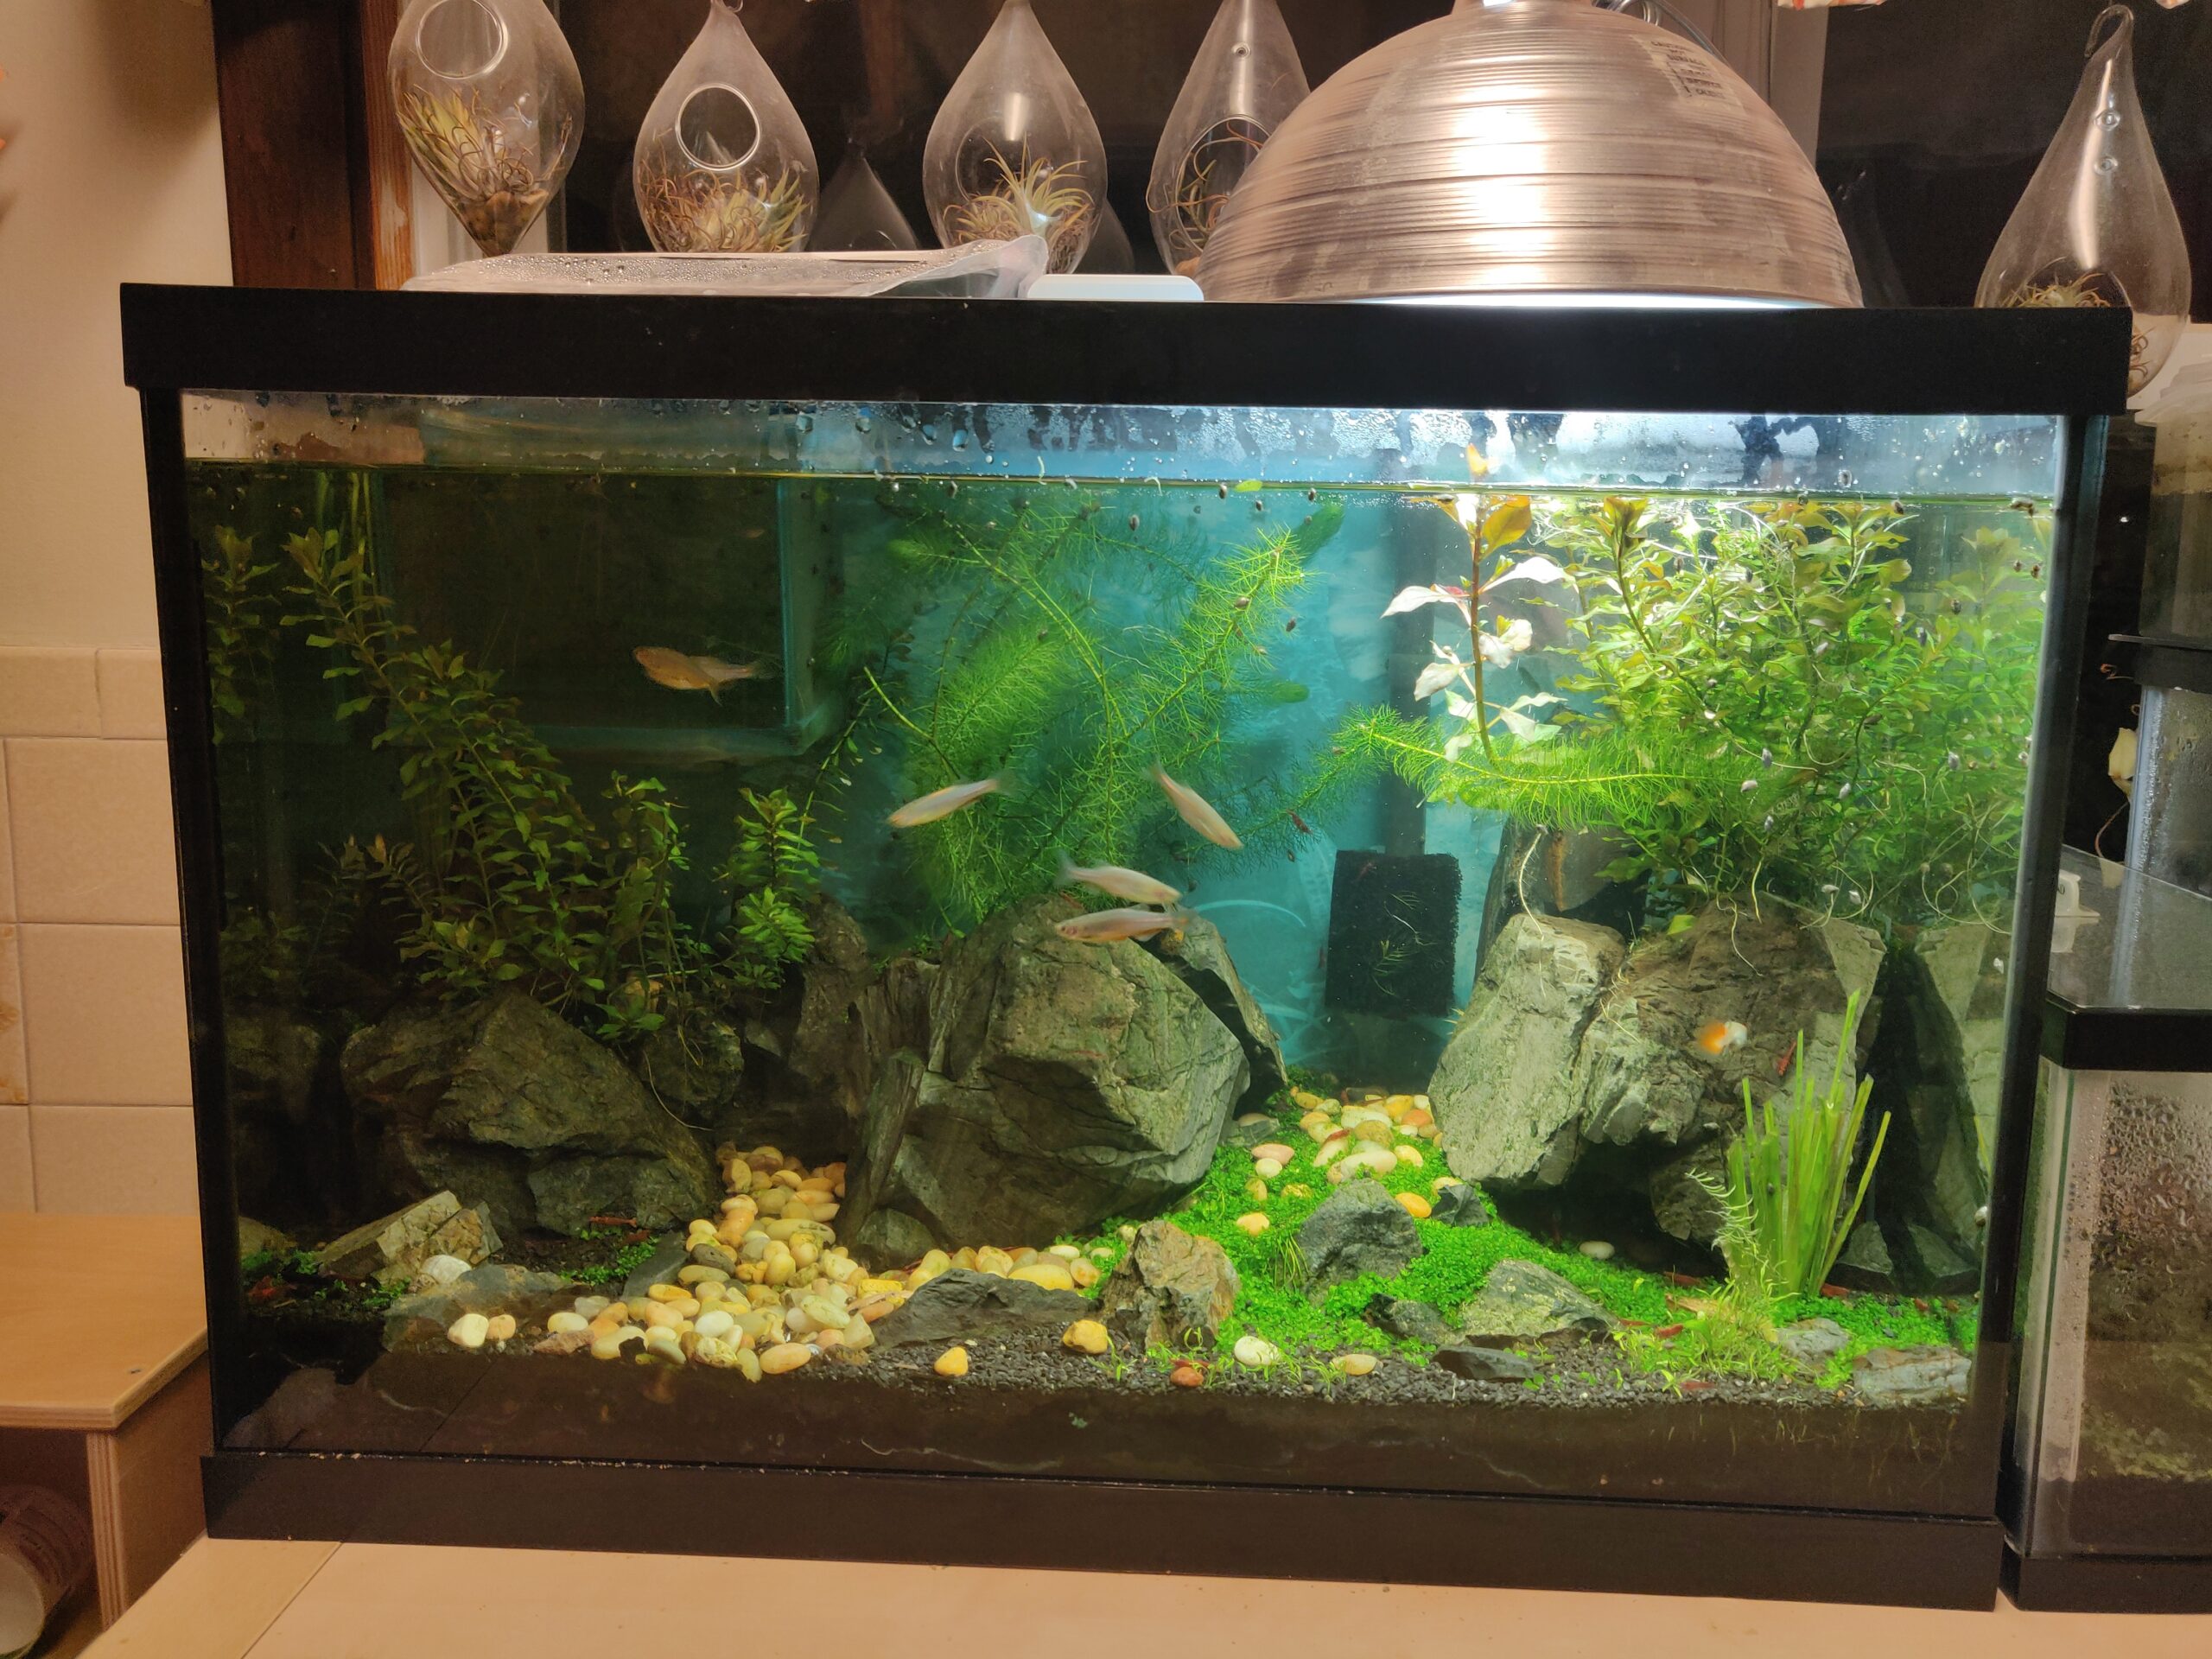
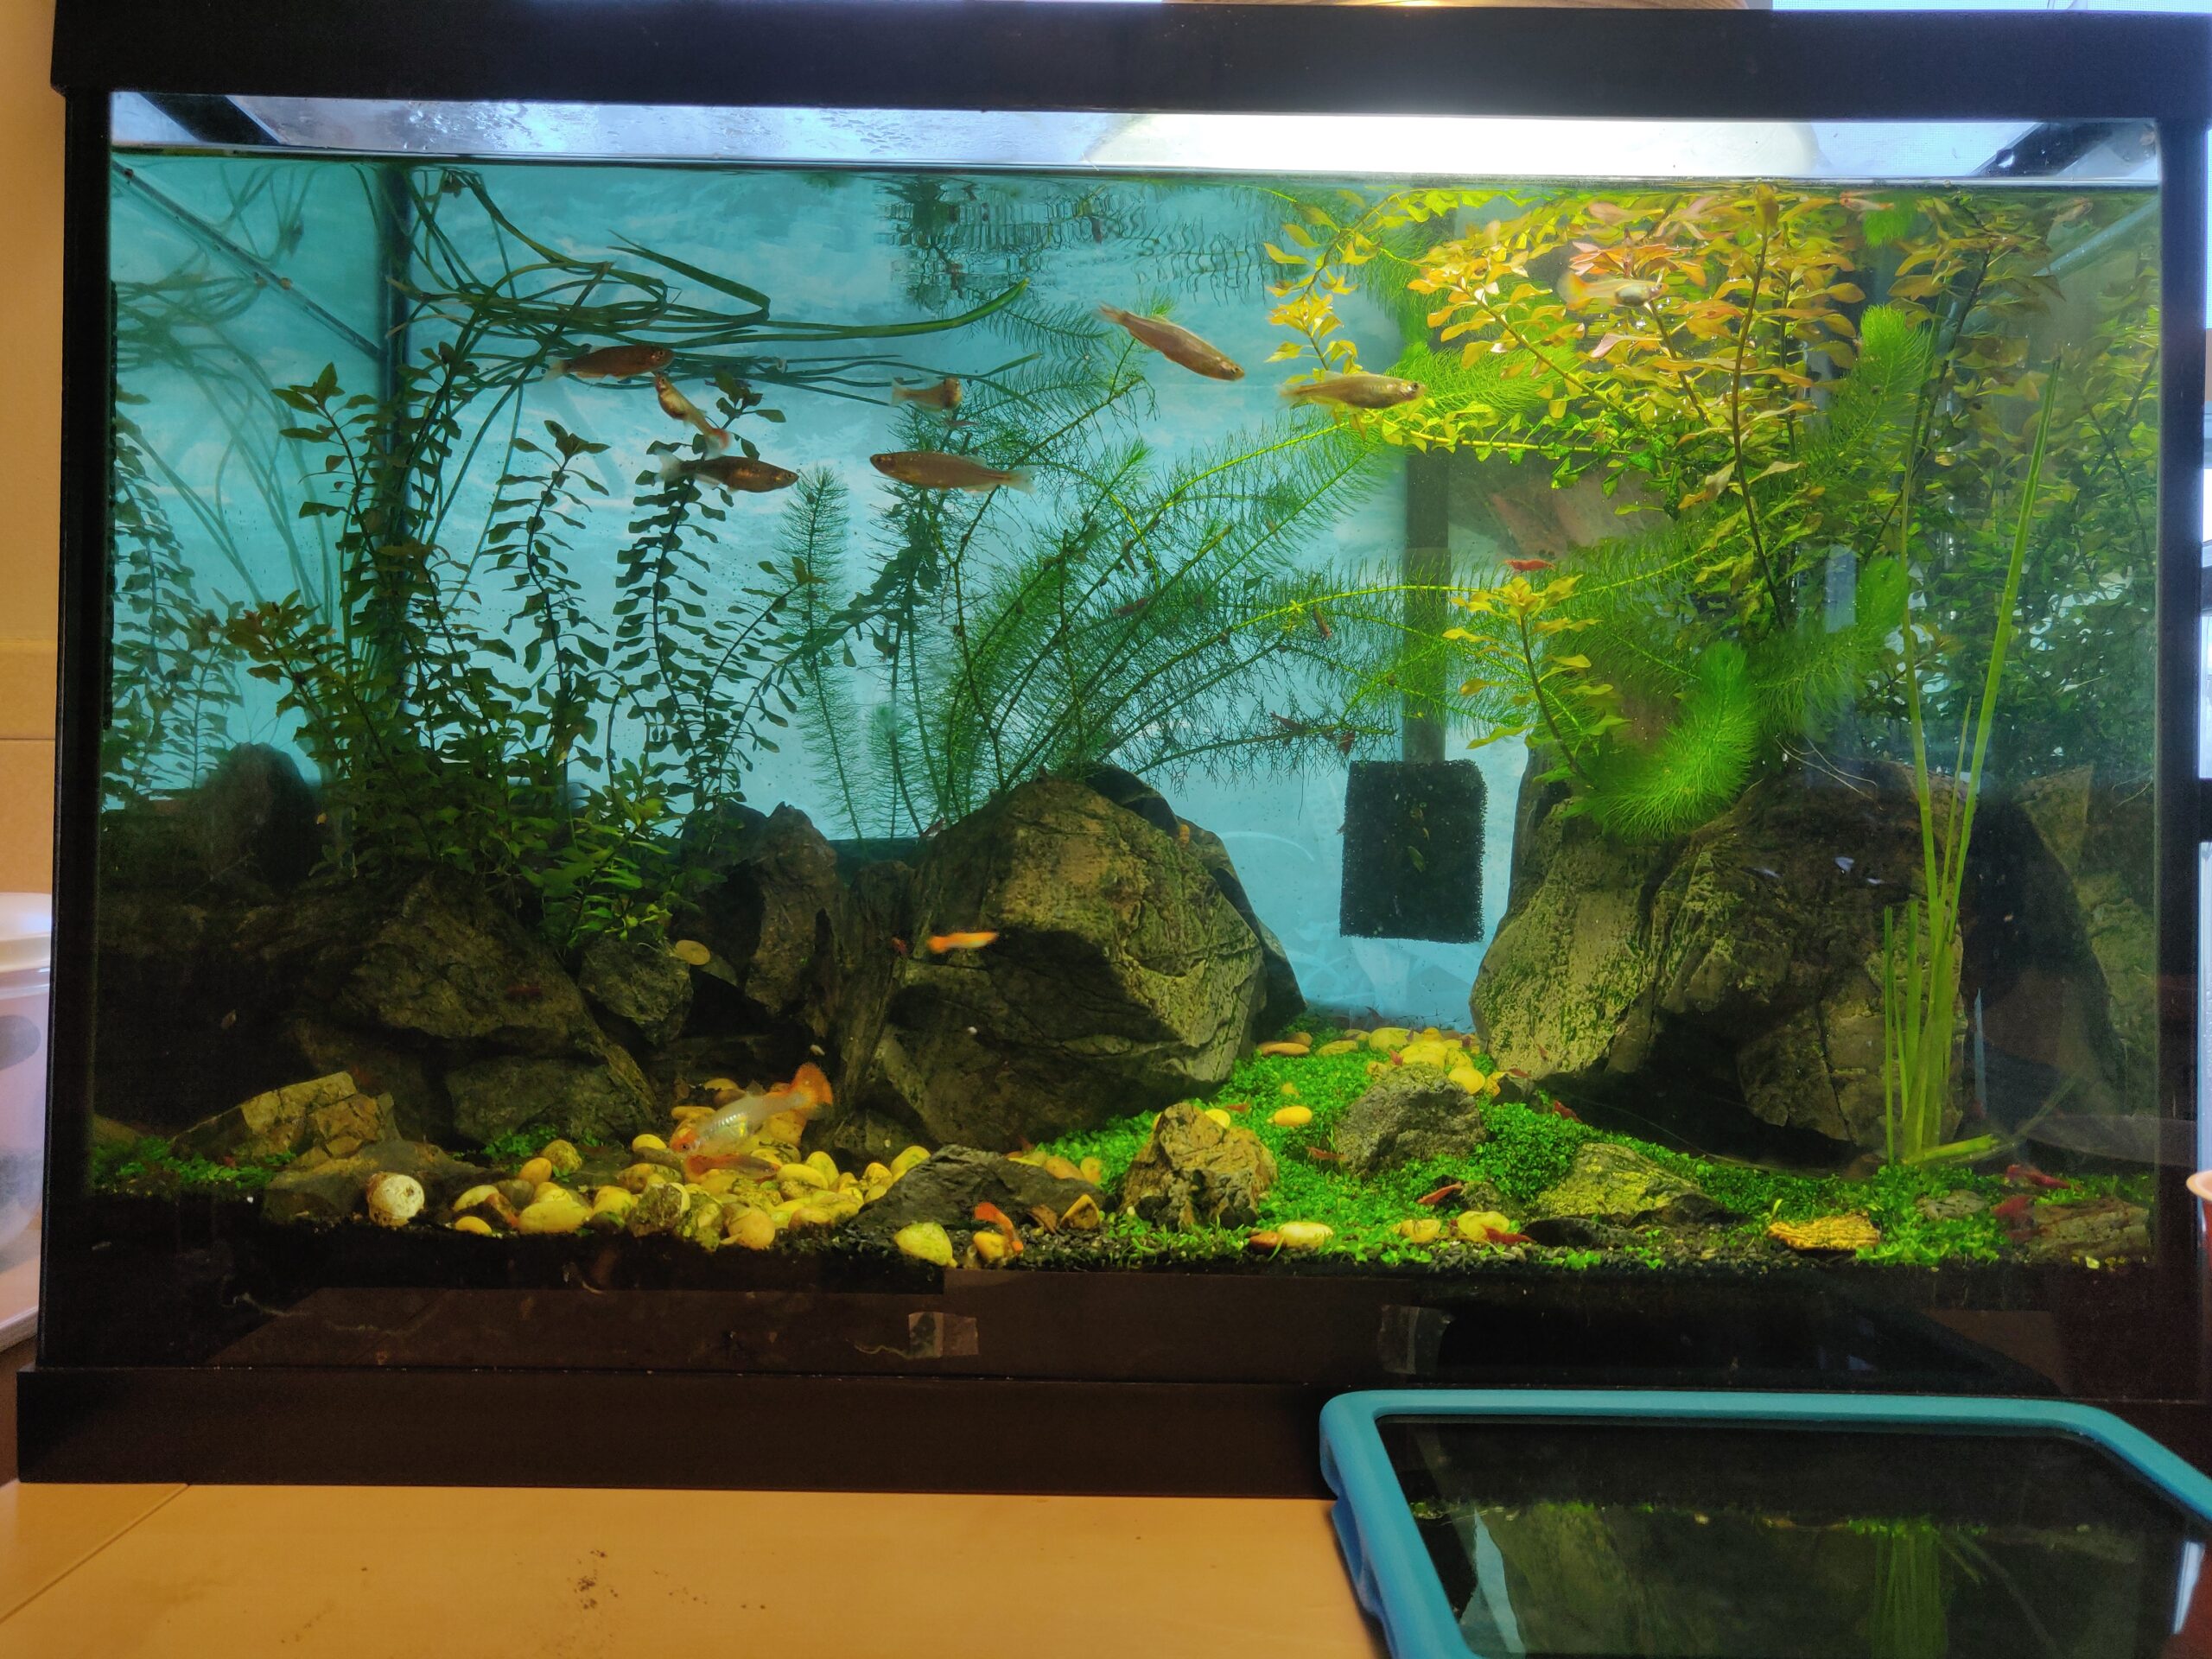
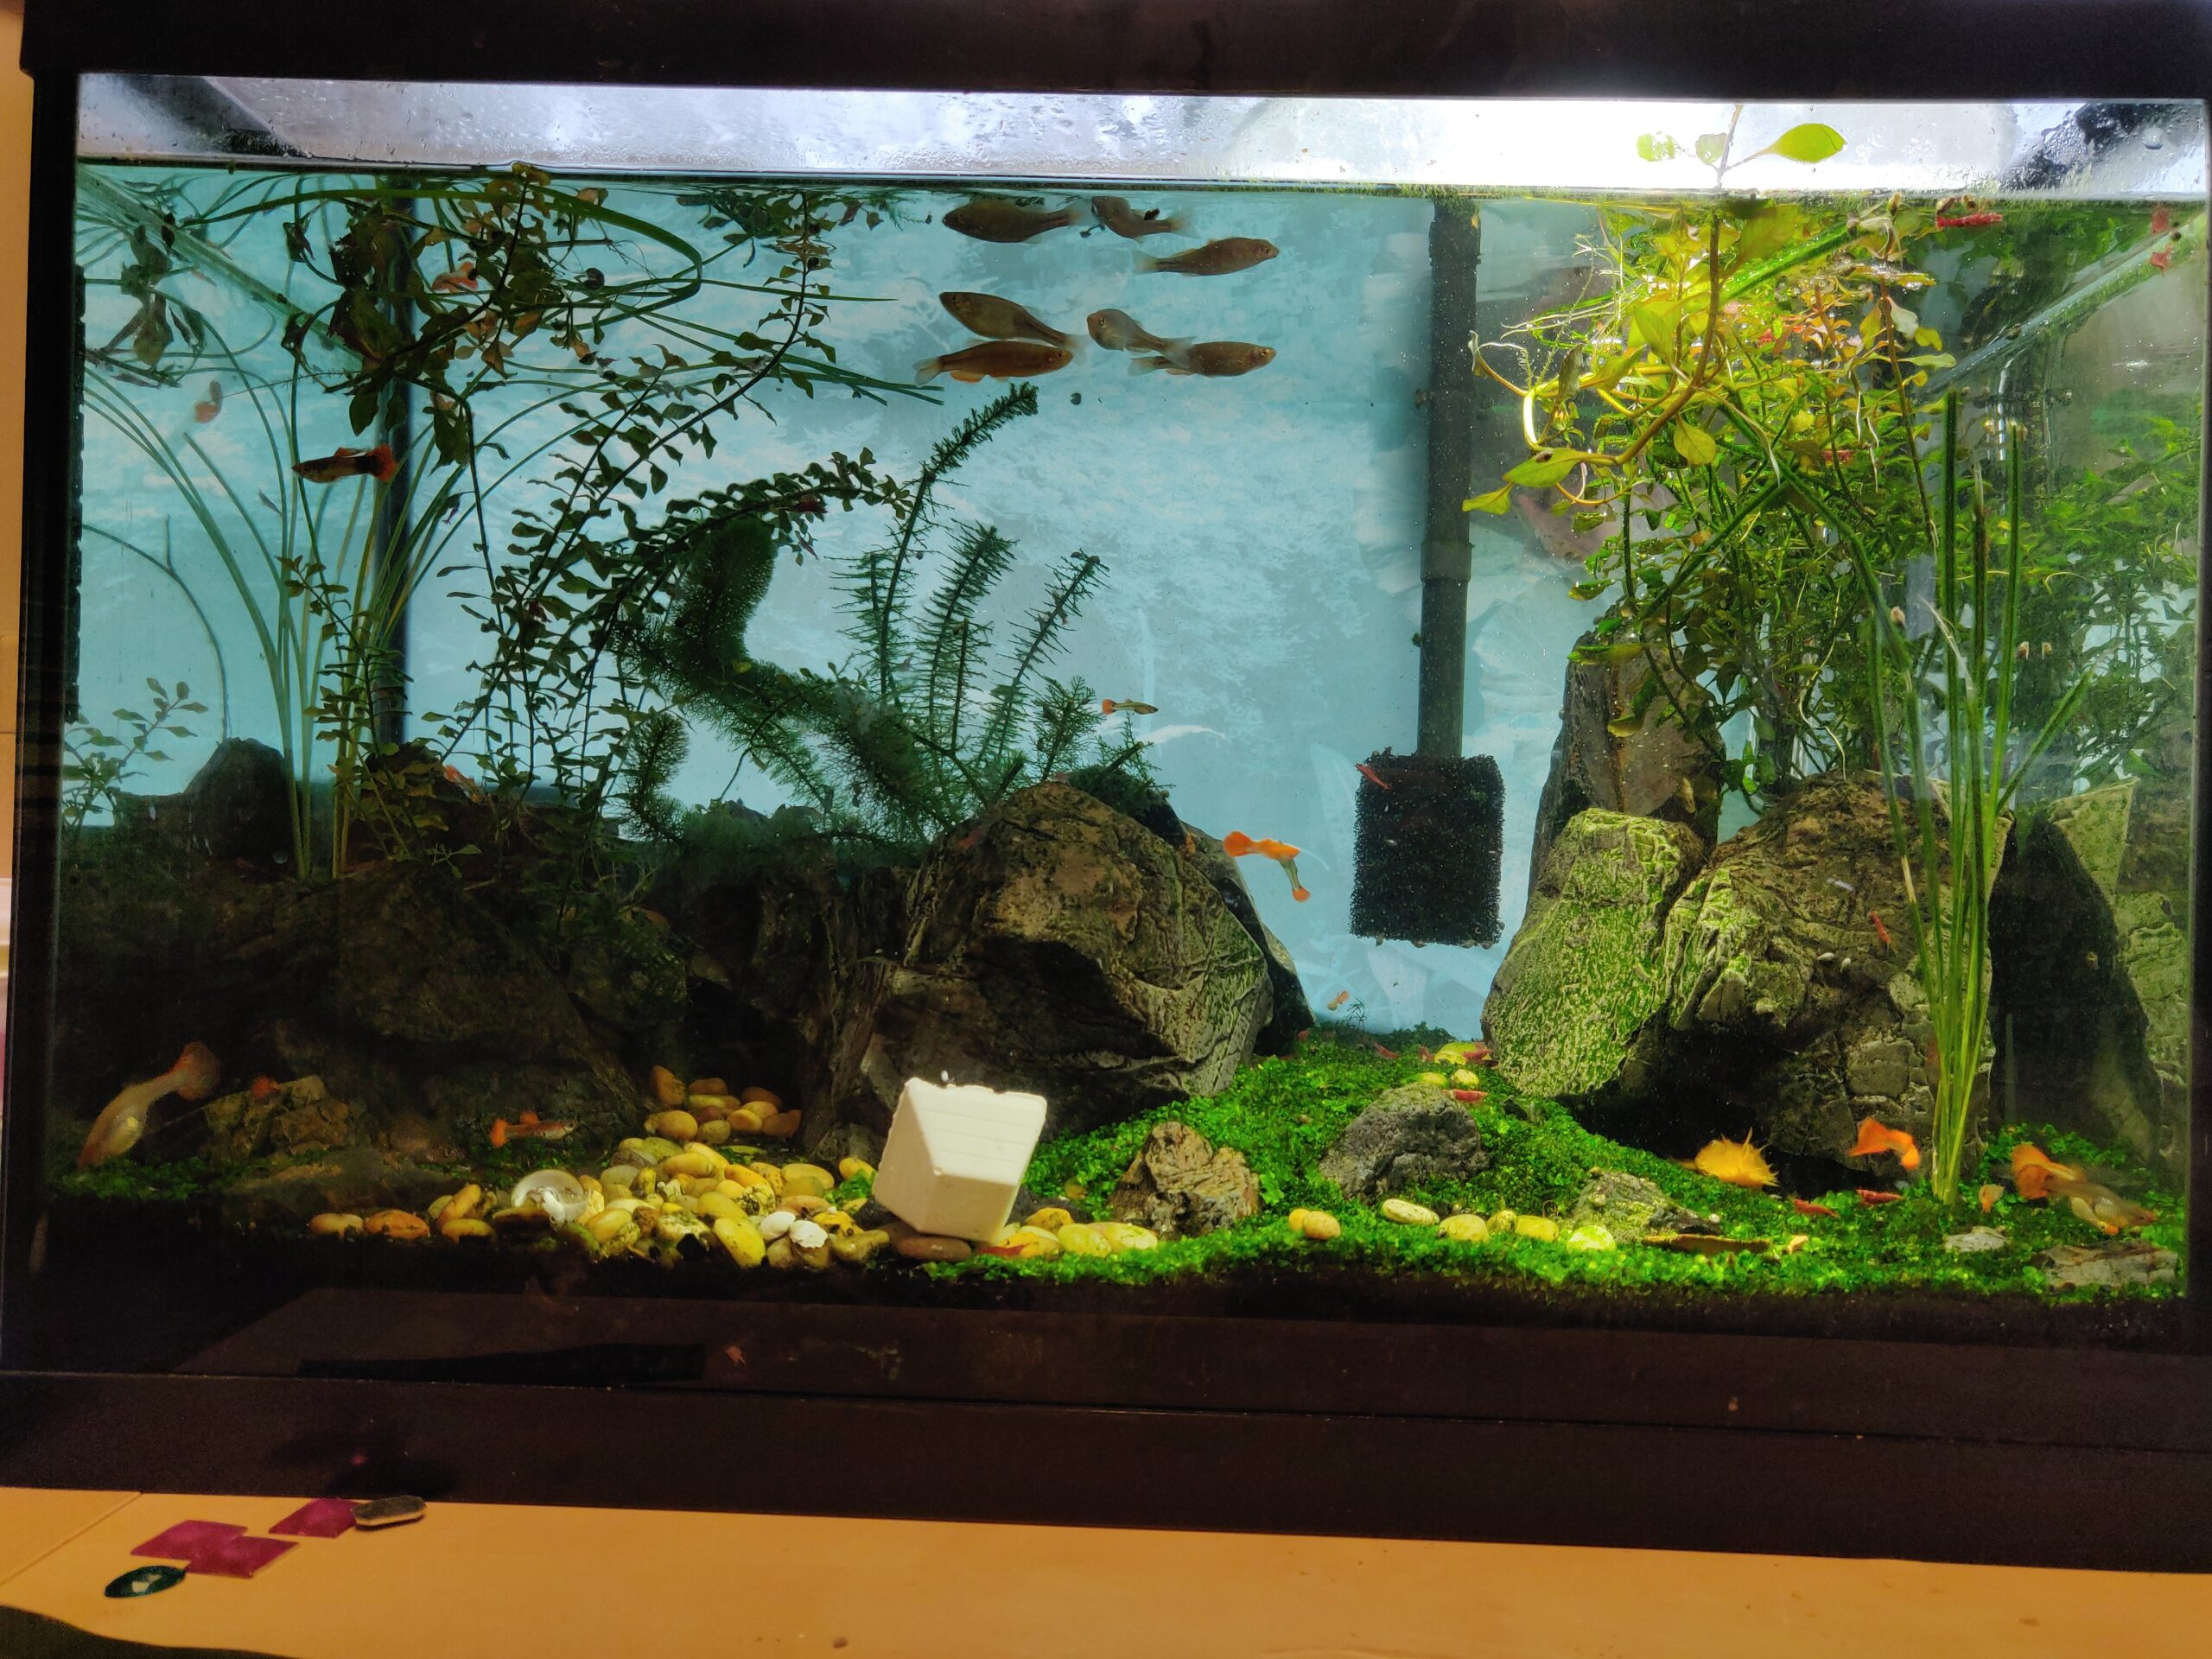
Some Evolution
A few sporadic photos of the tank’s evolution. Time from assembly is marked out in weeks, like a little pandemic baby. Some main things that happened:
- The Ludwigia goes absolutely nuts, throwing adventitious roots everywhere and requires constant cutting back
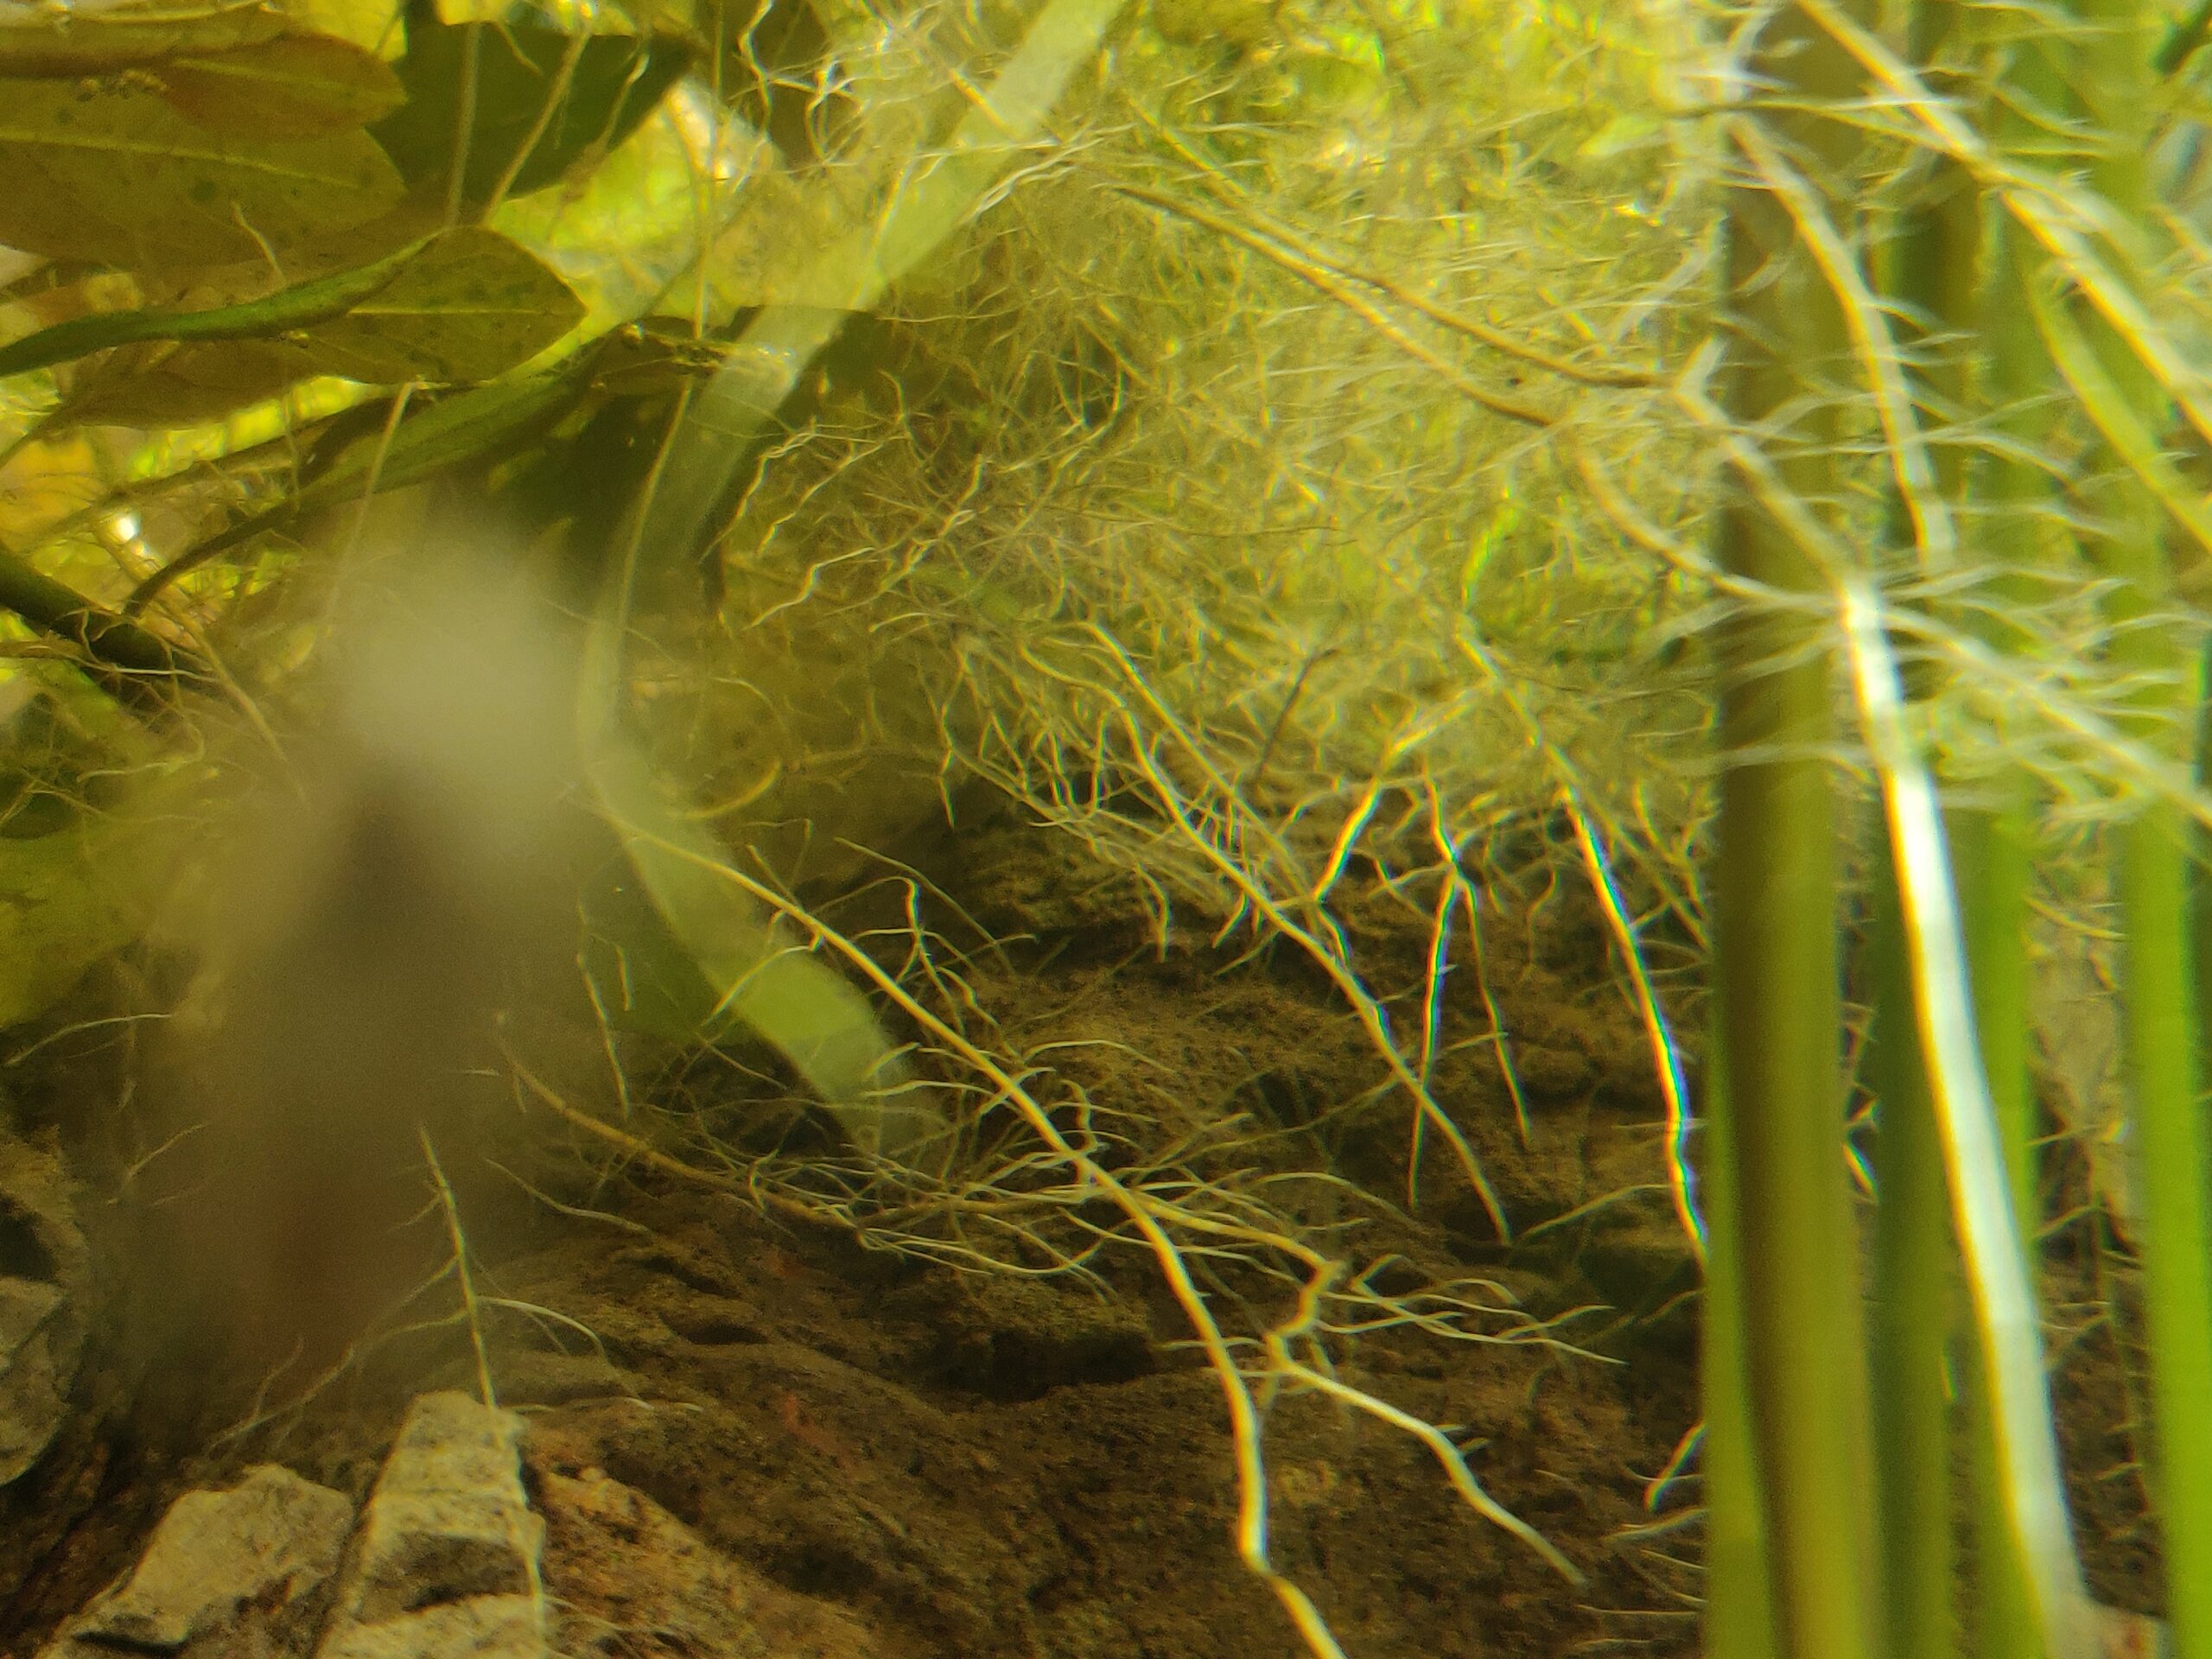
- All pieces of the mystery frilly plant eventually lose their roots and float away; this is replaced by a sprig of coontail I found in a pond, which immediately roots and goes nuts.
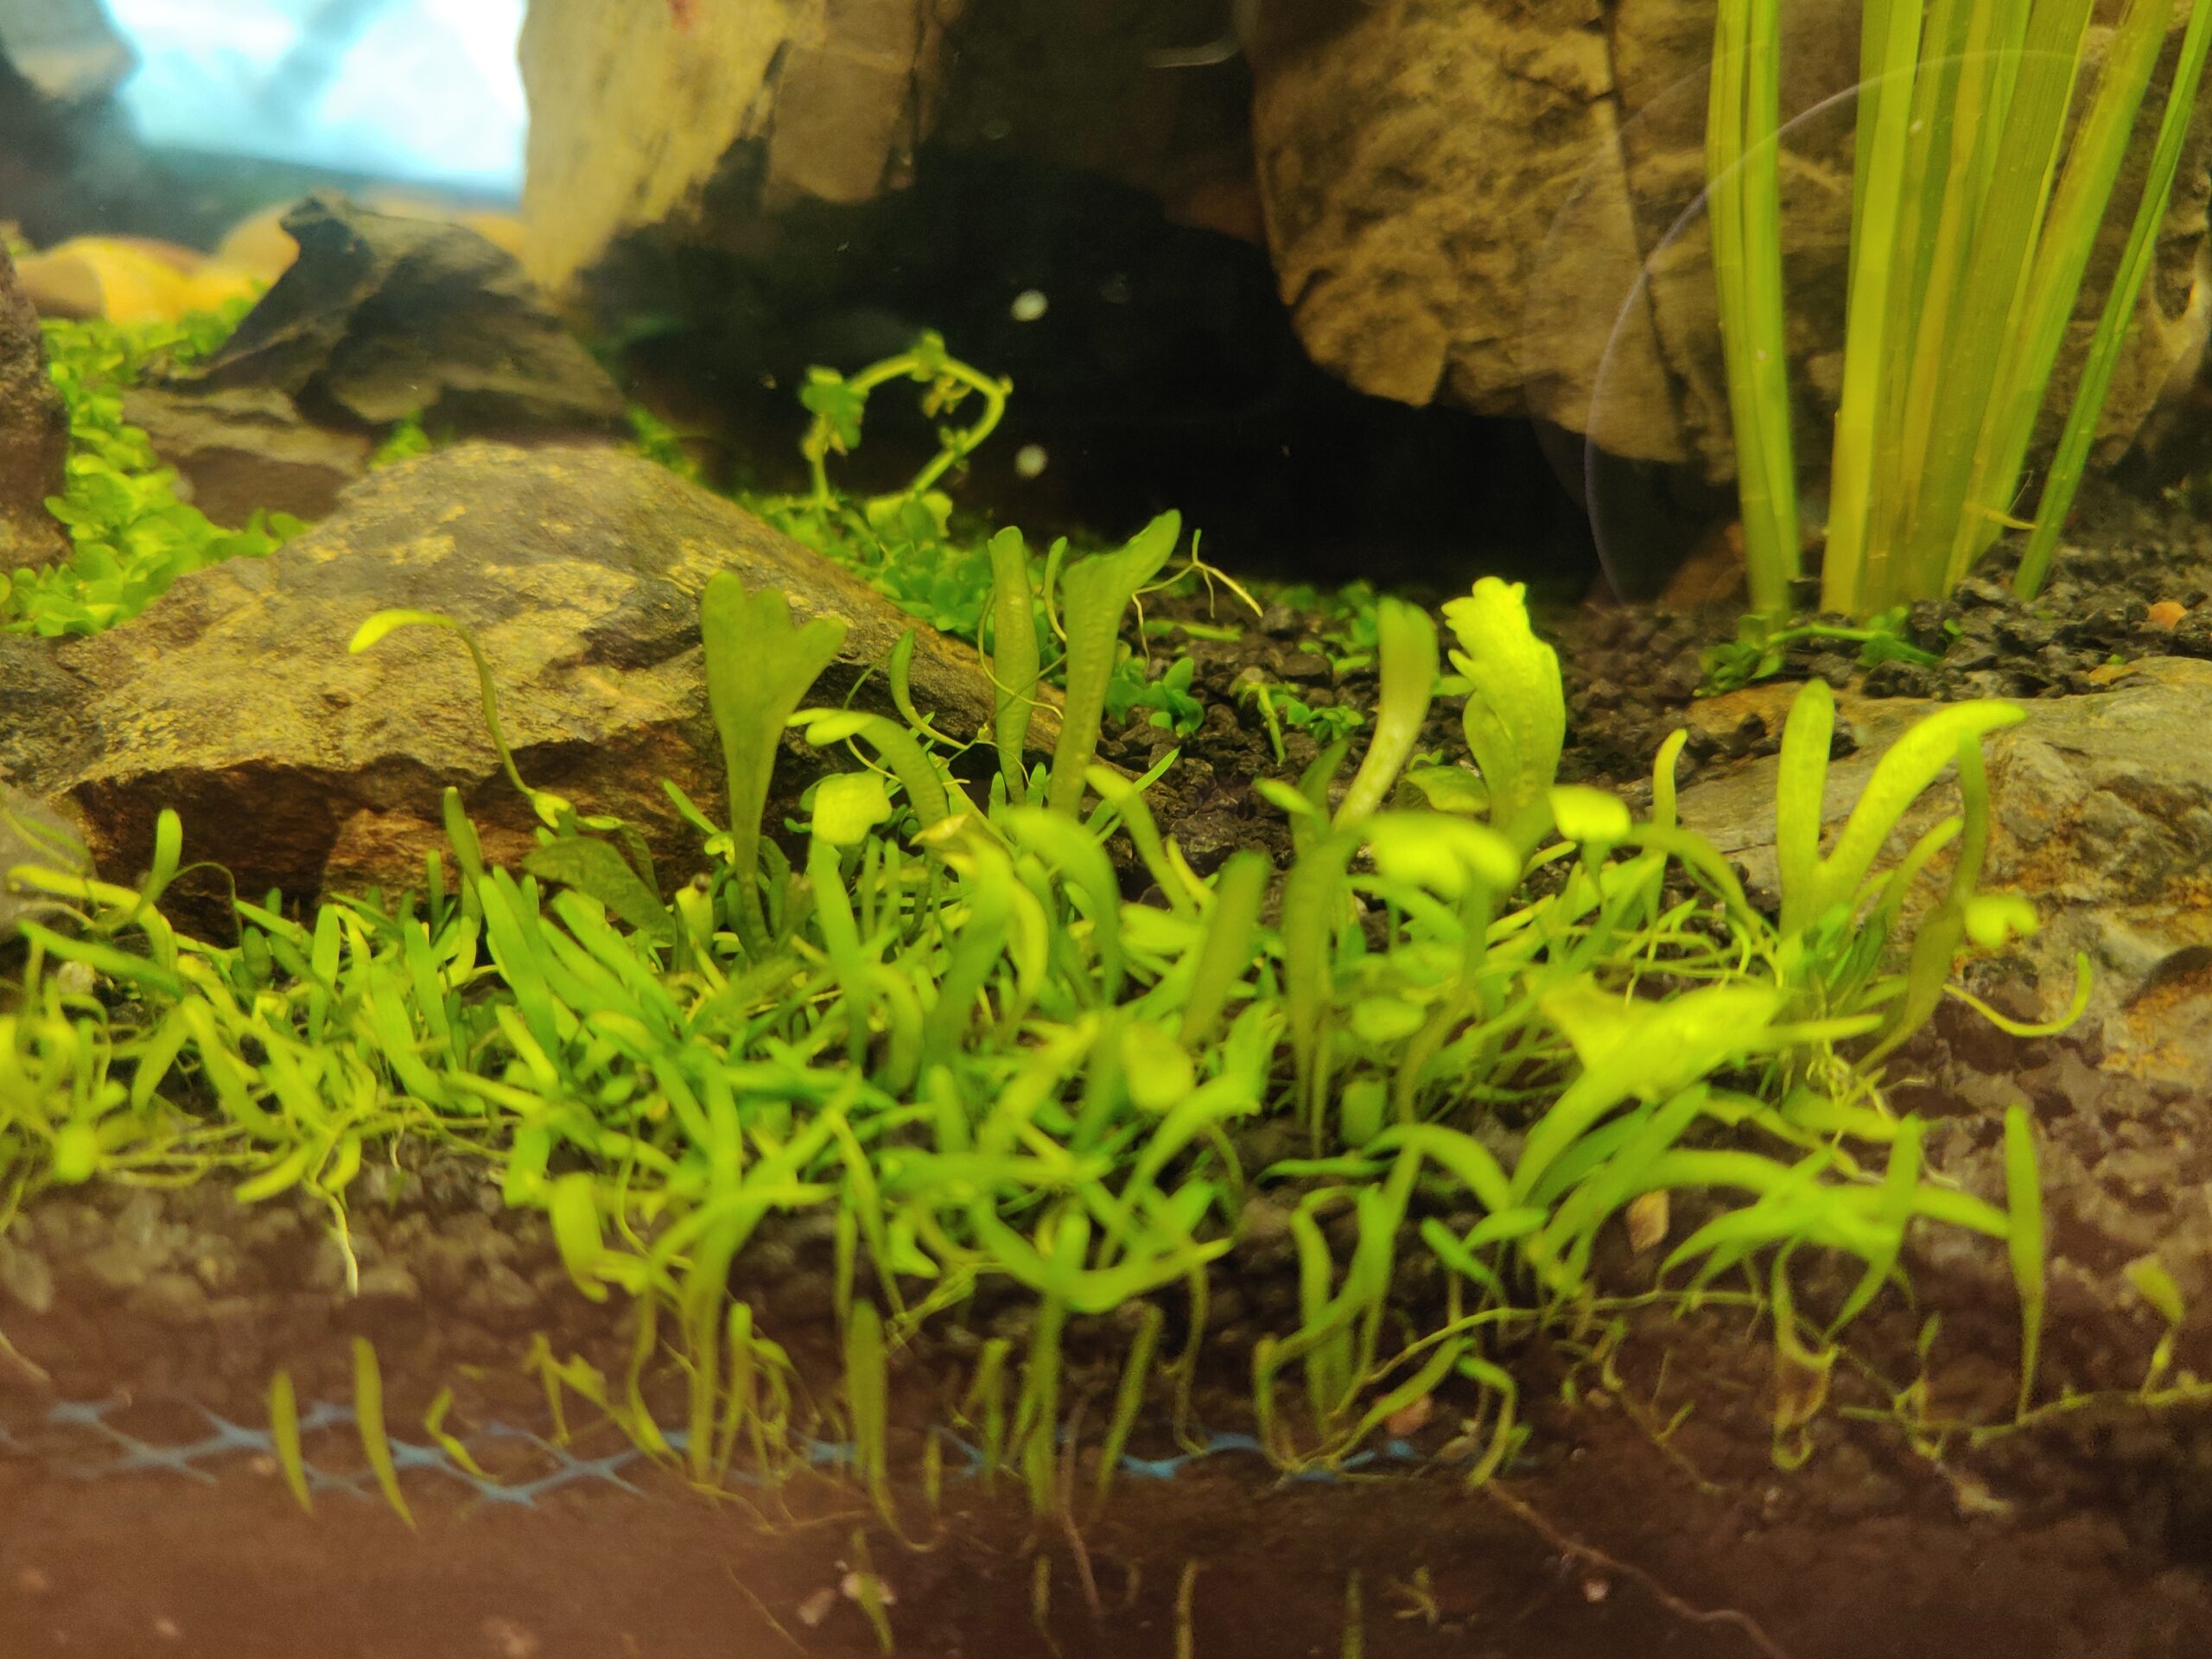
- The albino pleco, besides thoroughly enjoying the little cave, thoroughly enjoys the Micranthemum – this natural trimming has transformed it to an attractive putting-green carpet – and the Utricularia, whose slow growth and not-real-roots can’t keep up with the constant munching and digging. RIP.
- Despite the constant munching, the Micranthemum is happily growing over and into the pea gravel, with a robust enough root system to hold its own against the pleco.
- It turns out plecos will happily redecorate by picking up and relocating small stones. If keeping one, set your expectations on the sanctity of your layout accordingly. For mine, the cave was a popular stashing spot.
- Guppies. So many guppies.


Leave a Reply